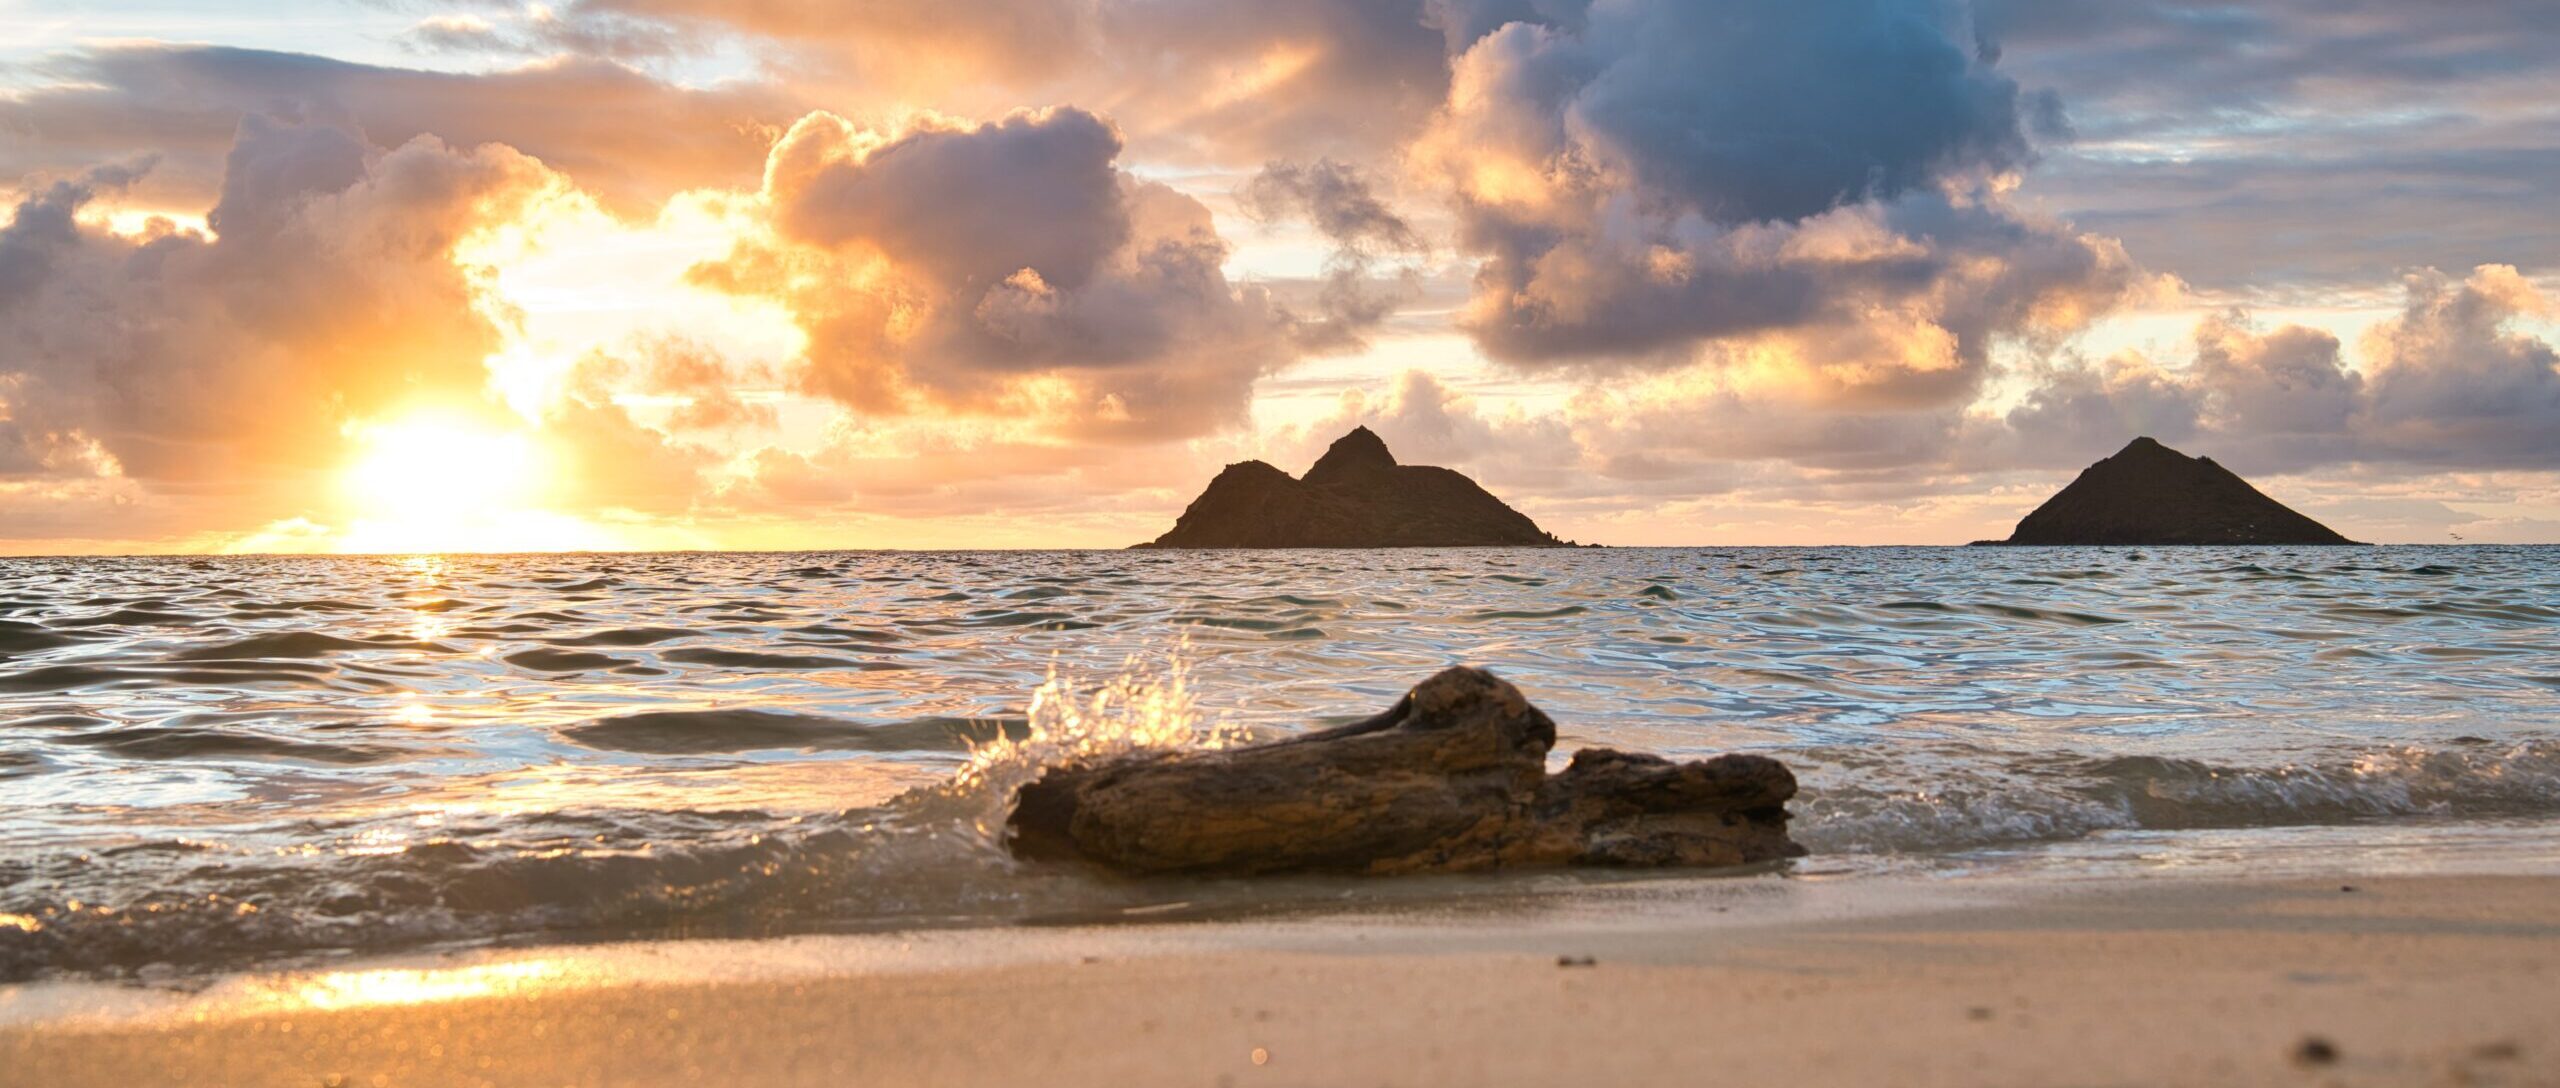
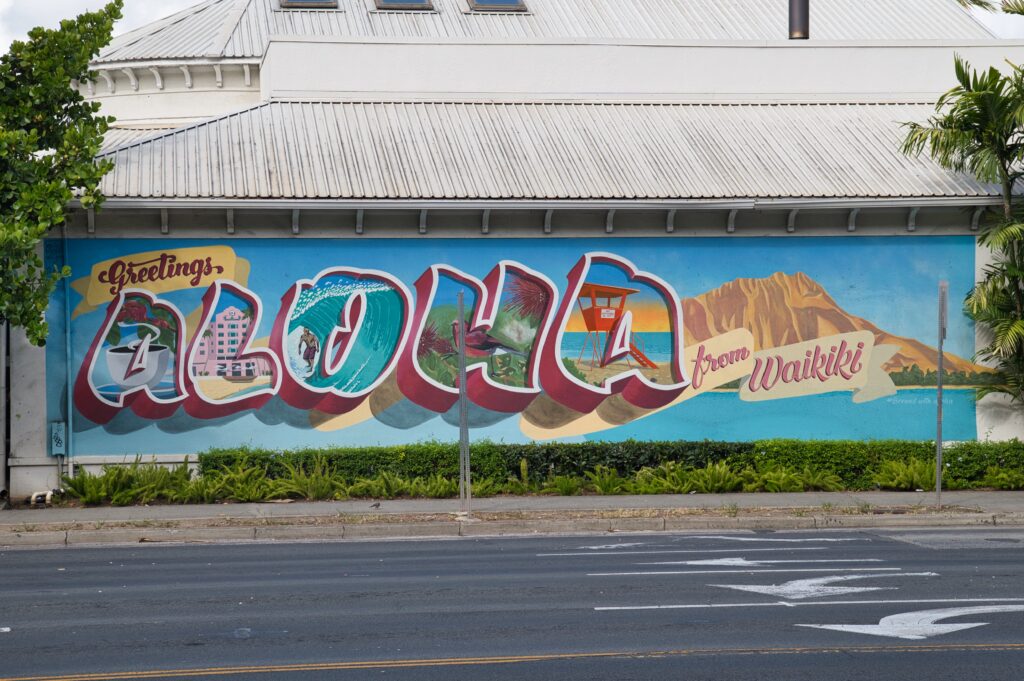
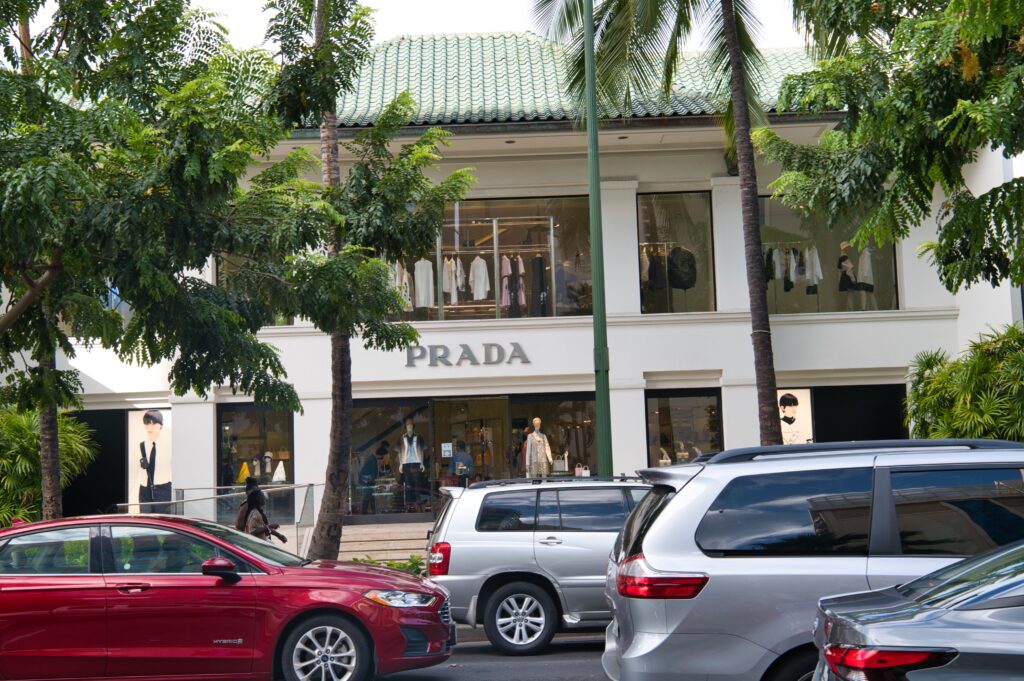
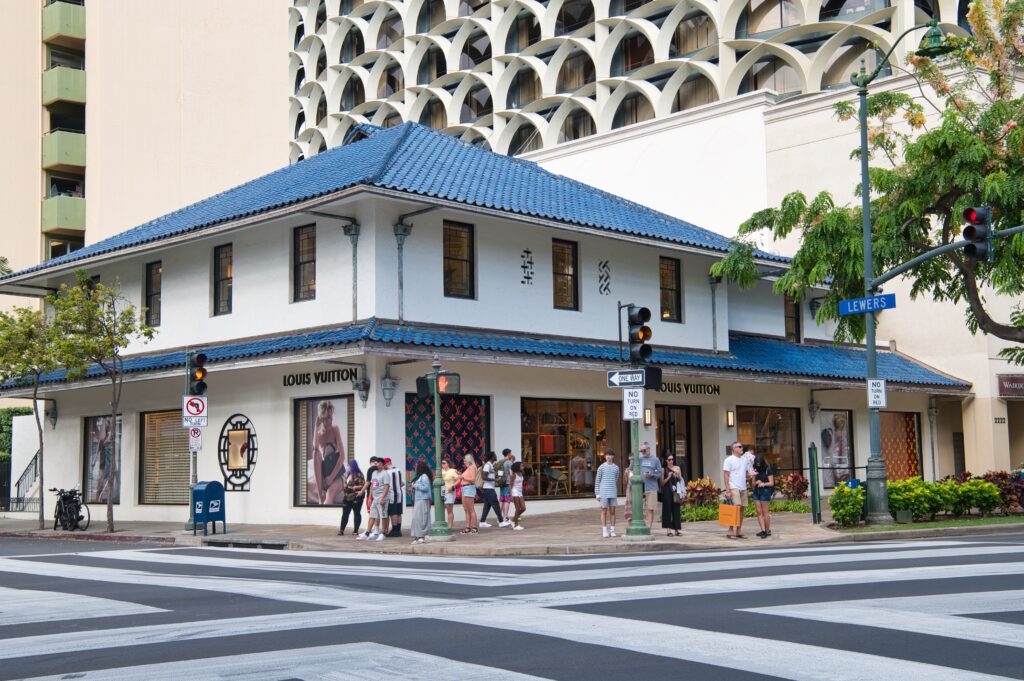
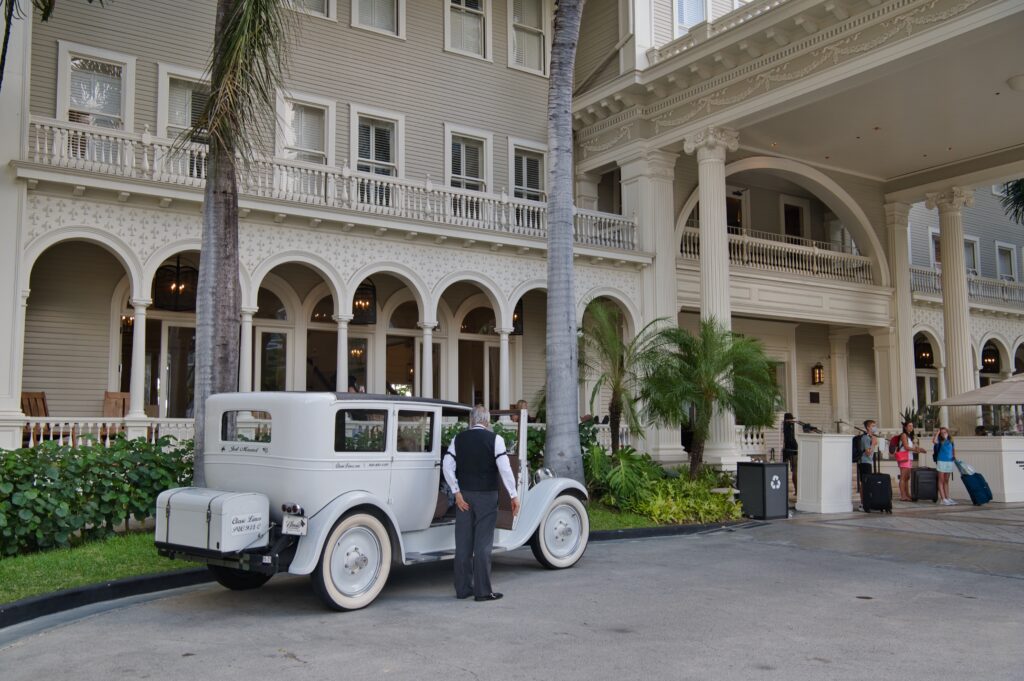
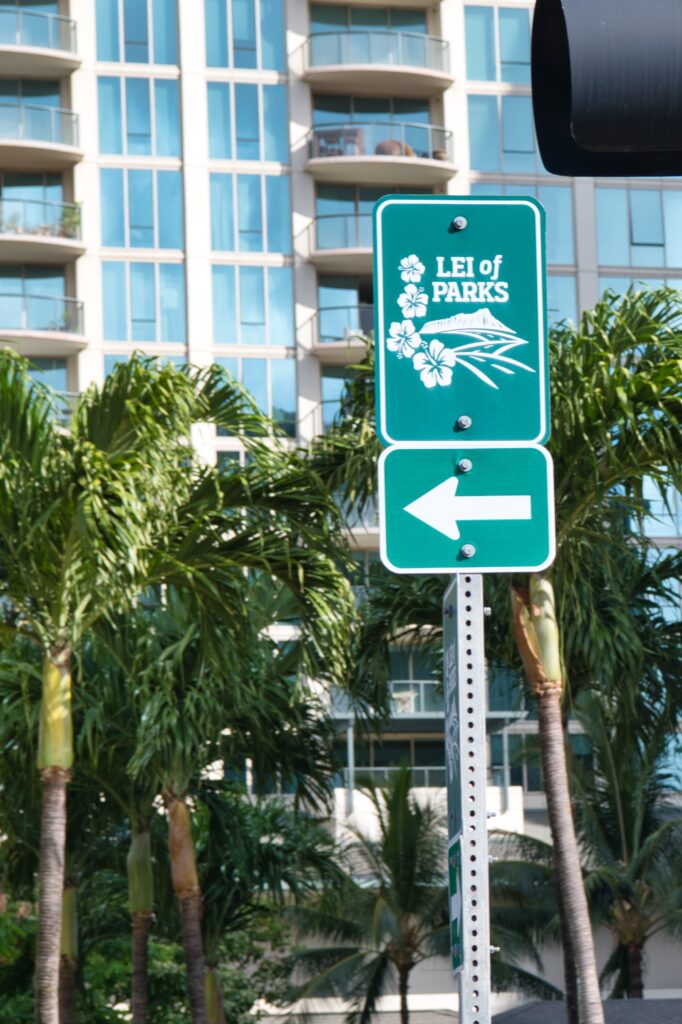
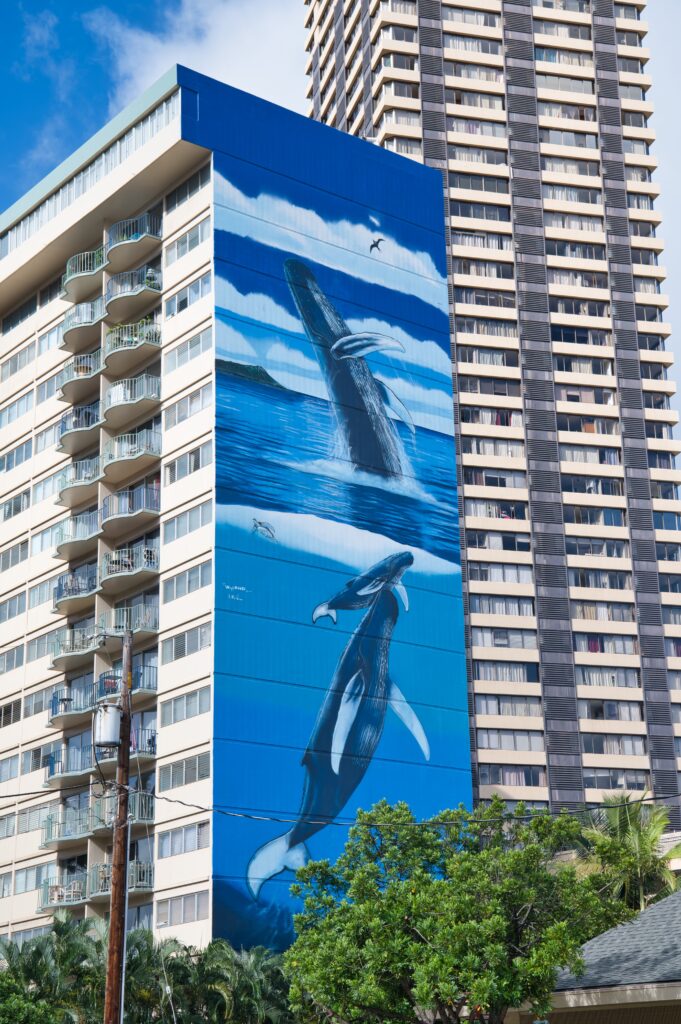
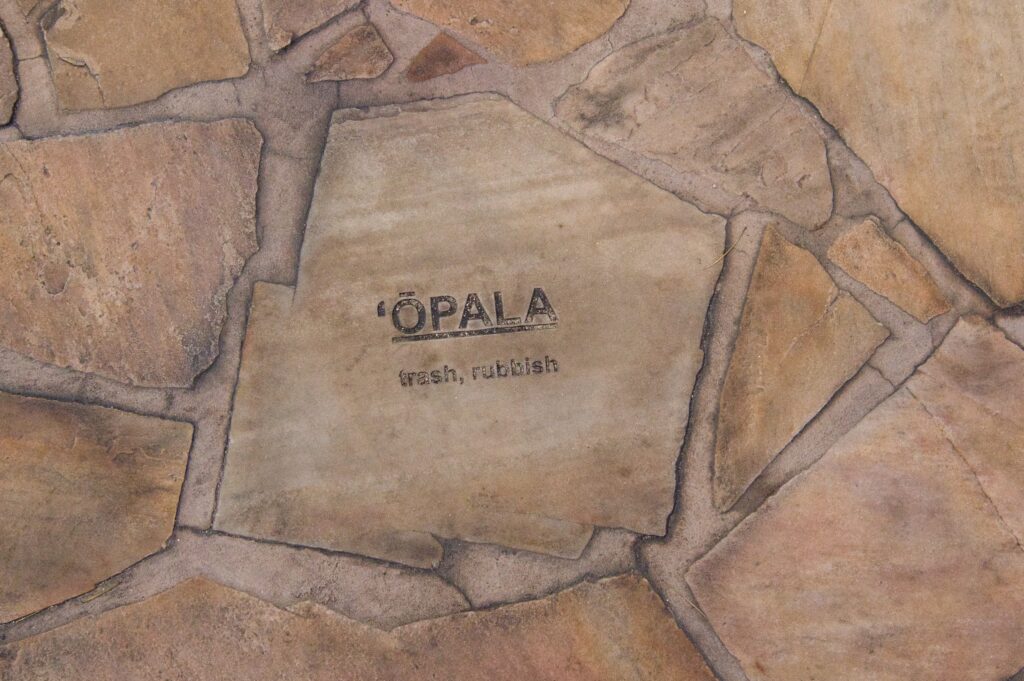
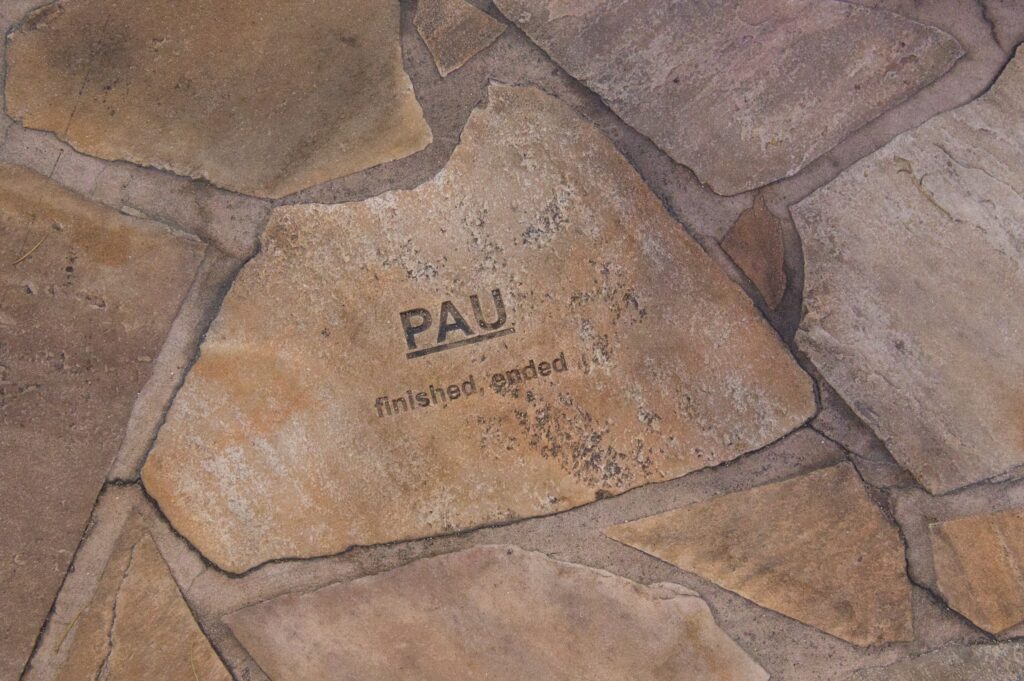
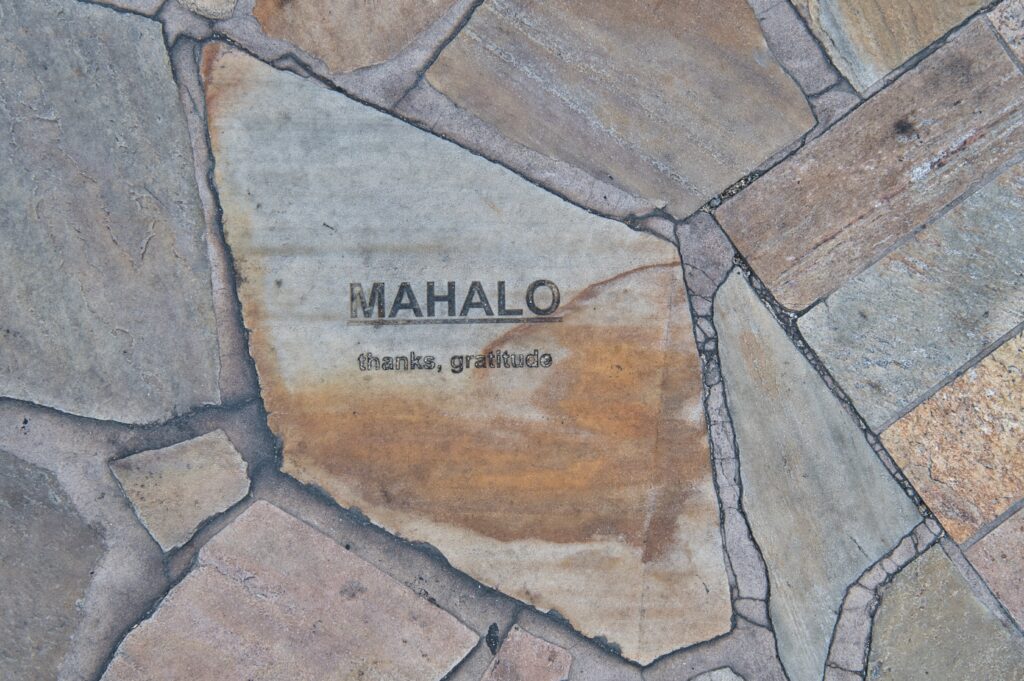
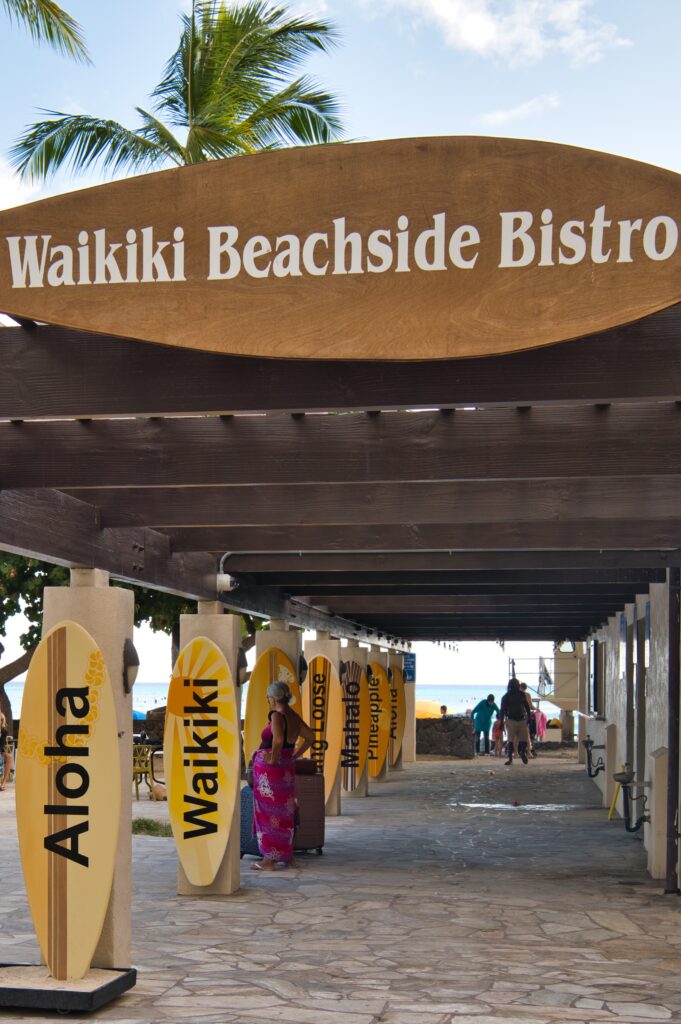
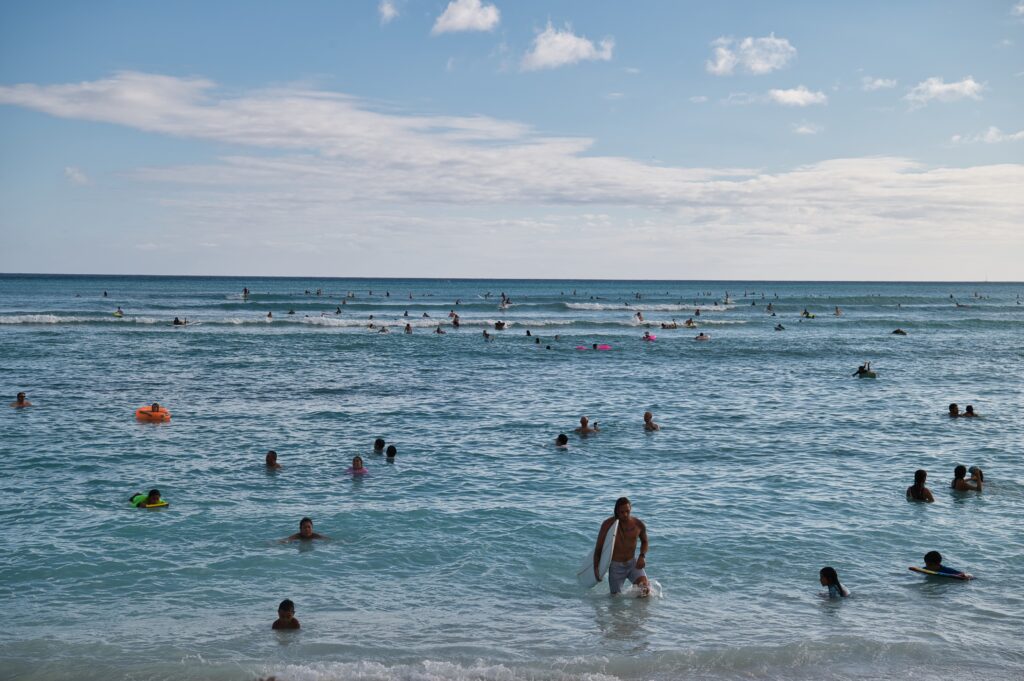
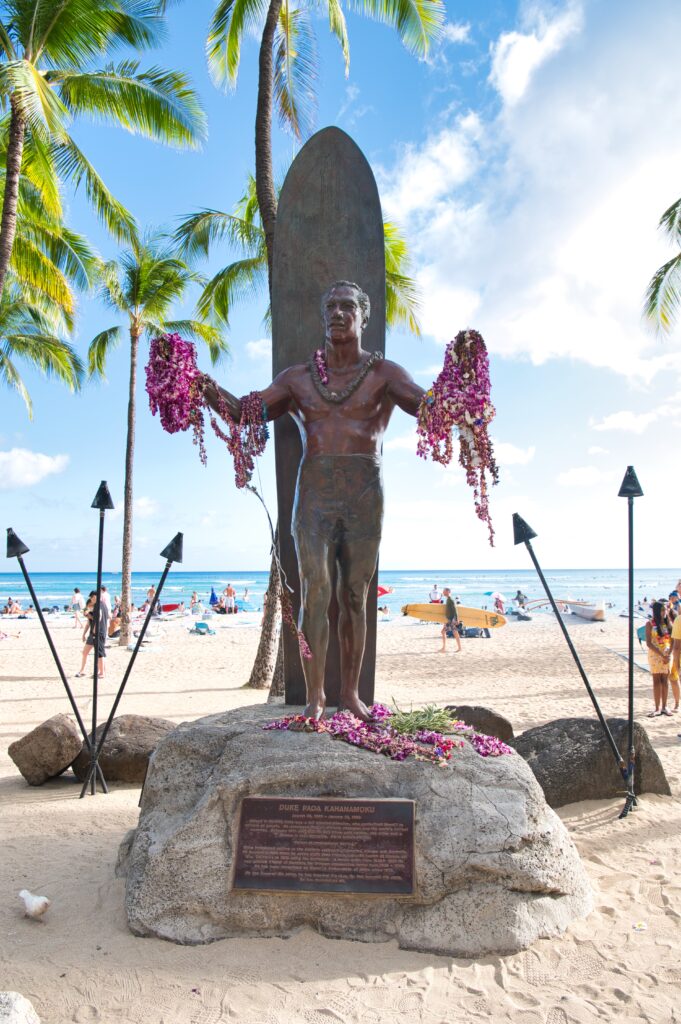
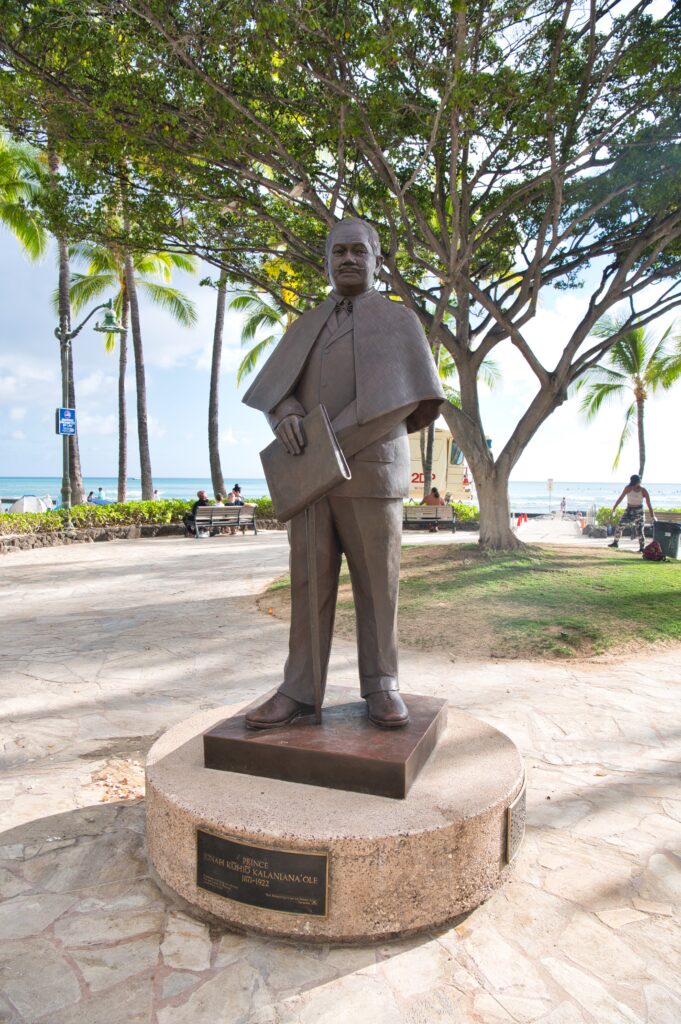
Our experience in Waikiki was a HUGE difference between when we were there in May. Here are some (ok, a lot) of pictures I took during our walk to the restaurant from the convention center. We walked down Honolulu’s version of Newbury street, Kalakaua Ave. I won’t bore you with a million photos of expensive stores, but here are a couple.
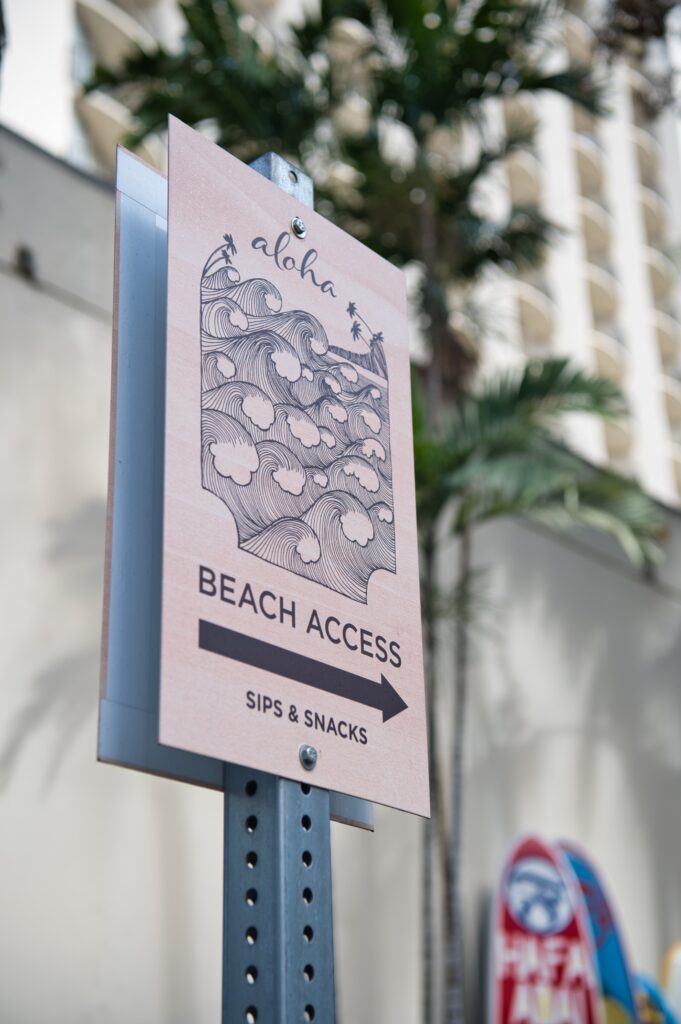
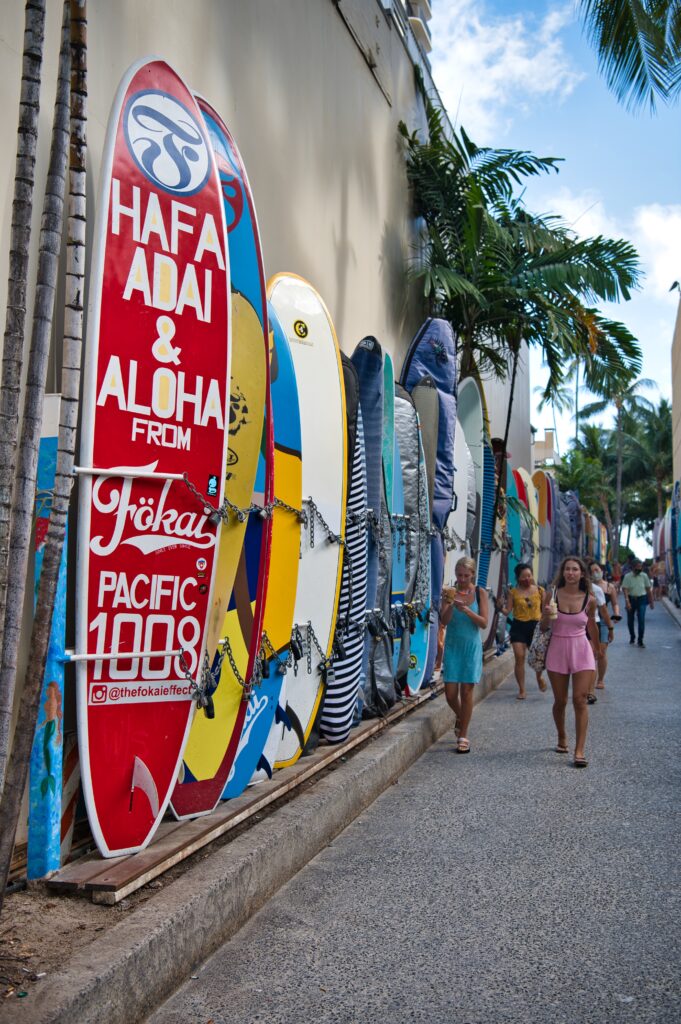
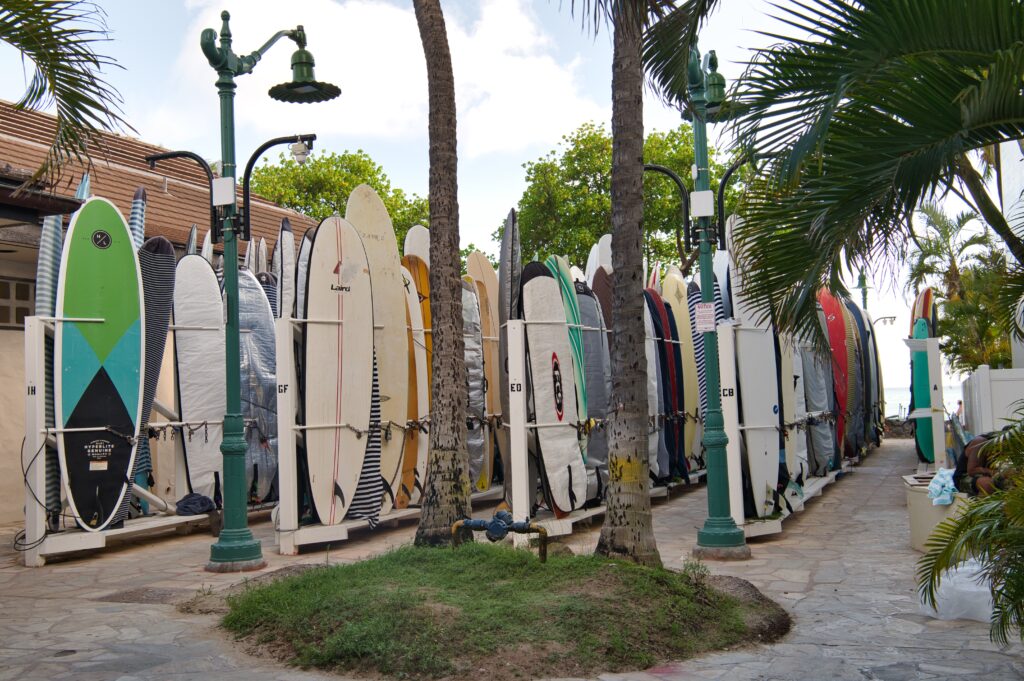
There are opportunities to cut through to the beach along the way and plenty of board storage we are assuming is public.
In this picture I am about 20 feet away from four homeless people. You can see one barely on the right. It’s a significant issue in Honolulu.
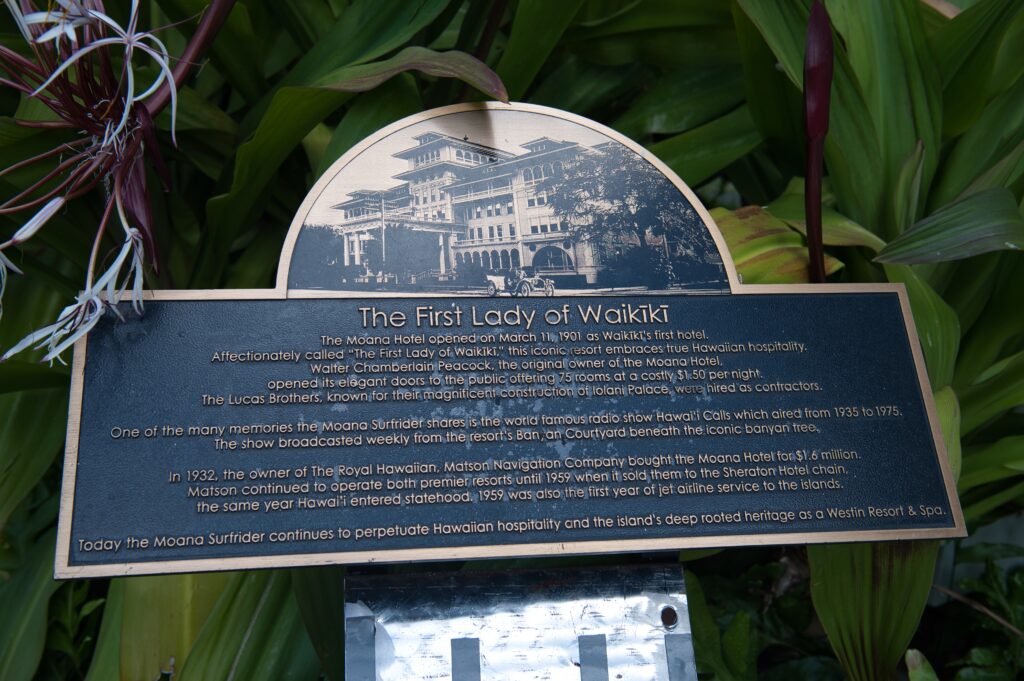
We walked by a lot of fancy hotels, including the Surfrider.
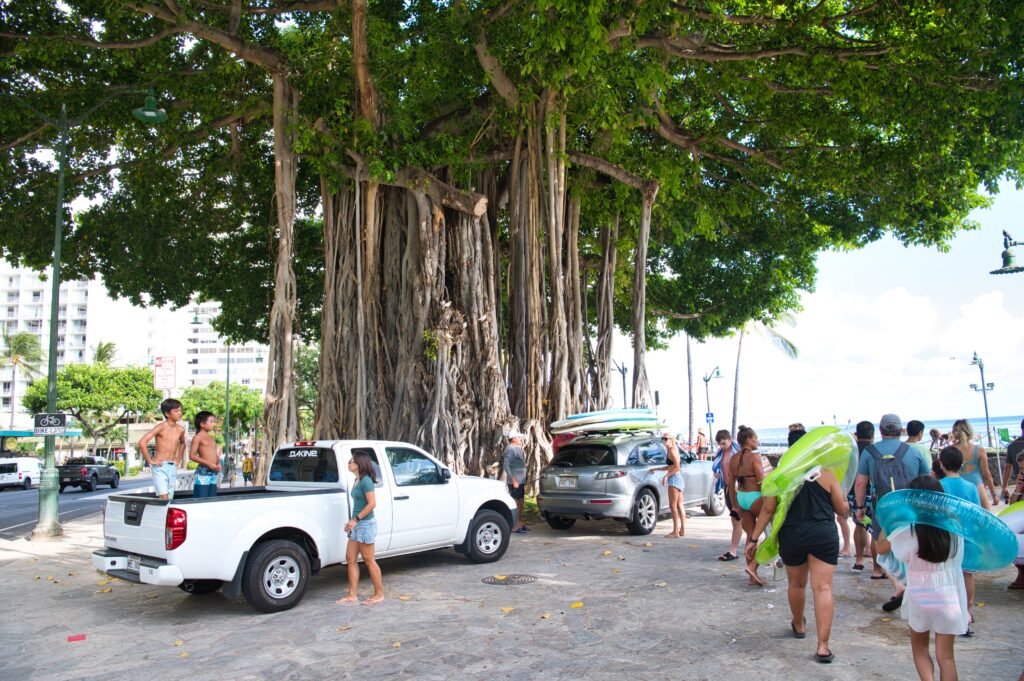
This post is getting to be very lengthy, so I’ll break up Tiki’s and walk back into a second post. I’ll end with this quintessential picture of Waikiki. First of all, these trees are the coolest. Banyan trees can walk. The cars are meant to give you perspective to just how big it is. Second, you’ll see kids in the back of a pick up truck. In Hawaii, Hawaiians can travel in the back of trucks. Third, this is a roundabout of sorts, and you’ll see people packing their boards on top after a day of surfing. And last, you can see the hoards of people walking to the beach (Still… at 5pm on a Saturday.)
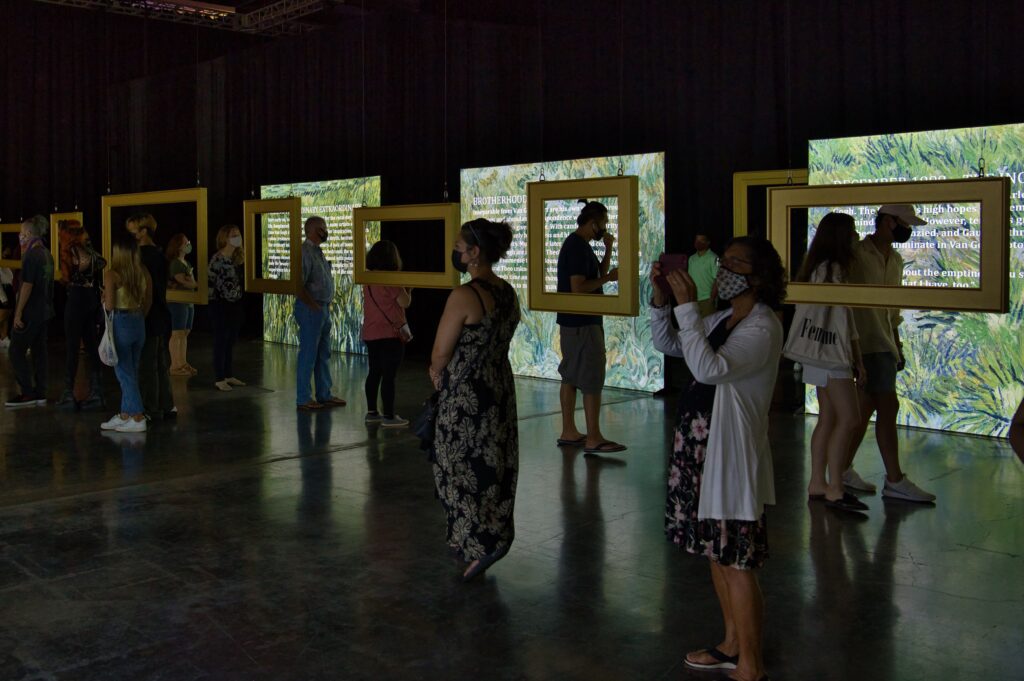
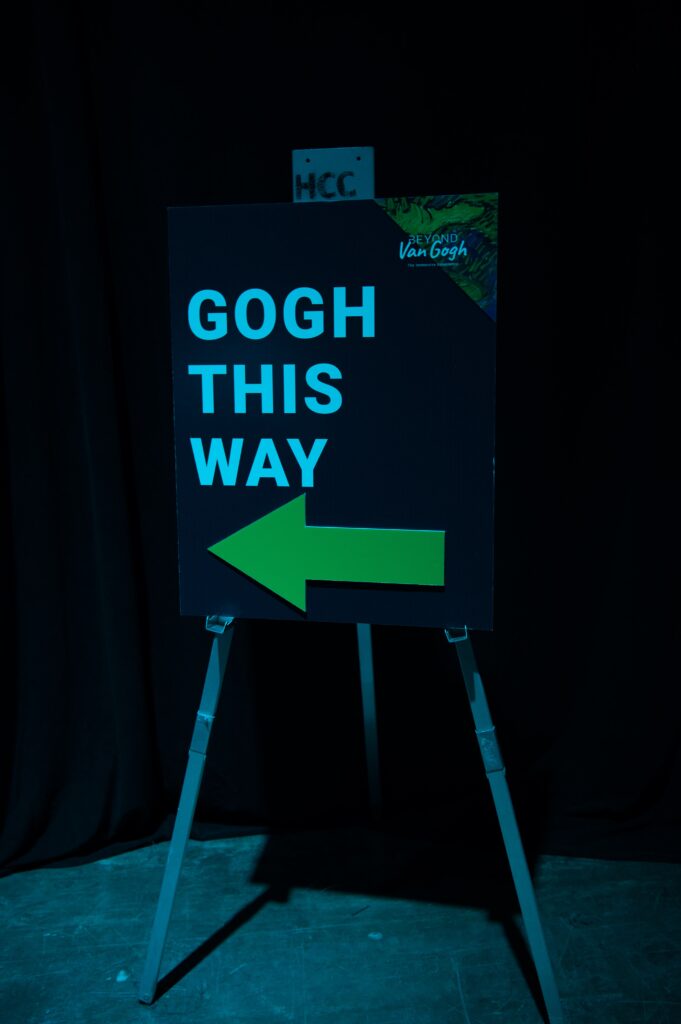
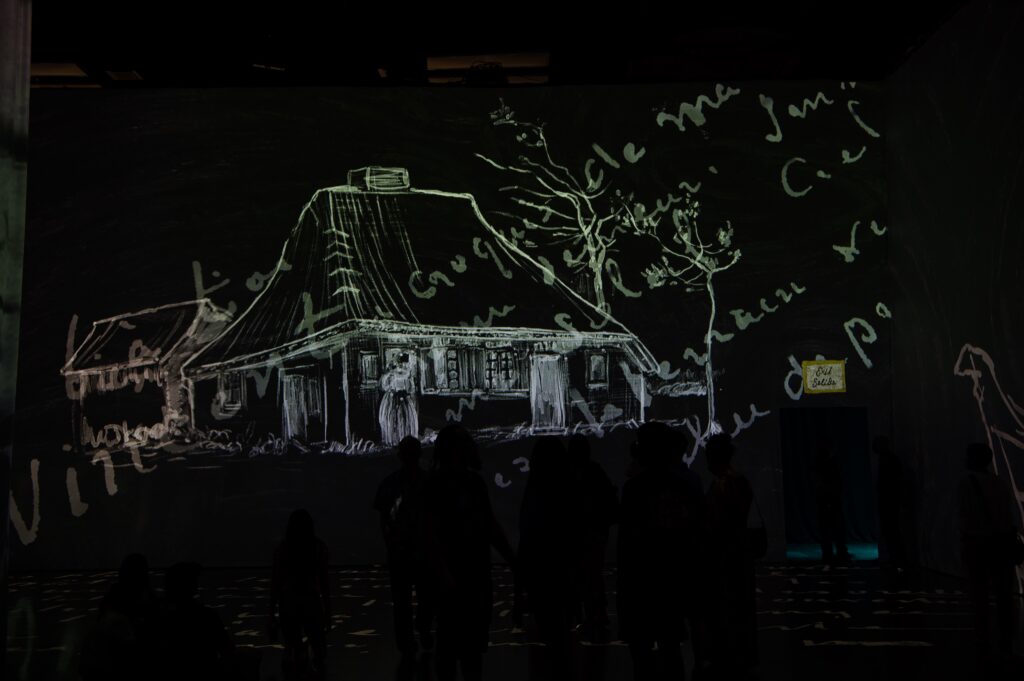
For Brian’s birthday I made reservations at our favorite Honolulu restaurant for sunset (we’ve only been to three Honolulu restaurants… so that isn’t saying too much). I also wanted to go see what this Van Gogh Immersive Experience was all about. I think it’s the first real event since COVID. So we scheduled that at 3:15pm and then made a slow walk to the restaurant. Tickets were ~$40 each, we had a military rate for that.
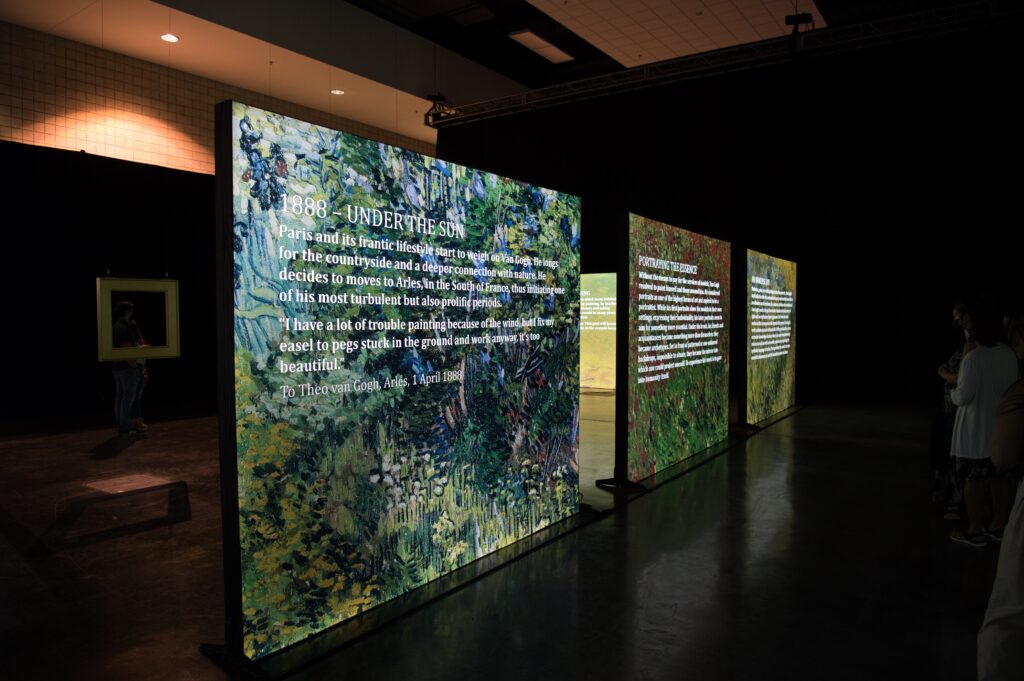
Overall, I would do it again but at a different time with less crowds. It starts off kinda slow and museum-y. You start by walking into a big room with standing “powerpoint slides” which talk a bit about his life, make some big assumptions about his artwork and essence, and have some cool hanging frames. (I’ll compare a couple “slides” to high school english when you go to class and the teacher says “the carpet was red in that room to signify power” and really for all we know the carpet was red because the author liked red. But who am I to say how much these people studied Van Gogh?)
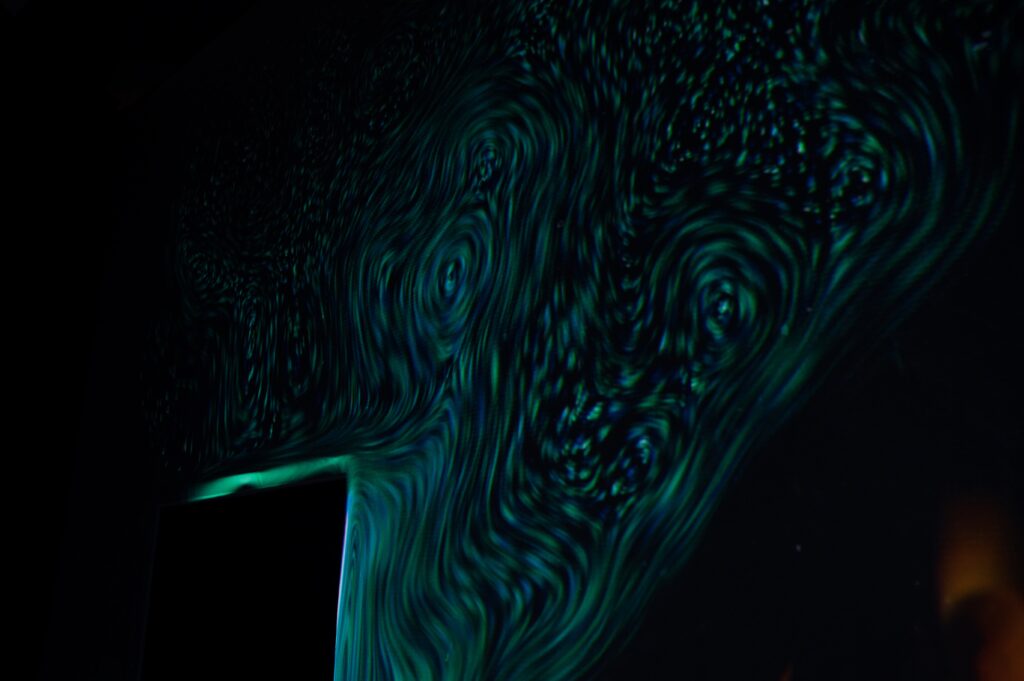
The color and art behind the slides was beautiful. There is beautiful classical-y music playing in the background. Next, you walk into another big room which is projecting colors on the wall that start at the top and flow down. That is a door to the left the colors get “hung” on.
Brian was entertained by this
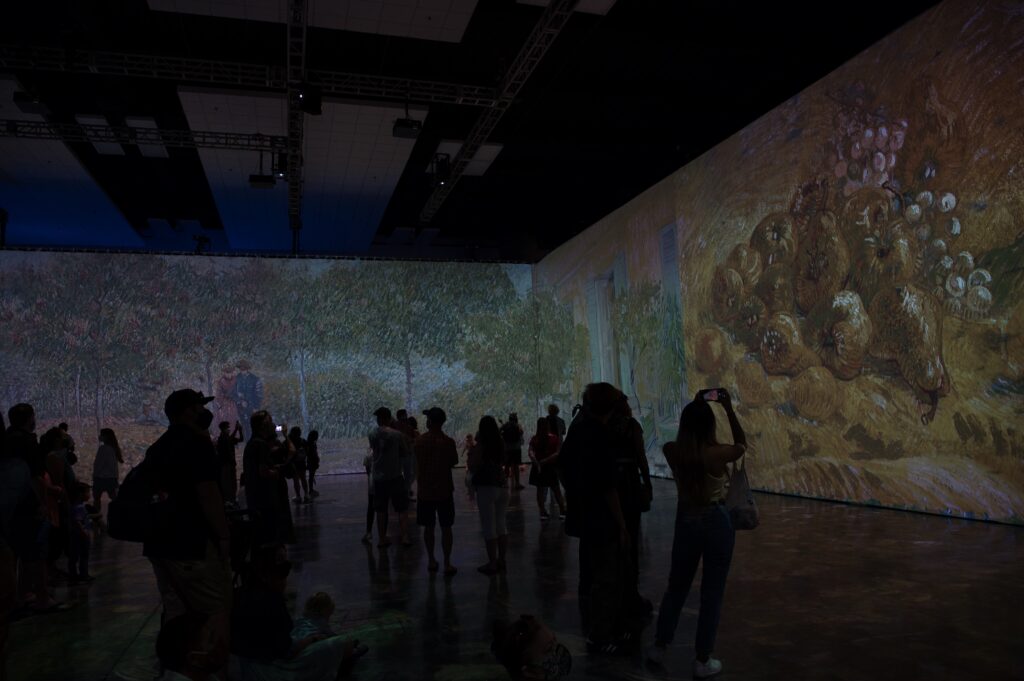
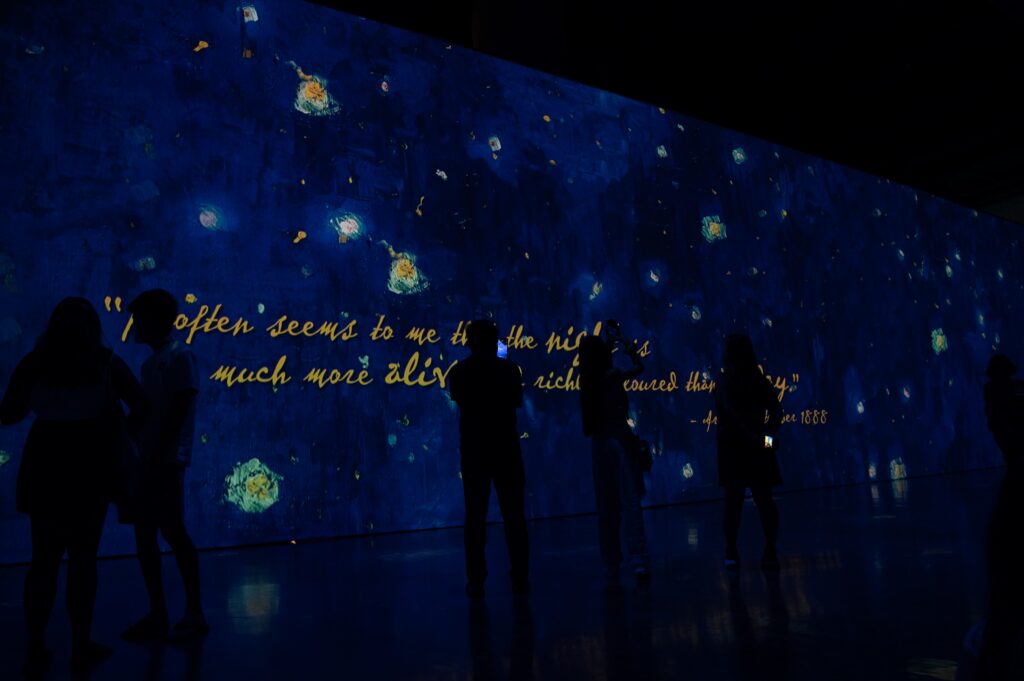
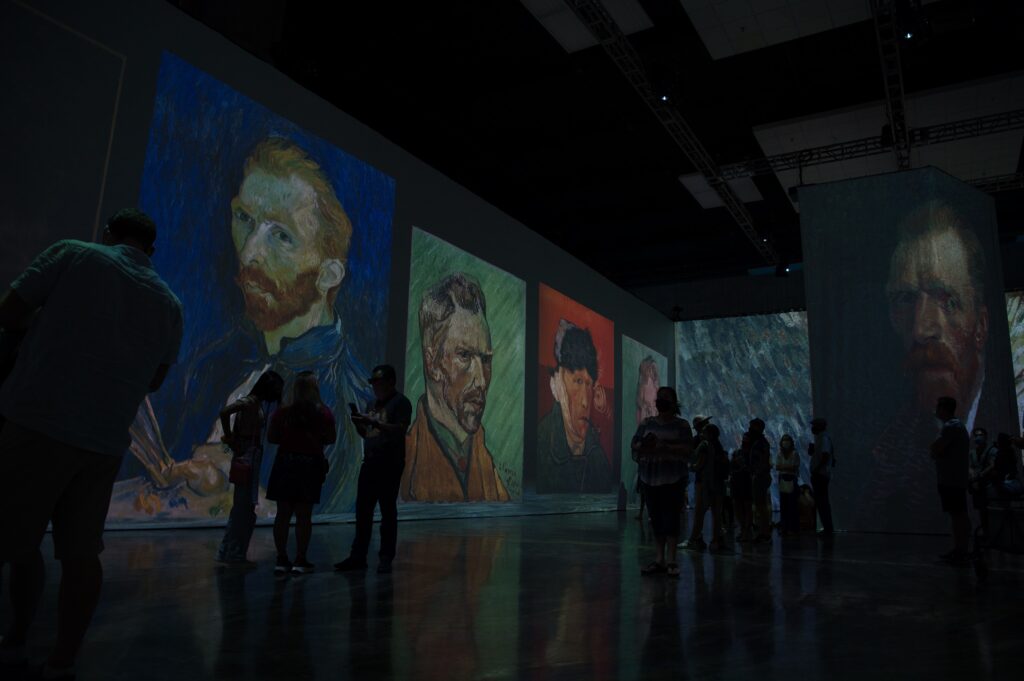
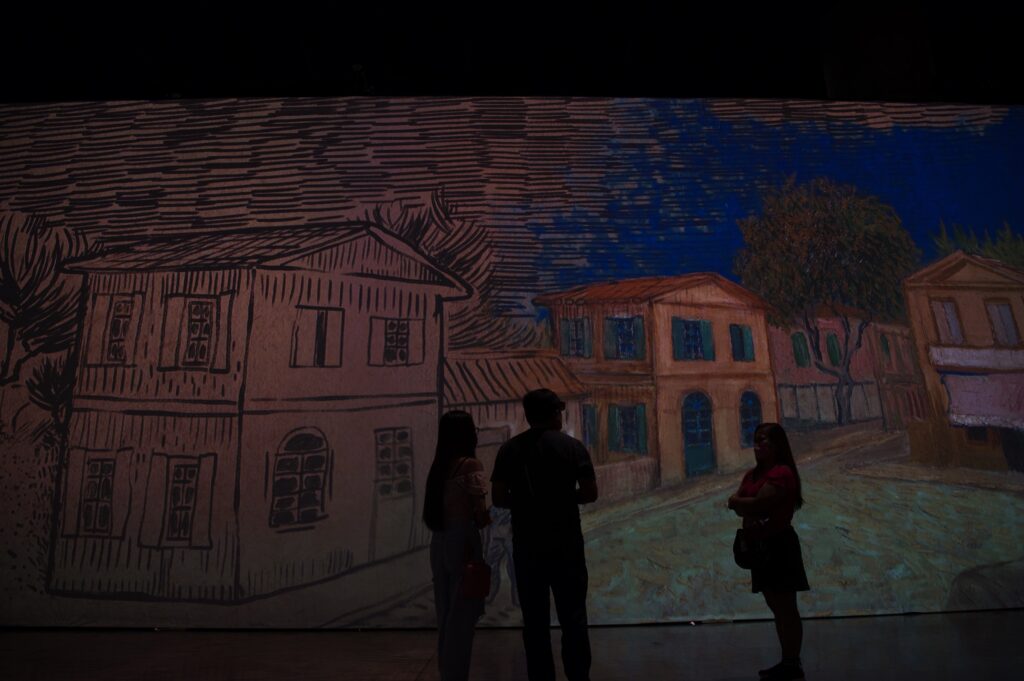
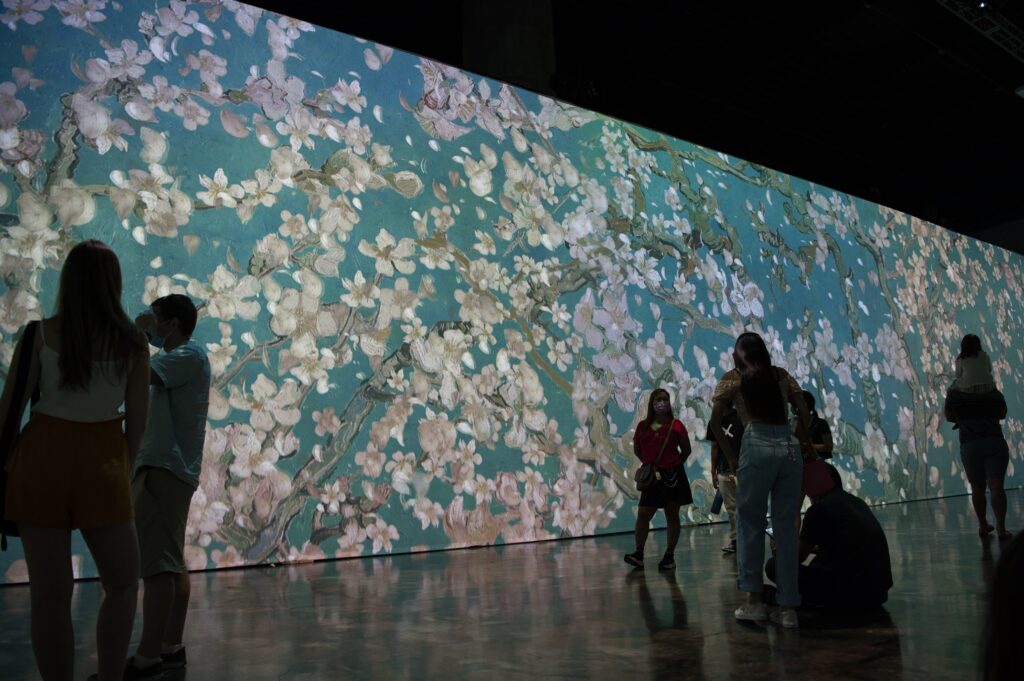
Finally you get to what I consider the real “immersive” part. You walk into an even bigger room with a ton of people. A “presentation” plays for about an hour cycling through different aspects of his work. Portraits, landscapes, flowers, etc. There are projectors projecting onto the walls and floors.
They incorporate a lot motion, above the writing was being written in real time, and here the stars are actually twinkling.
In the above portraits of himself, some of them blink.
The transitions were wicked cool Here you can see the house scenery getting colored. It happens really slowly.
And this turned from a static picture of flowers on tree branches with lots of that teal blue background to completely raining pedals.
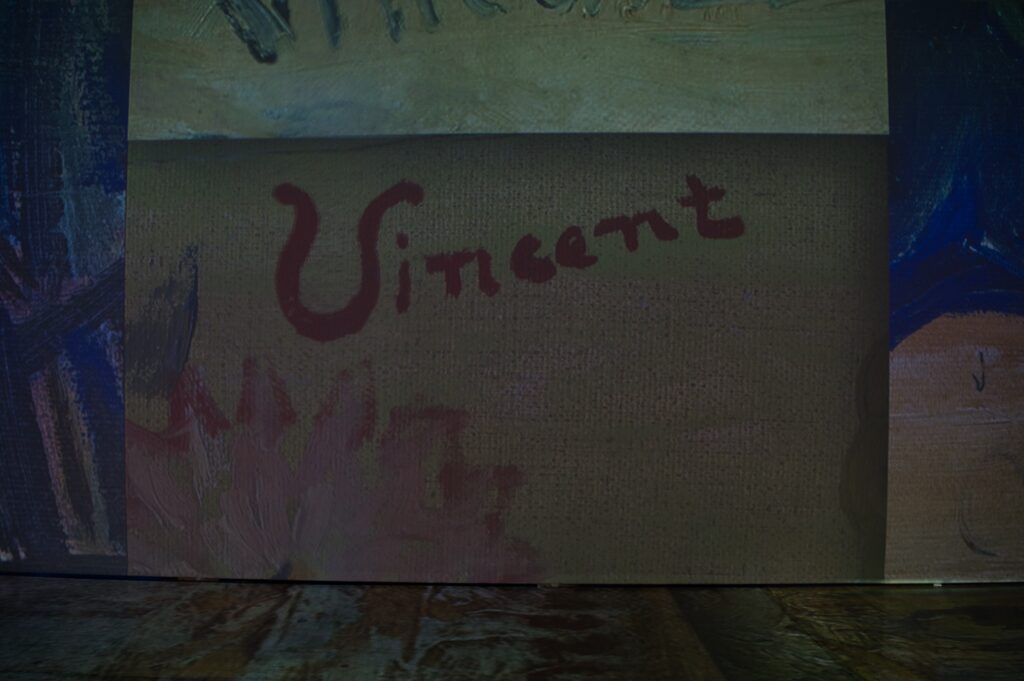
You can tell how packed it was because I hardly got any pictures without anybody. When we had entered the room, we saw the signatures showing up (which made it a bit confusing). But then the rest of it started playing. When the signatures showed up again we knew it had cycled and made our way out. So did everyone, so I got a pretty clean picture.
There was a group of 5 families who came together that happened to be in there with us… all with kids no older than 7. It happened to be pretty distracting. I am all for bringing kids to experiences, but maybe not in a posse of 15?
I didn’t get bored at all watching it, it was really well paced. Would recommend going on off peak hours. It was really impressive the work they did to add motion and flow and get all the projectors synced. I’m glad we went.
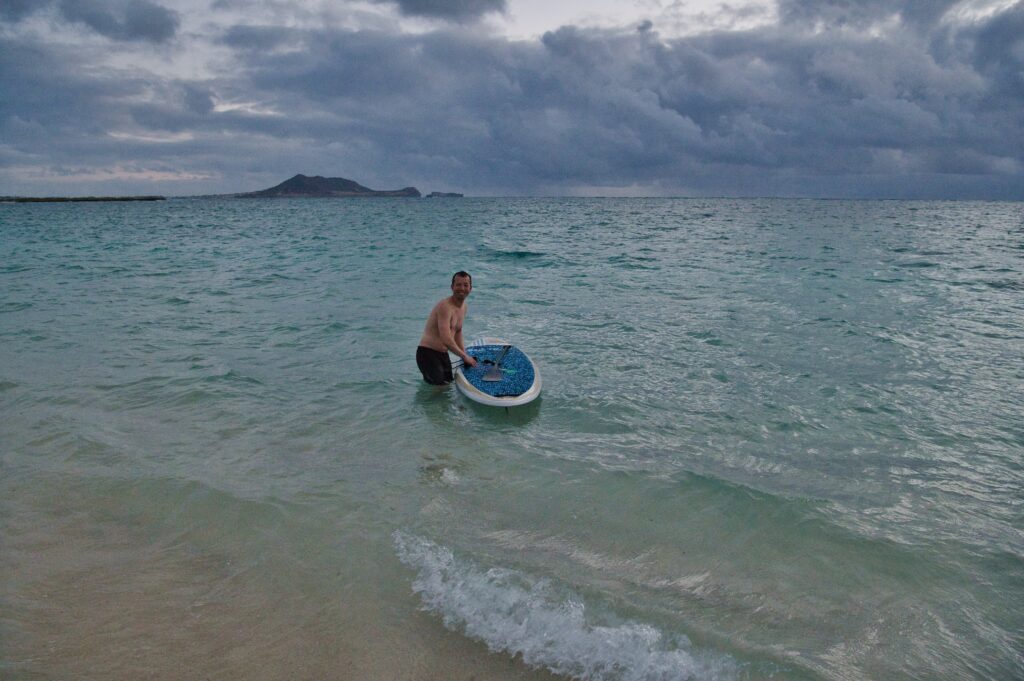
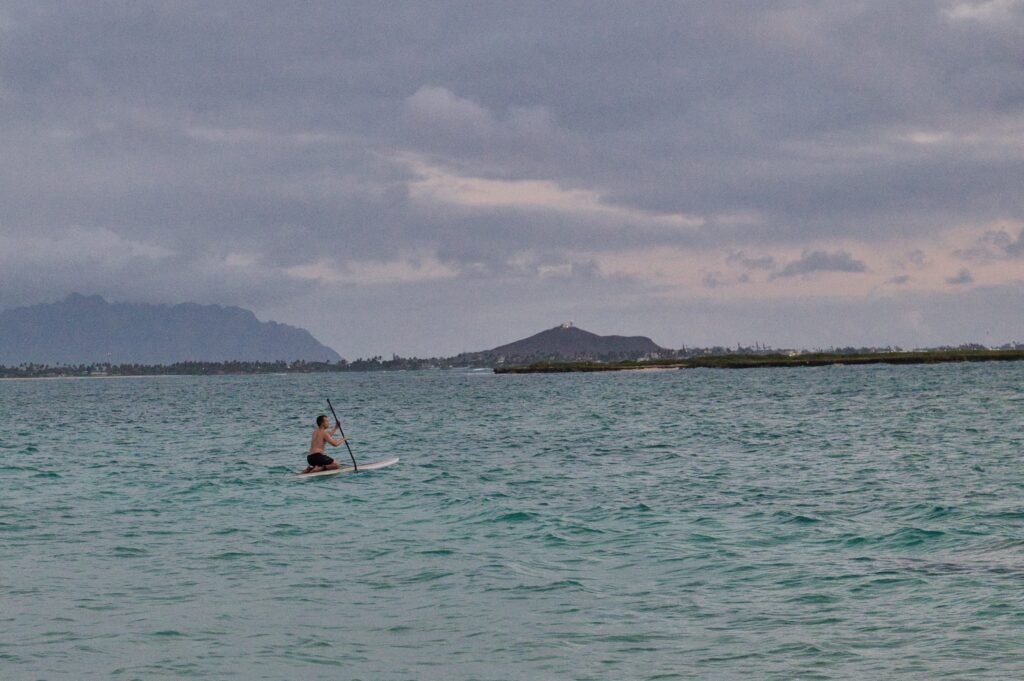
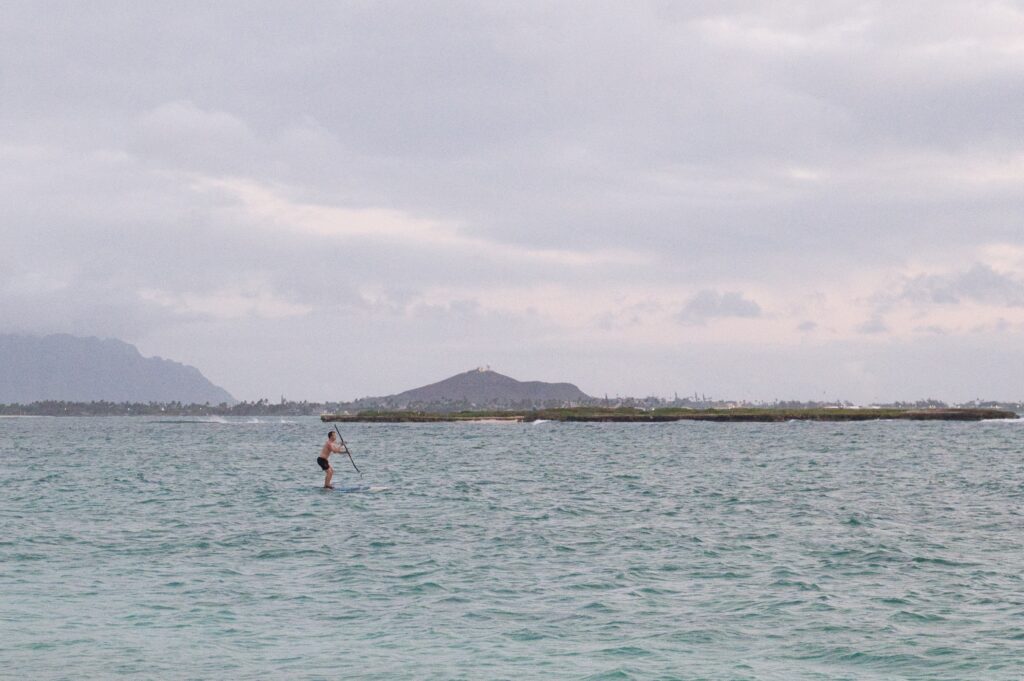
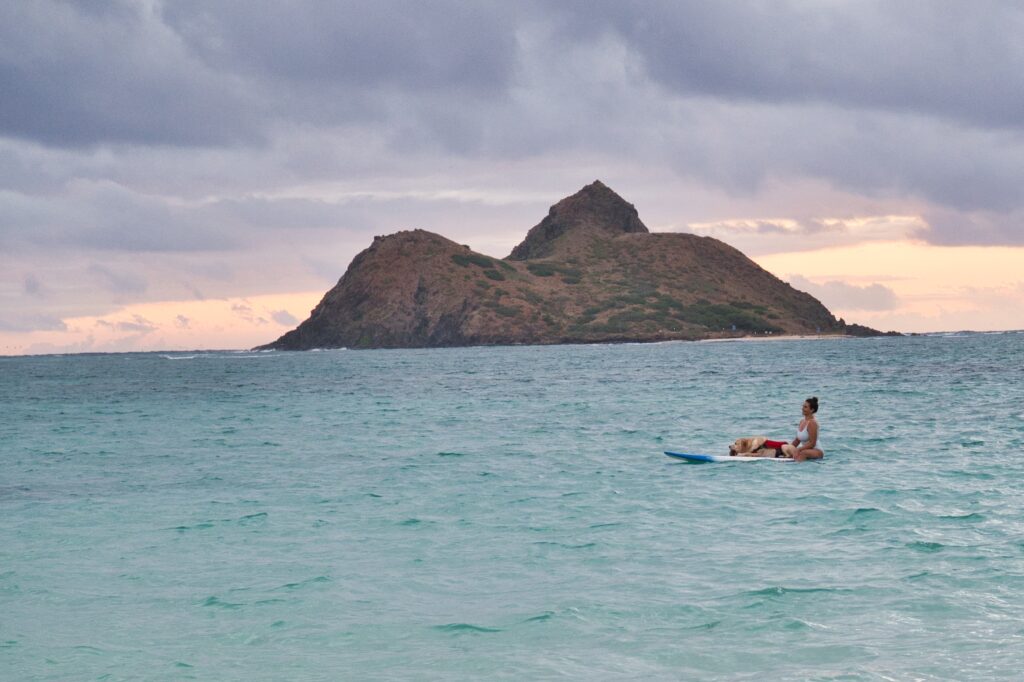
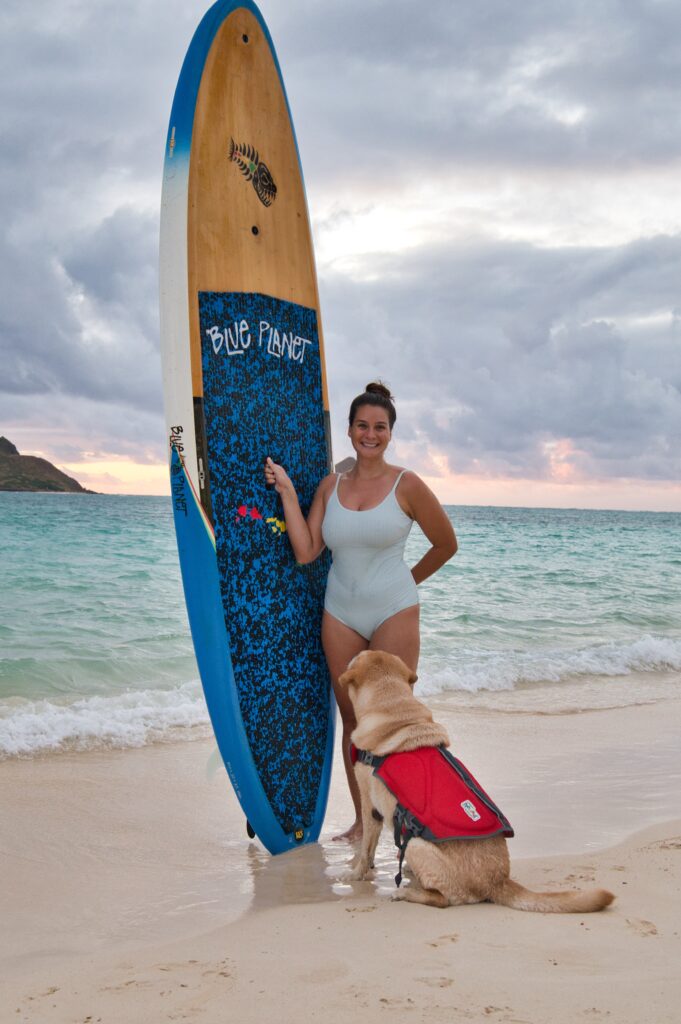
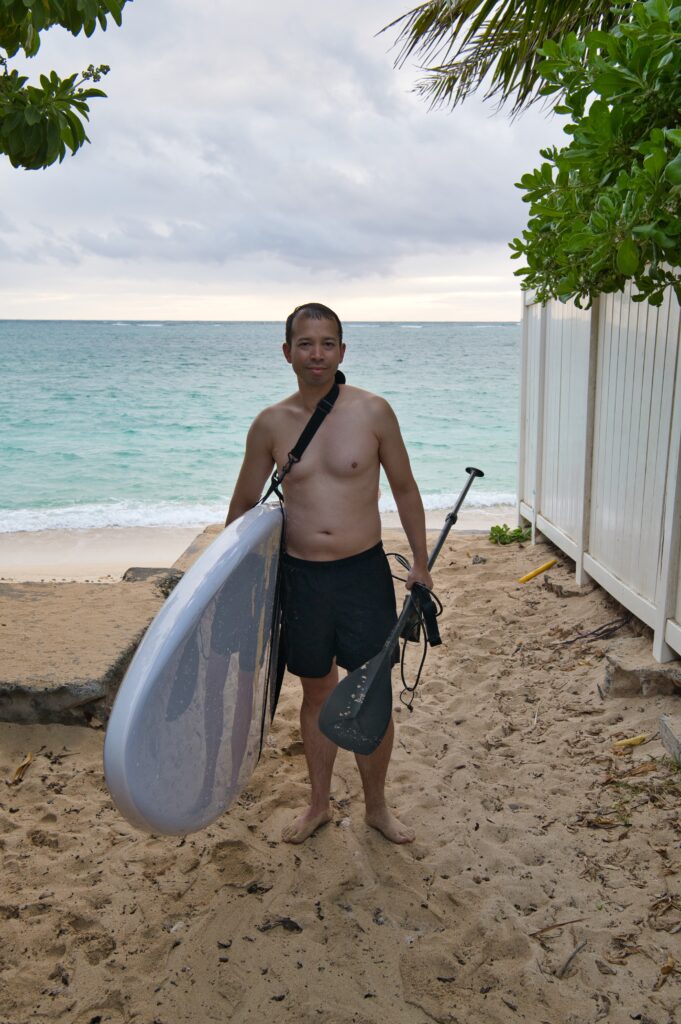
A few weeks ago I put a monetary hold on buying a paddle board from a very kind woman. I got the impression that this paddle board meant a lot to her so I offered to take pictures of her boarding with her dog before she moves. She took me up on that offer and came to Lanikai yesterday. Brian took his paddle board down with me (this was his second try, his first was way too windy).
It was still windy, but he managed to stand up momentarily and got some practice in. Shortly after the last picture he fell into the water. In fact that might be mid fall.
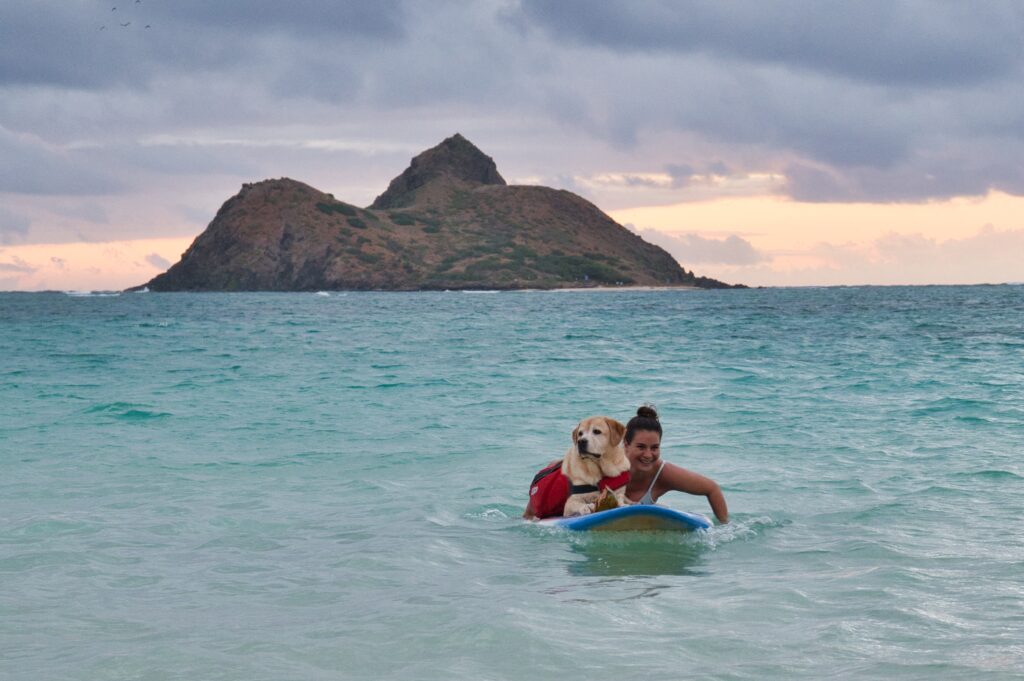
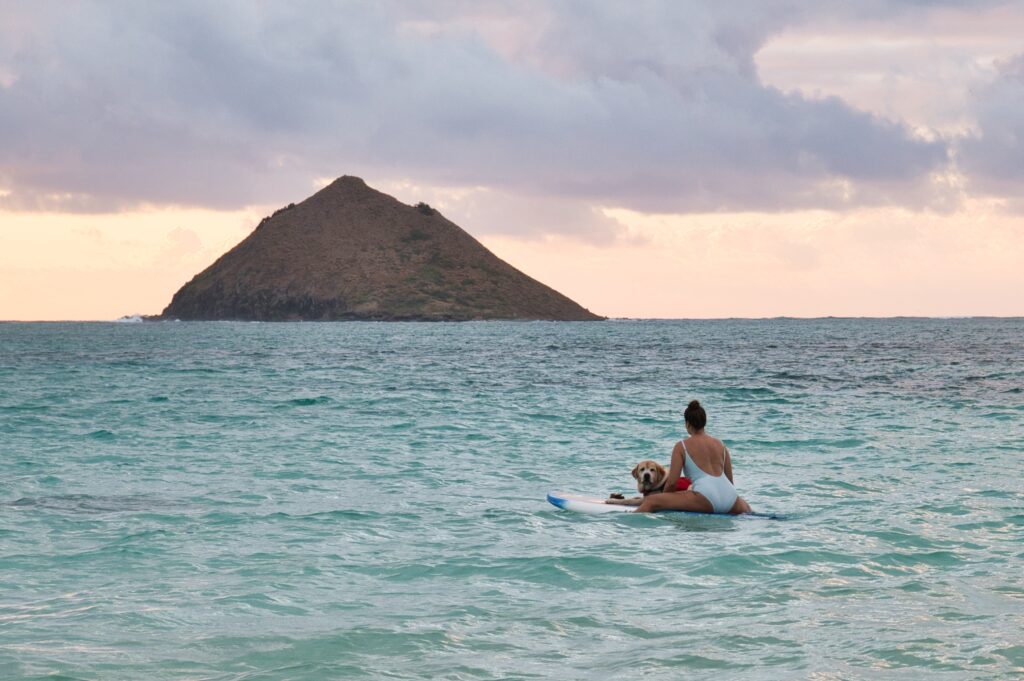
I then walked to find Megan and her dog. I captured some really great moments of them together, I’m really proud. It was dark and cloudy which was disappointing, it made for some high ISO settings (this makes images blurrier). I also used a lens that I LOVE but doesn’t have great zoom, so when I did edit and zoom in the photos get even blurrier. But I think the essence is captured and I’m still happy with how they turned out.
It was really challenging to get this next photo because the dog was very interested in a coconut and not very interest in posing. So I managed to get the coconut to Megan, which is behind her back, but the dog was not interested in looking at the camera… I’m also bummed about missing the framing by a bit and cropping the top of the board. Enough with the critiquing, though. She loved them, and in her generosity charged me $100 less for the board.
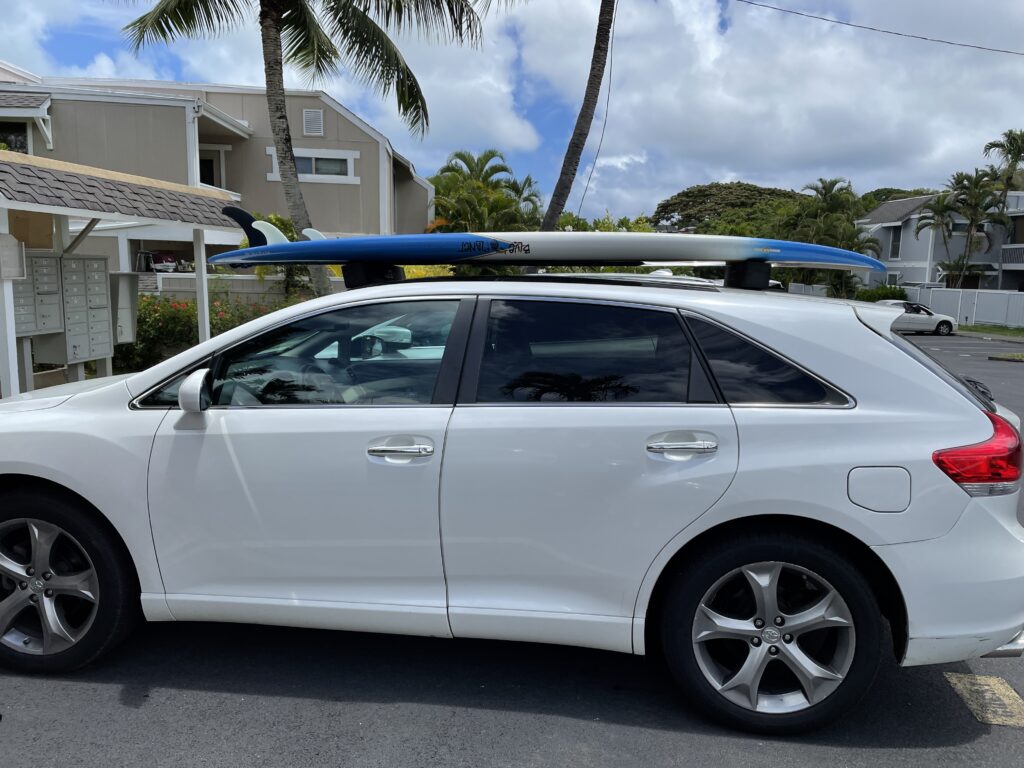
Glad to provide some memories and can’t wait to use the board myself. We went and picked it up later and she taught me how to get it on top of the car and strapped on.
This a picture of Brian using the straps we bought to help lighten the load. He found it very helpful. Hopefully I will, too.
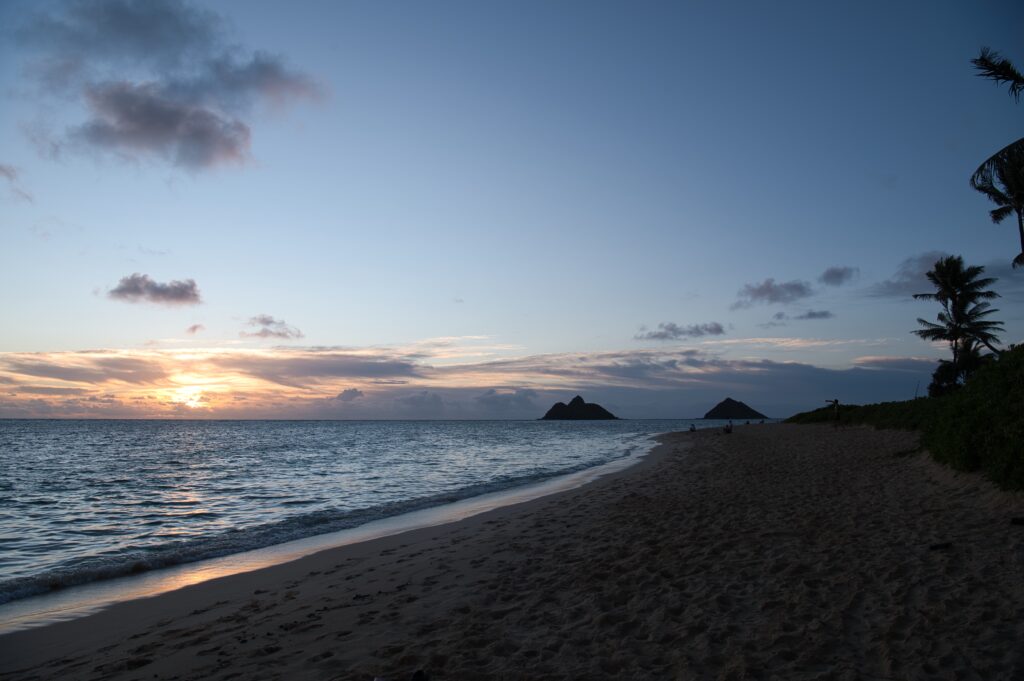
This is the sunrise from Lanikai-As mentioned I’ll add sunrise pictures from days I talk about other stuff 12JUL21
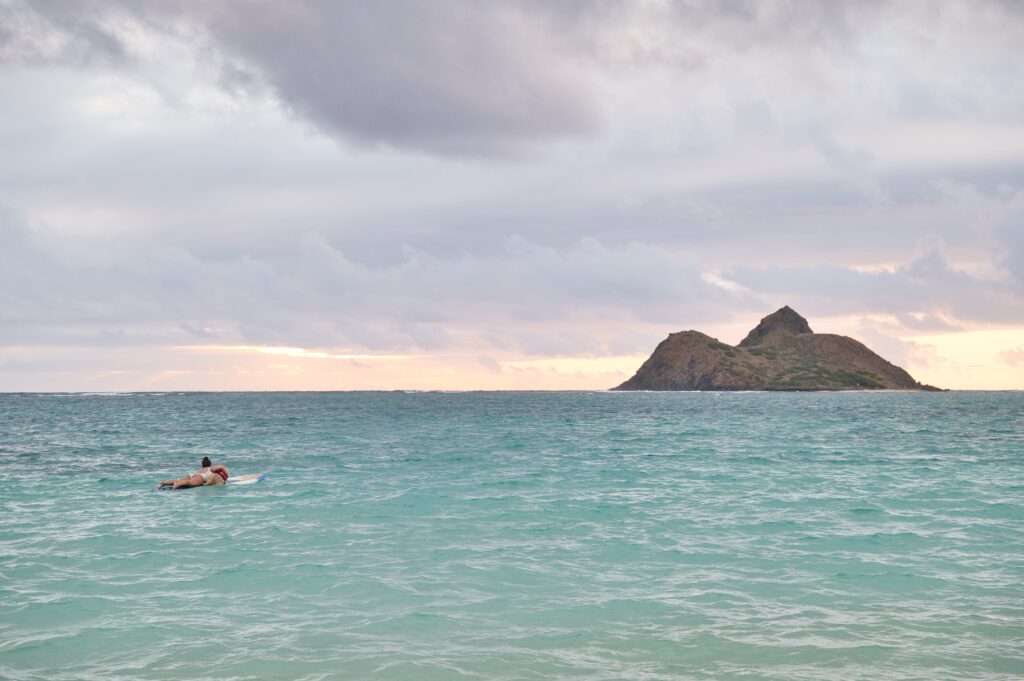
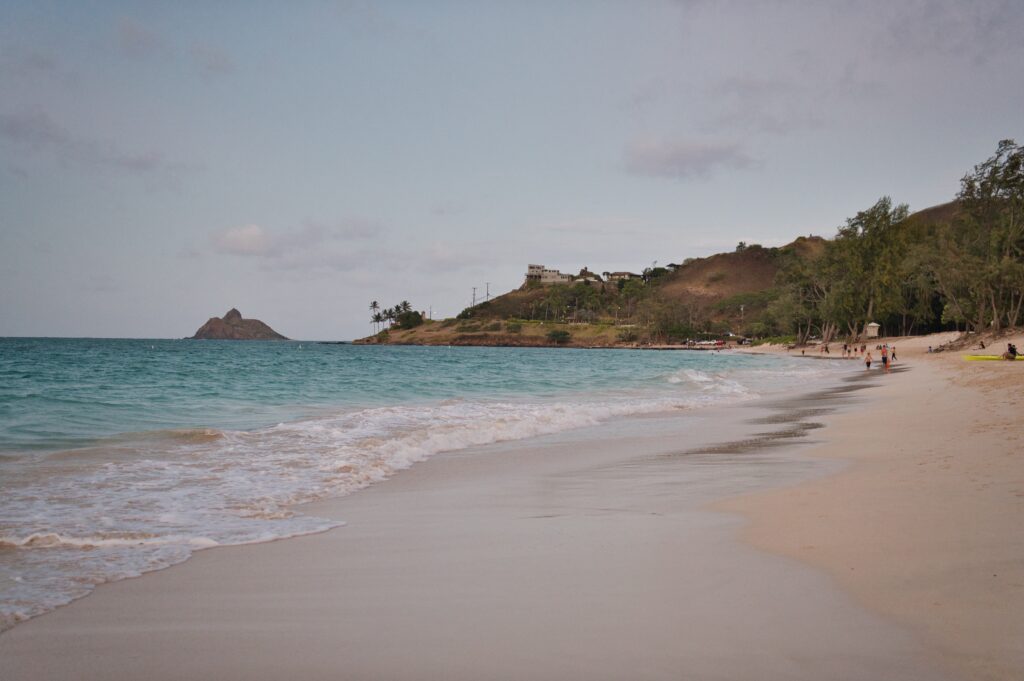
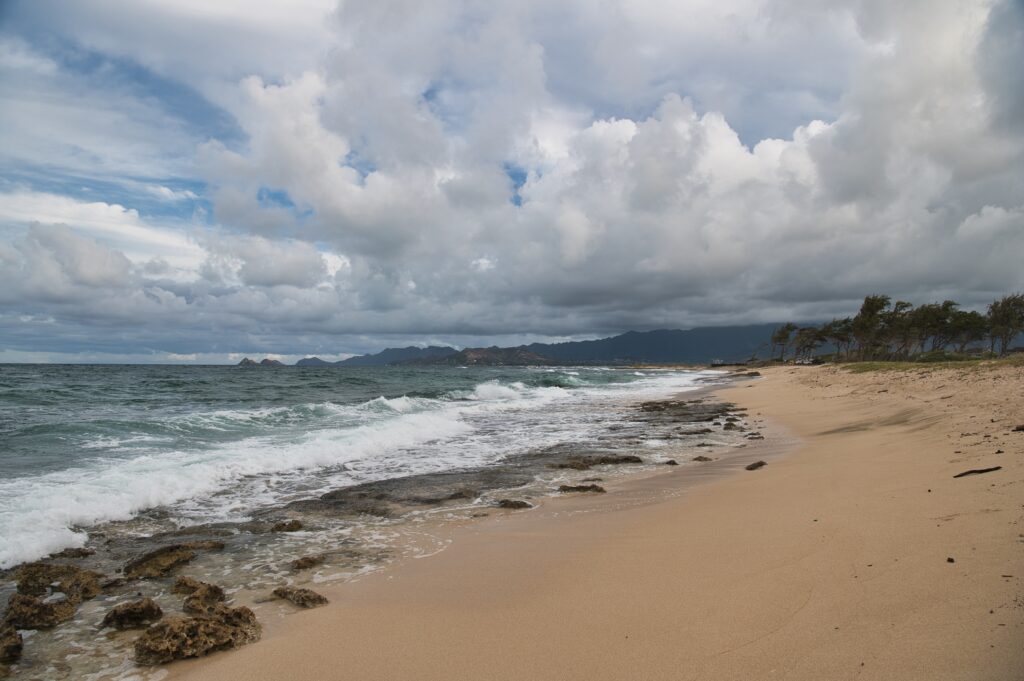
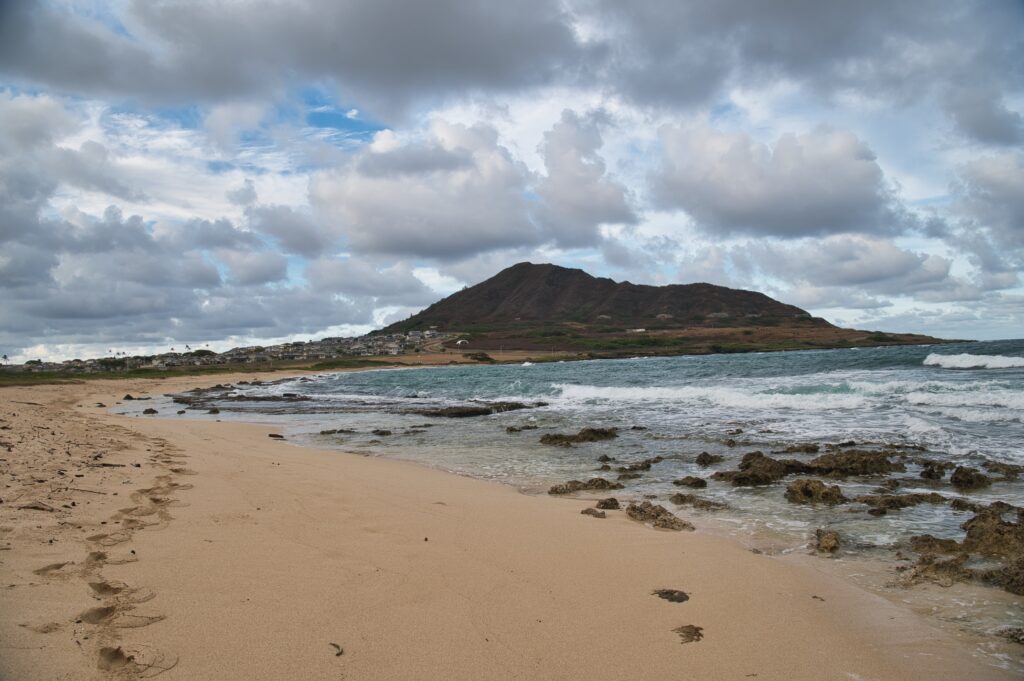
We finally went to Kailua beach, the very popular beach right next to Lanikai. We technically live in Kailua, but Lanikai is the neighborhood we’re in. I was itching to get out of the house last night and neither of us had walked Kailua beach yet, so we went. It was getting dark and it was cloudy, so not a lot of great pictures, but it is generally beautiful during the day. This is looking toward Lanikai, you’ll see one of the islands I photograph (see above) just past the end of the coast.
Very long beach, crazy parking, I don’t see us going here too regularly unless off hours.
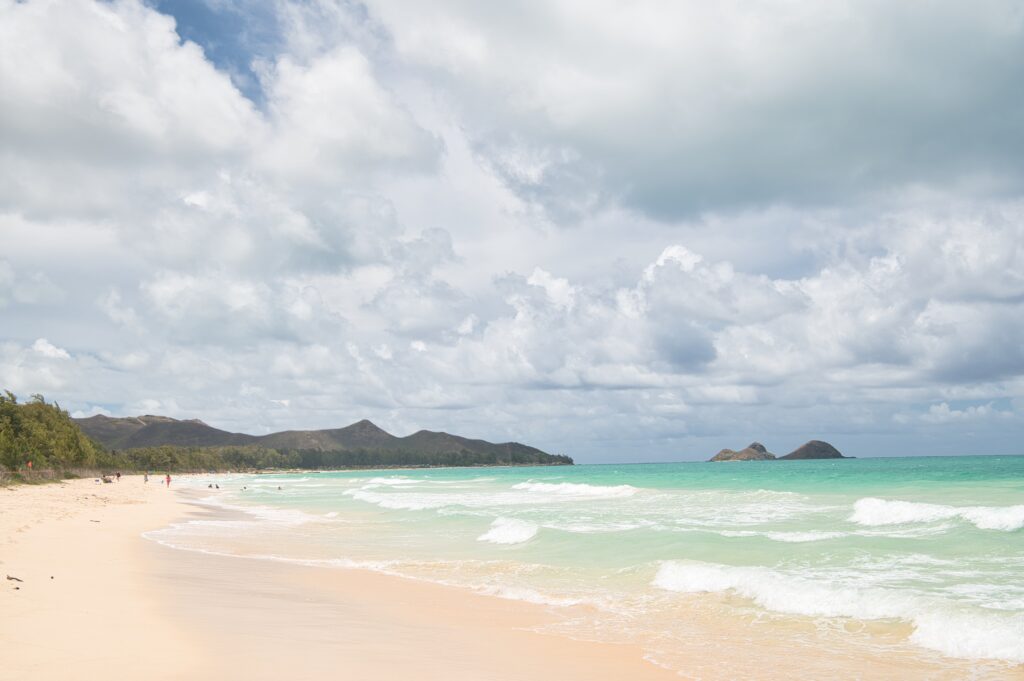
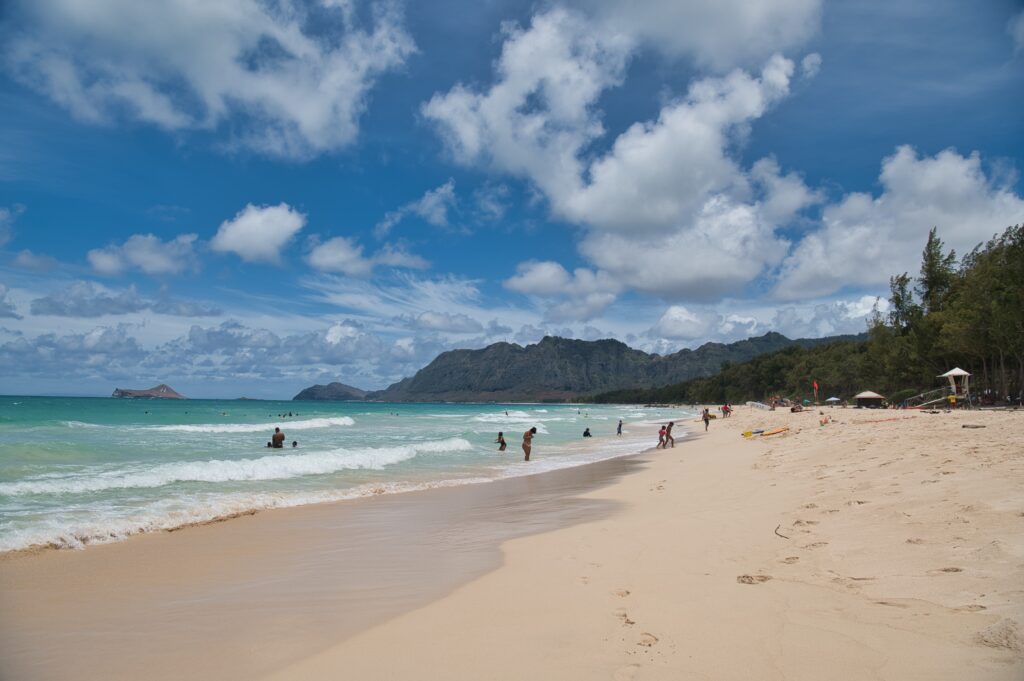
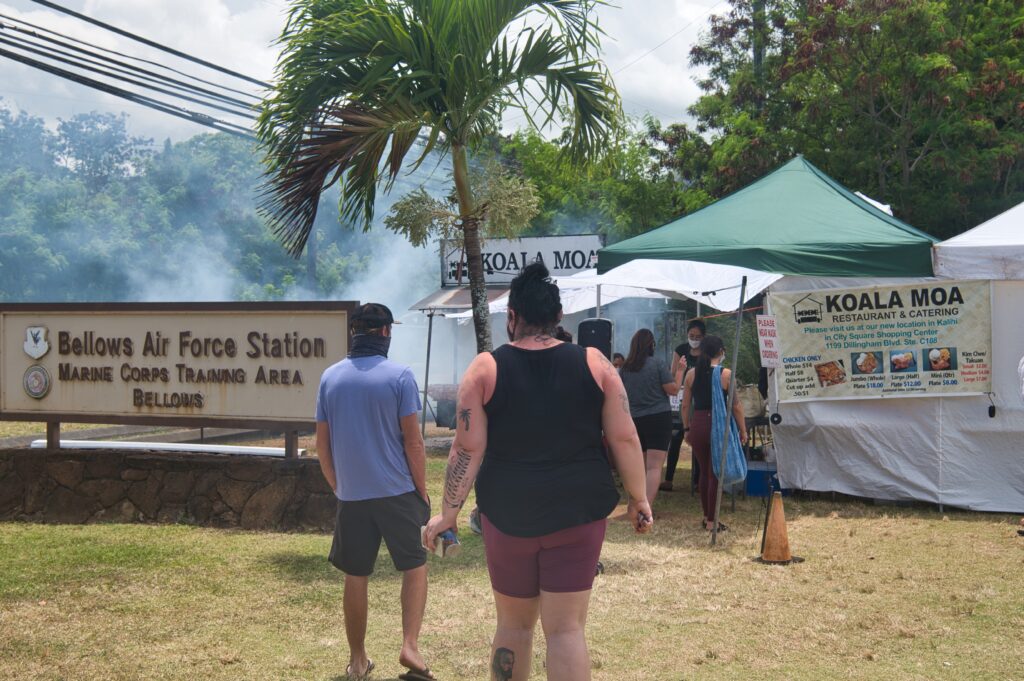
This past Sunday Brian and I went to visit Bellows Airforce Station beach. It’s right before you get to Waimanalo (where we picked up our table and went to the farm). Brian and I are completely puzzled why this beach isn’t more popular. It’s only open on the weekends; during the week they use it for training purposes. On the weekends there is no guard checking IDs to the main beach. Ample parking and facilities. The surf is a little higher but nothing more than we’d see at, say, misquamicut. There are lifeguards. Picnic tables and grills.
Looking back at the two islands you see in my sunrise picturesLooking toward Waimanalo
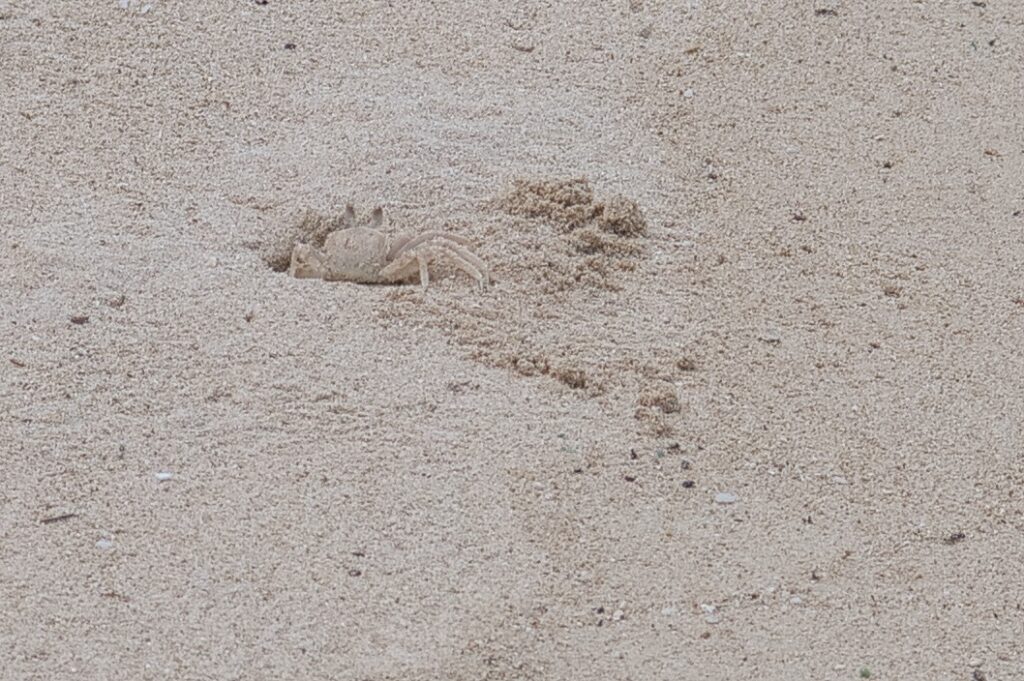
Again, this is a SUNDAY. Where is everyone? Maybe Hawaii’s best kept secret. It’s a good thing these guys are scared of me, because they blend in so well I could barely see him.
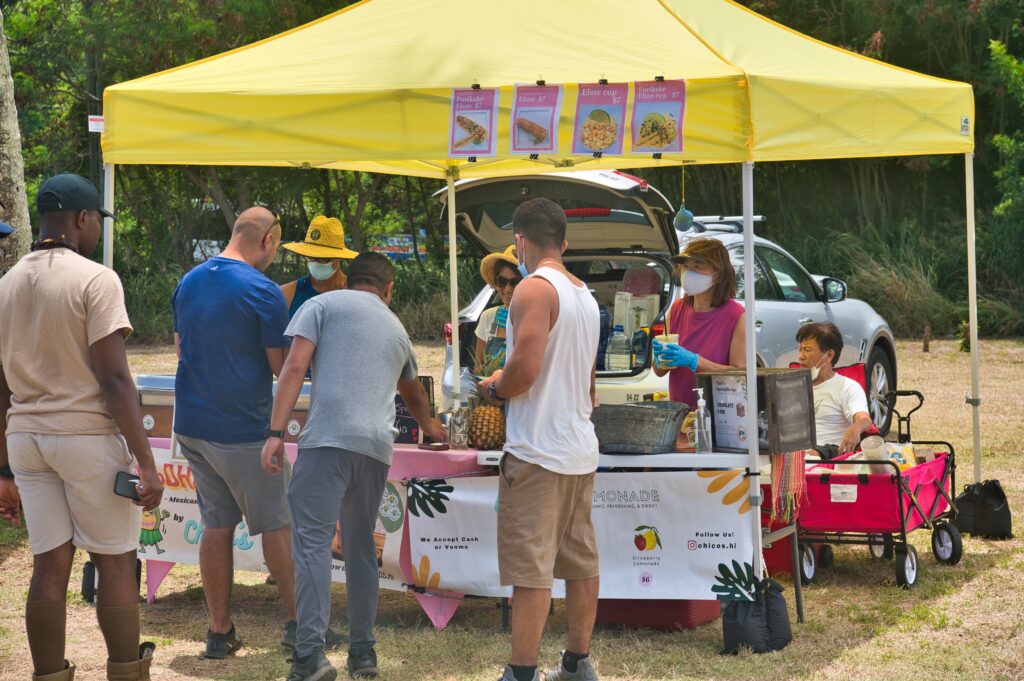
I really wanted to go to check out the “market”. I am betting before COVID it was a little more happening, but for now it was 4-5 vendors and two food stations. The chicken meal we got from here was DELICIOUS.
And we got Elote Corn from here, it was good but a bit pricey for the size.
We could see this being a place to organize a BBQ and beach day with some friends. It’s super quiet, plenty of parking and space. We honestly don’t know why more people don’t come here, except maybe the drive?
Getting into photography with a professional grade camera has come with the blessing and curse of learning photo editing. Blessing because even with a really professional camera, editing can help improve picture quality. It has also helped me learn to not compare my quality to others because I can tell when a photograph has been edited. Curse because it feels like another huge skillset to develop and more money.
One particular issue cameras have is their dynamic range, or ability to capture bright light and low light at the same time. You most definitely have experienced this trying to take a picture of people in front of the sun. You can either get their faces exposed (the right lighting and visible) and the back is completely bright white OR the back is exposed and you can see blue sky and yellow sun but their faces are black. It turns out the solution doesn’t *have* to be that the object needs to face the sun.
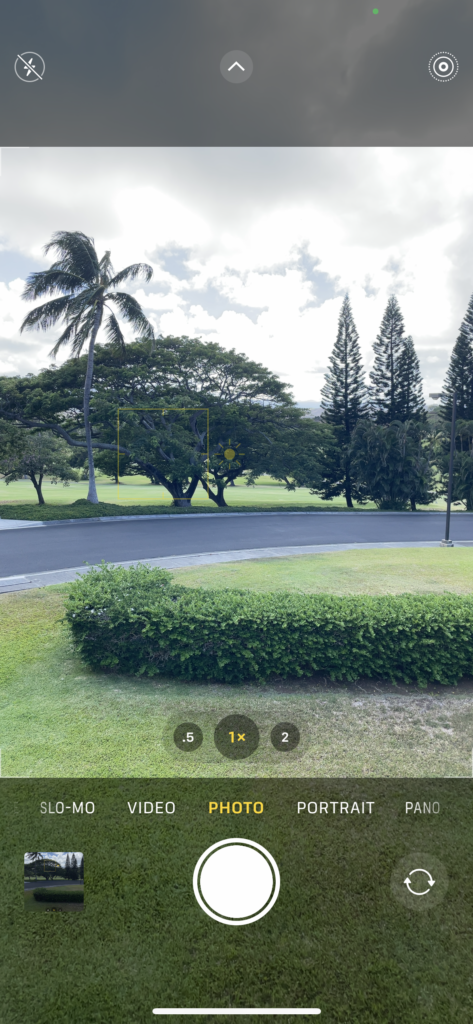
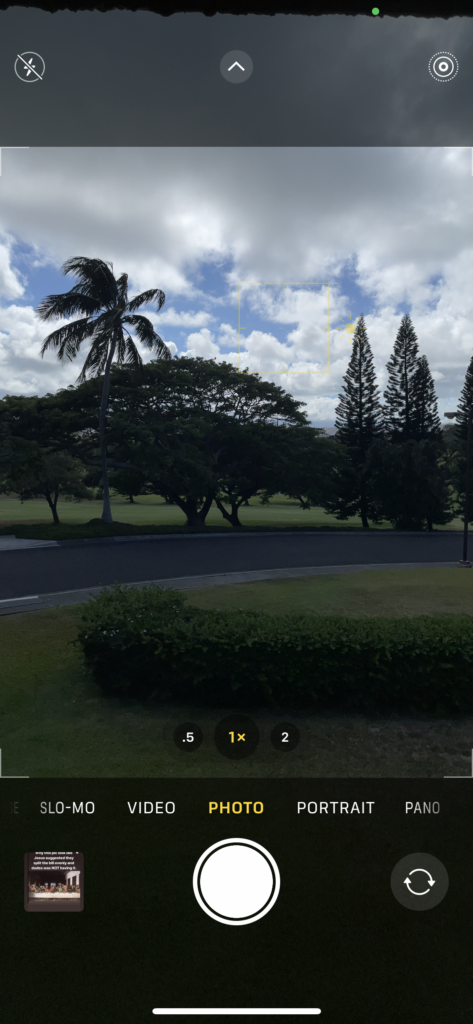
You see what I’m talking about with an iPhone. Find the sun or really bright background, **DO NOT LOOK AT THE SUN WHILE DOING THIS** find an object in front of it, and tap the object. Let it focus and you’ll see a yellow box with a sun around it, which means it’s exposing for the object. Look at the background and it’s bright and not capturing much color.
Now tap the background. The yellow box should move to the background and there should be more color captured there. However, the object will be dark.
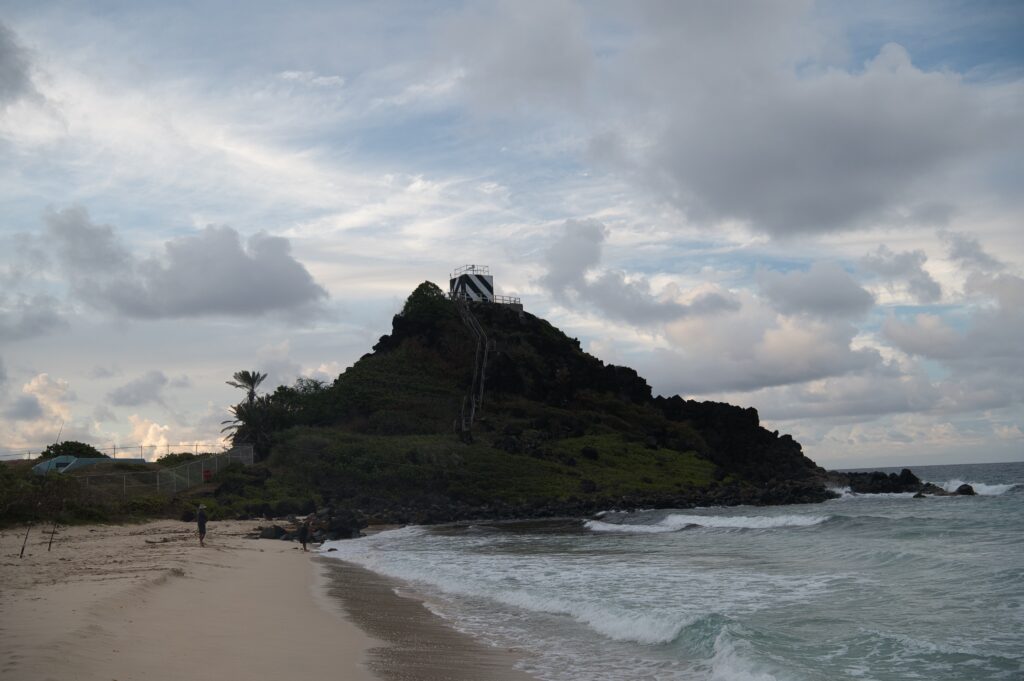
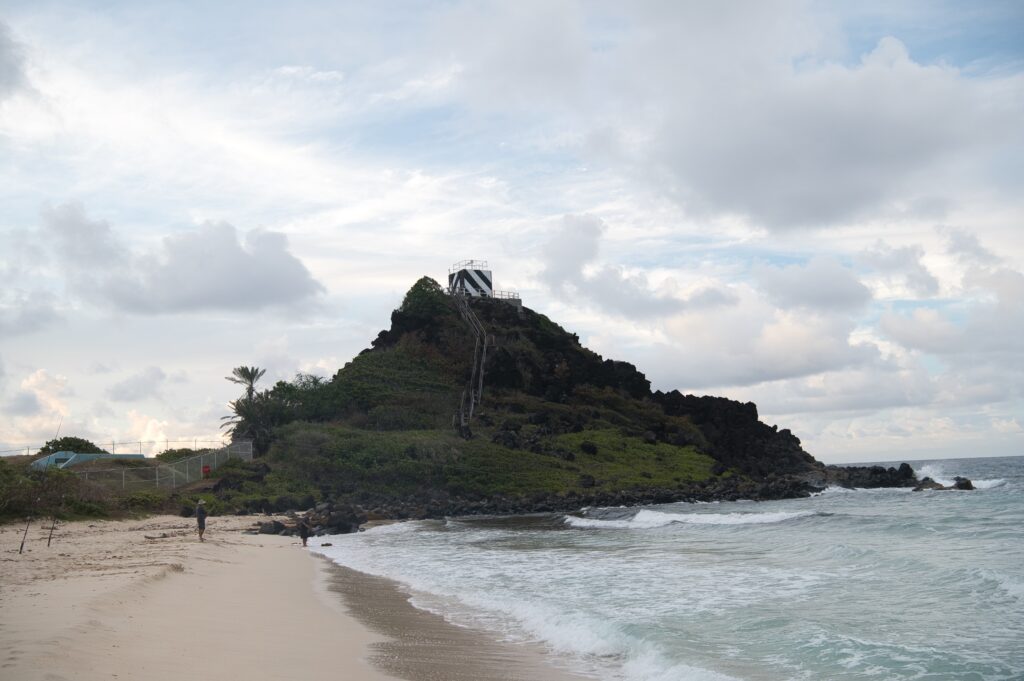
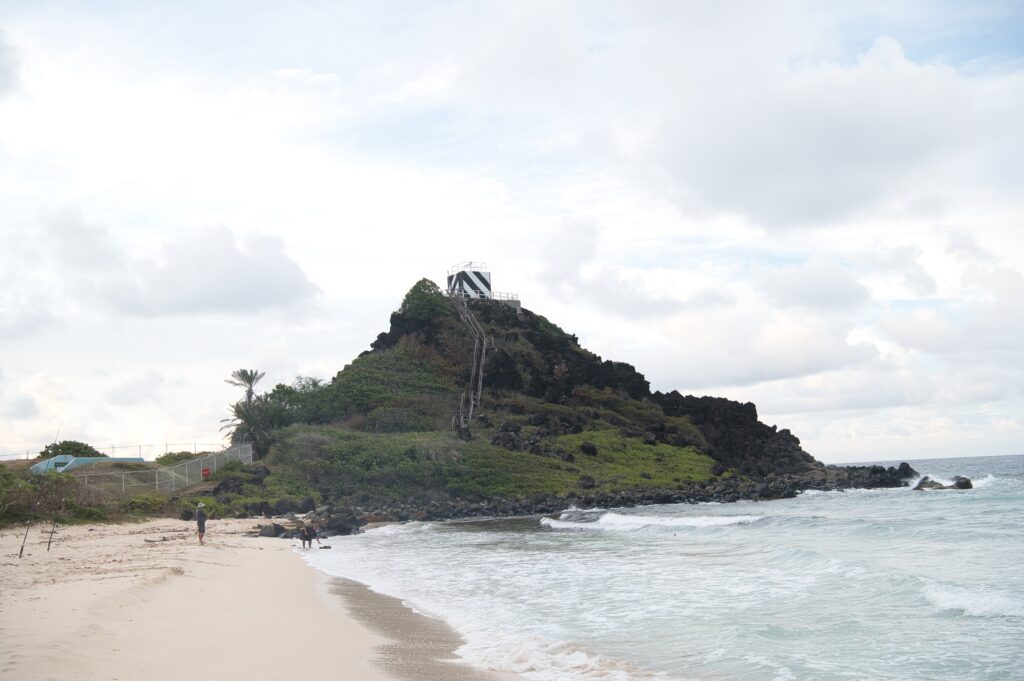
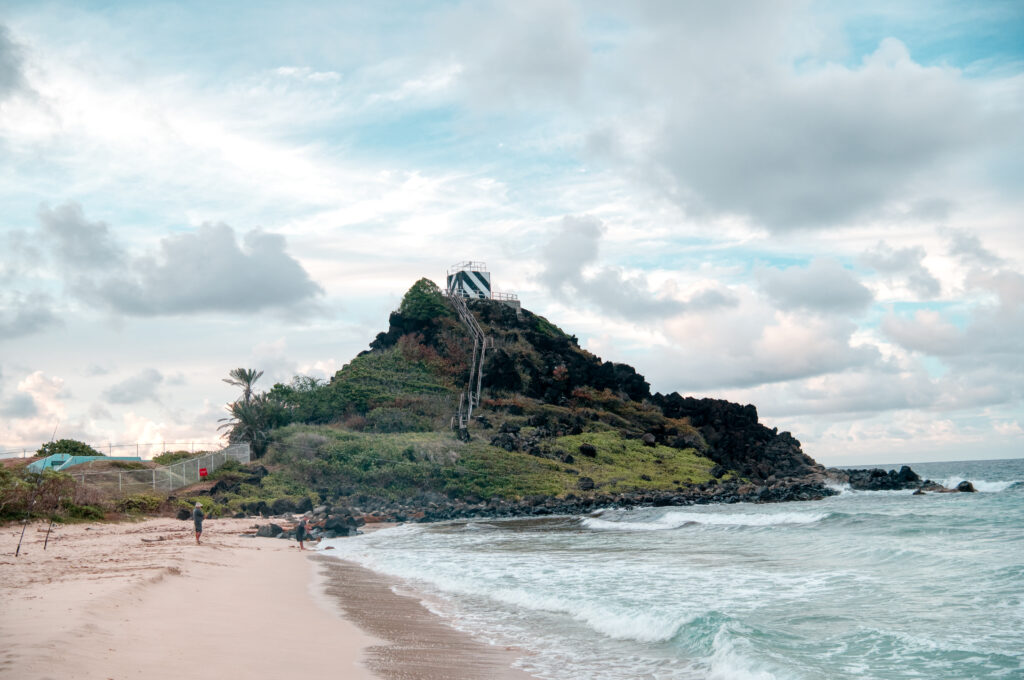
It’s pretty incredible to admit, but professional cameras have this same problem. They’re definitely better at it, but not great. So I had to learn how to change my camera settings and what software to get to take pictures when I experience an environment like this. The process starts with taking a number of photos with different exposures, called “brackets”, like I did above with the tree. Expose the light to get the color for the tree, and expose the light to get the color for the sky. I usually do three, but my camera can do up to 7? 14 maybe? Then use a software to “stack” them. Here are the three I did for the Pyramid Rock beach picture.
Exposed for the light of the sky to get the colorsMiddle “neutral” Exposed for the Pyramid Rock to get the colors
If you’re super interested in the nitty gritty, you can refer to this article and look at the Aurora HDR part, which is what I use. But truly I add pictures to this software and it does the rest.
It’s equal parts colorful in the sky and bright on the rock, which is a lot closer to what the naked eye can see. There are ways to perfect this technique, like using a tripod so the camera doesn’t move between shots, making sure there’s nothing moving in your shot… I also find the sky blue is a tad off from reality; it somehow becomes a more turquoise (I’ve seen this a couple times). I’m sure I could figure out how to color correct. For now I’ve found my basic skill development satisfactory for what I need to accomplish.
I’m also confident you could expose for the sun and work editing magic to make just the pyramid brighter. I think I like the coming out of the camera strategy better.
I try to avoid this because of the editing intensive it is, but it comes in handy.
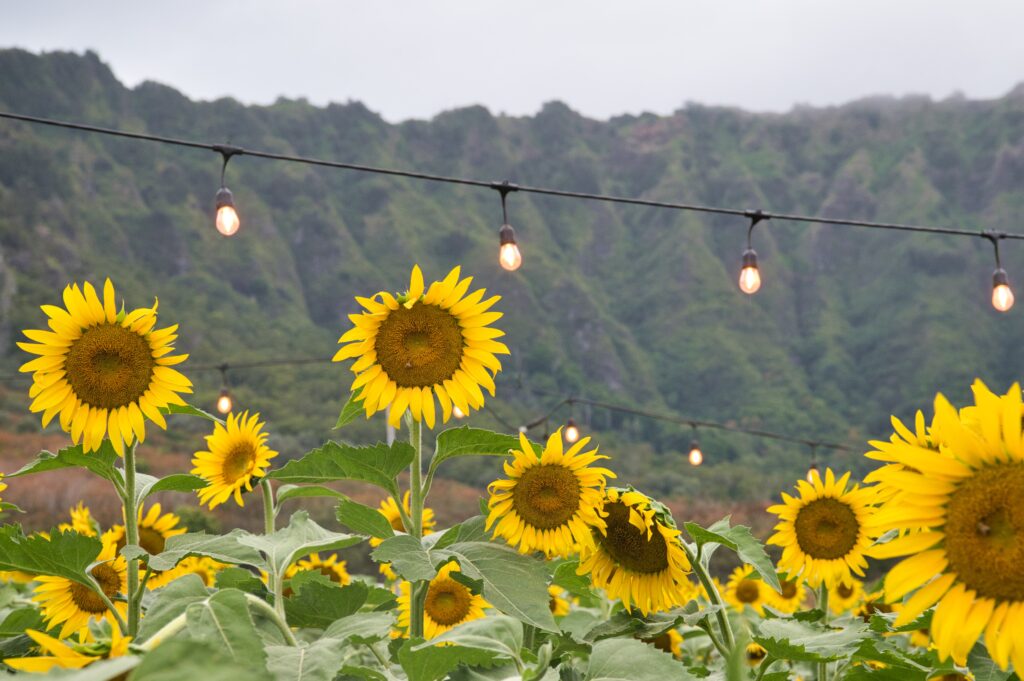
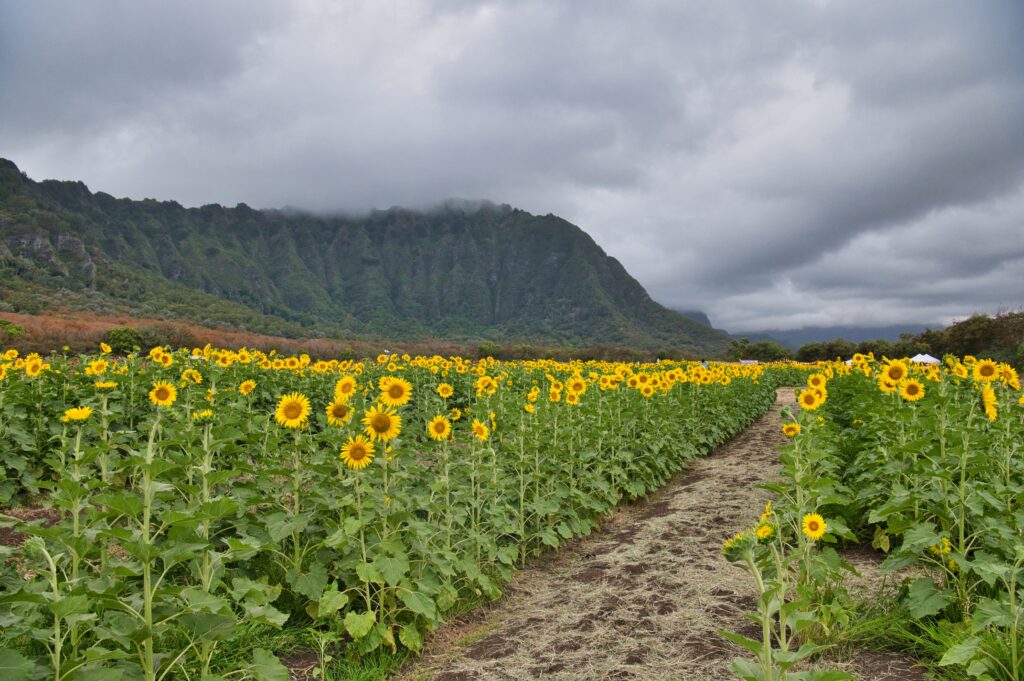
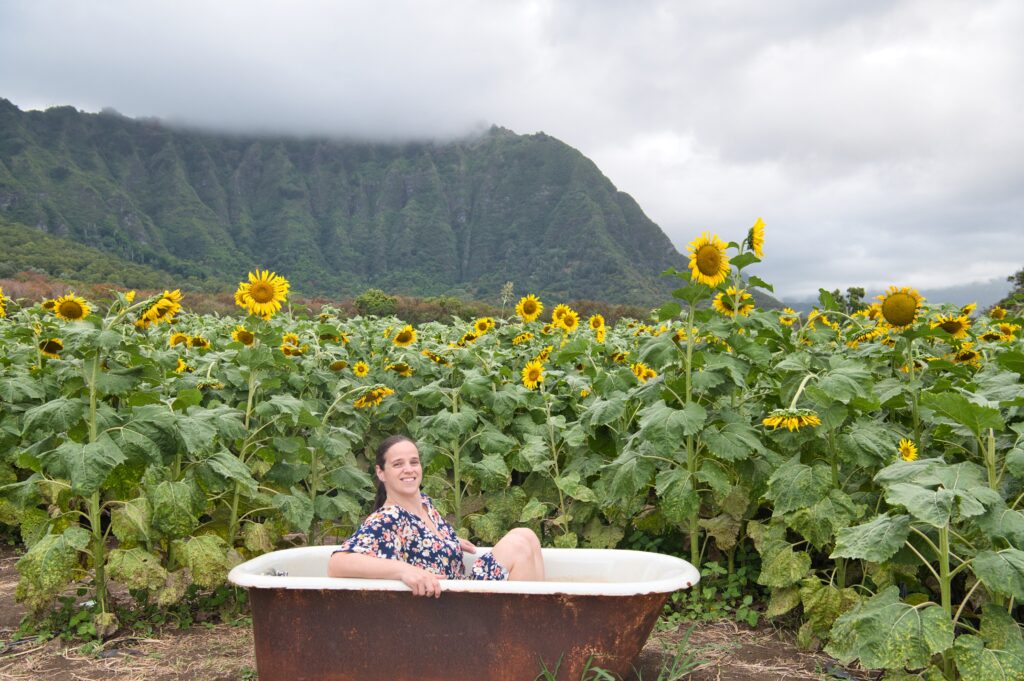
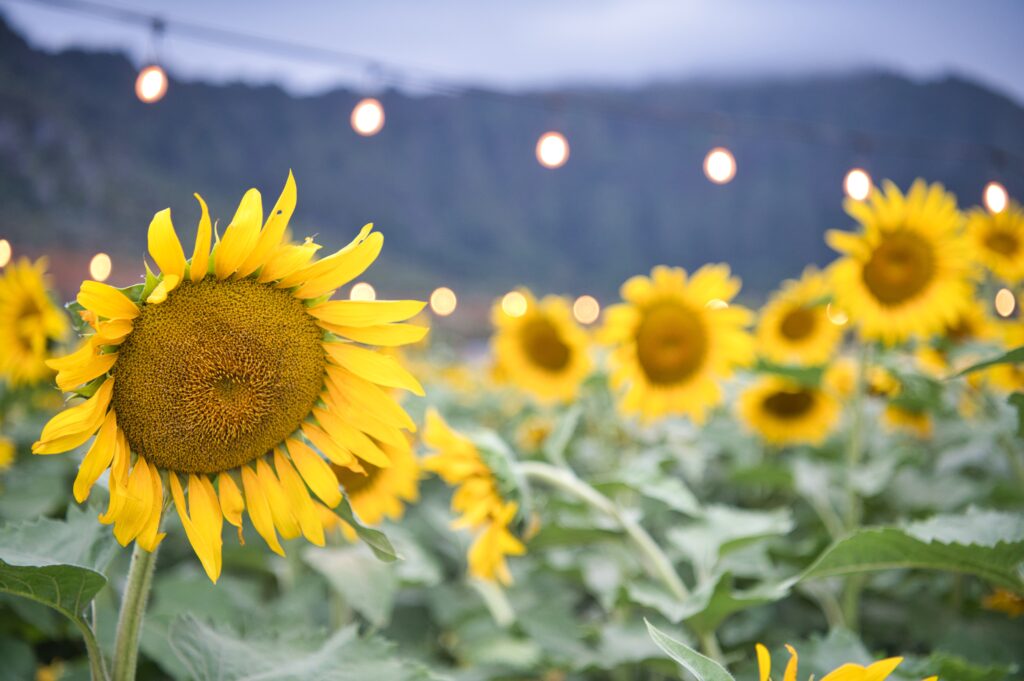
Waimanalo is the neighborhood next to us and is where a lot of locals live. It’s also where Obama bought property. The drive to Waimanalo Country Farms is a bit… sketchy… but once you turn a corner it all makes sense. They plant a huge field of sunflowers and stage them so they bloom throughout the “summer”. And in case you were wondering, no, sunflowers are not native to Hawaii.
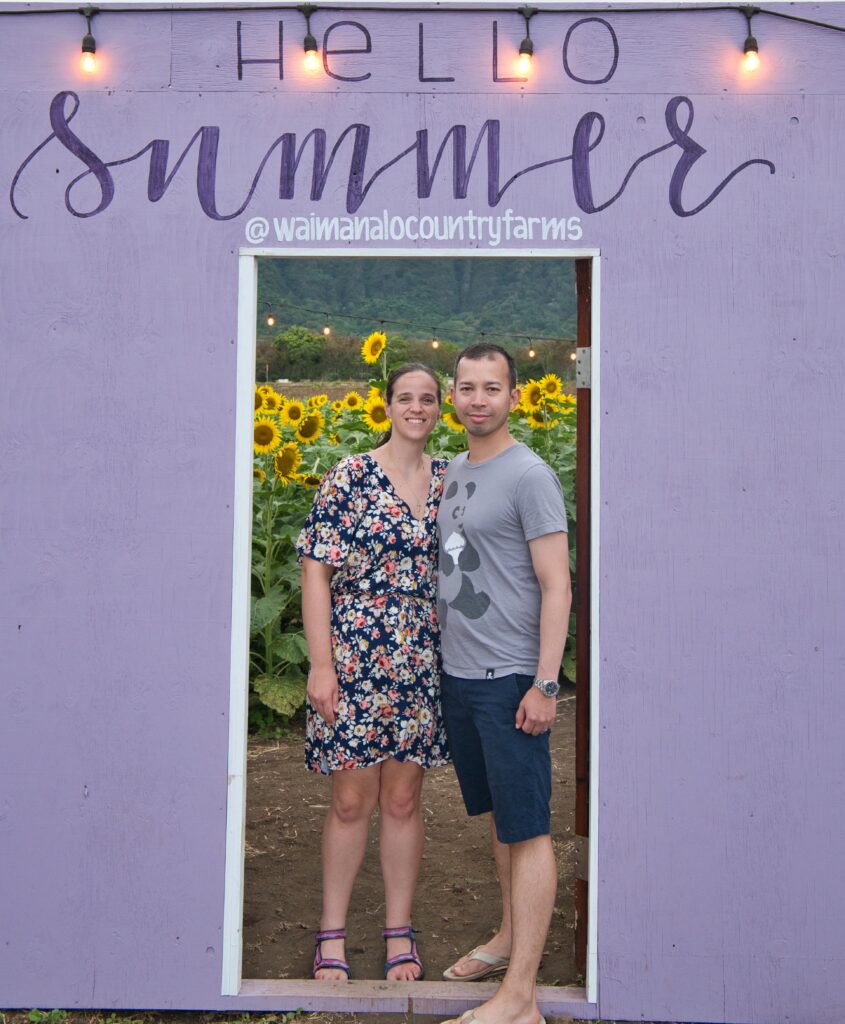
They had fun props to stage pictures. Brian said that summer can official start now that we have a picture that says “Hello Summer”. What a wise guy. I don’t think summer really ever ends here.
I couldn’t resist using the bathtub, it had a layer of dirt so I’m awkwardly suspending myself. I should’ve just went all in, maybe next time.
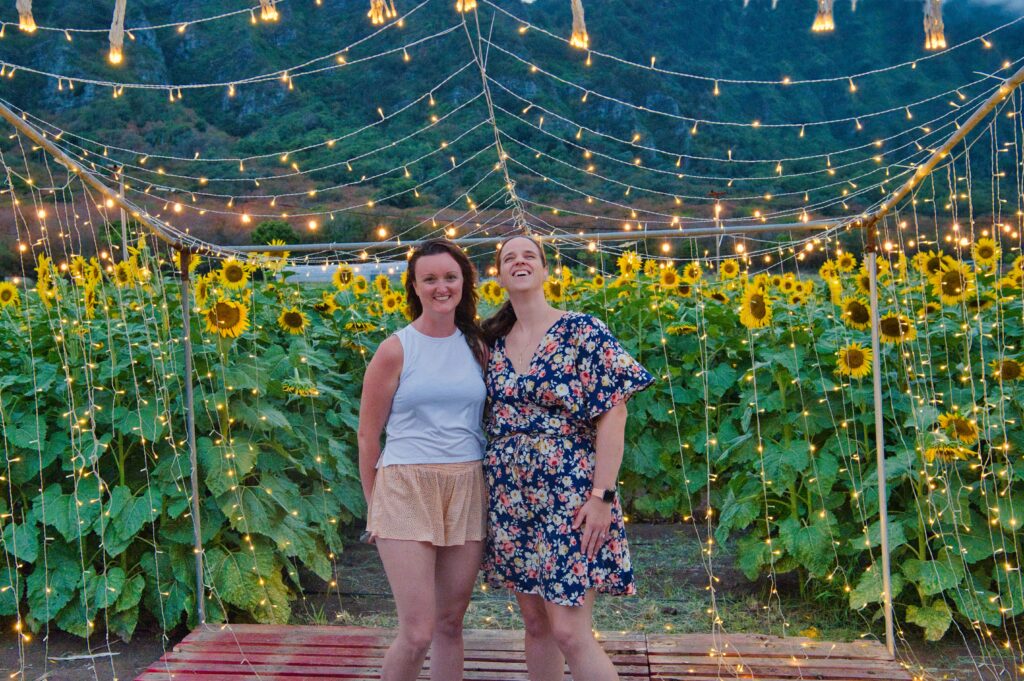
We got lemonade with the price of entry. I tried Li Hing flavored (it tastes sort of like fruity pink lemonade). They also had mango, pineapple, and a couple others. I treated my friend to entry for her birthday. We were laughing about Brian’s attempts at shooting this picture for us.
There were yard games but they were occupied so we end up chatting (the men about submarines) and taking pictures and exploring. Fun night out in the “country”!
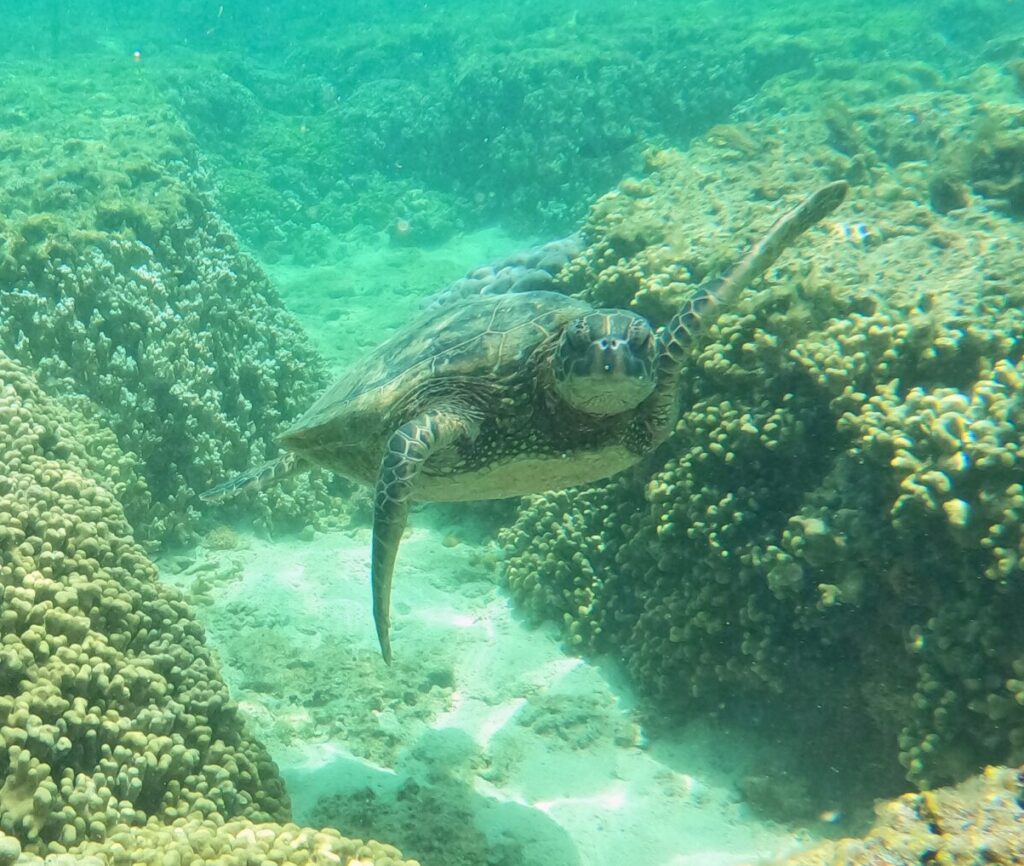
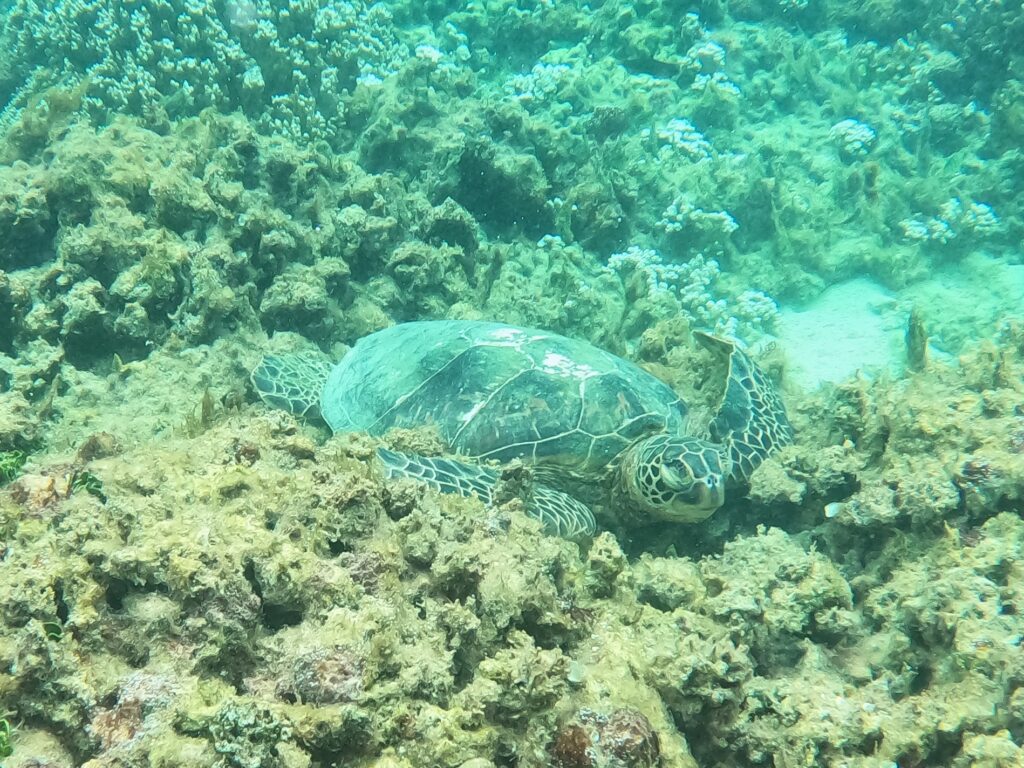
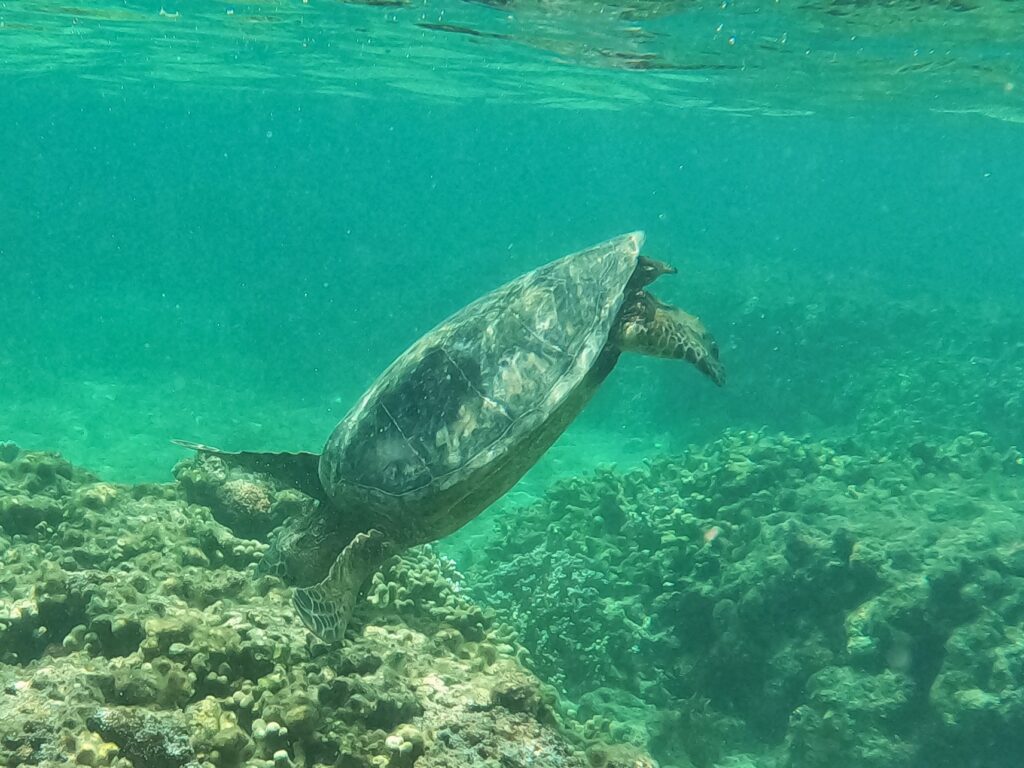
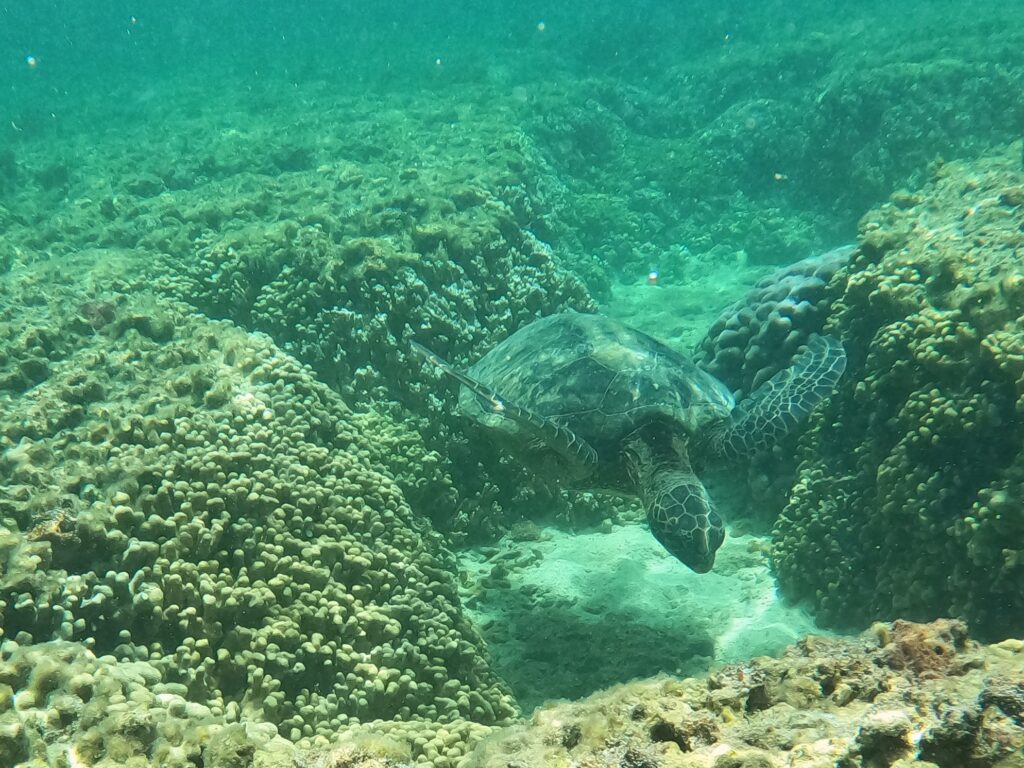
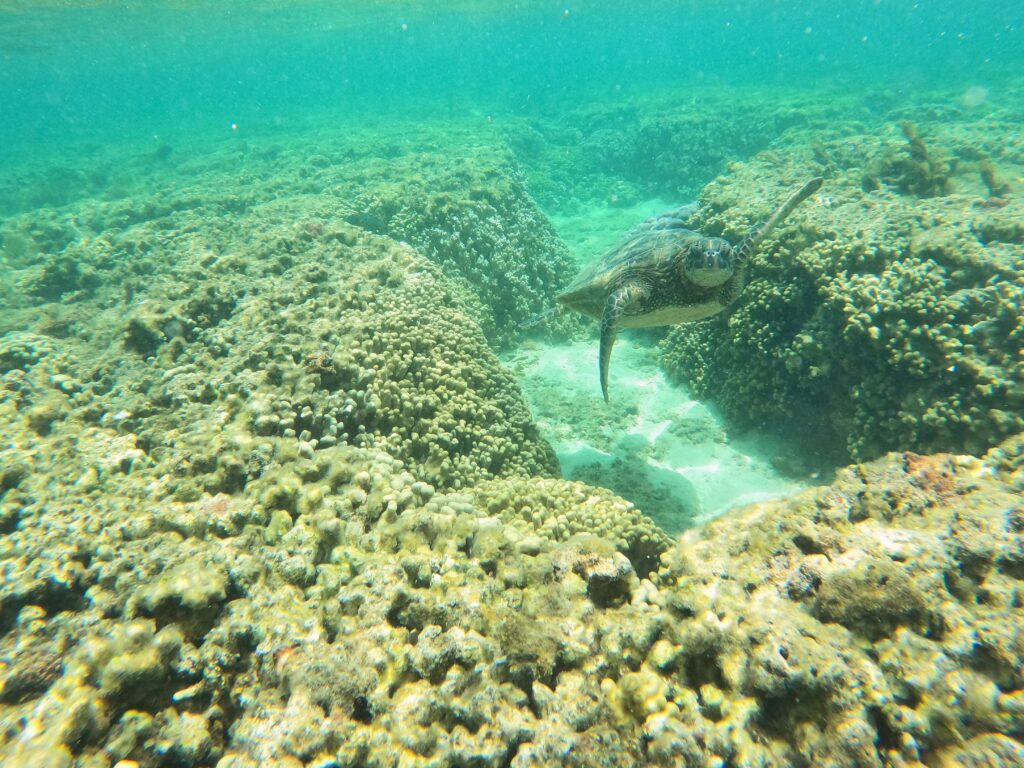
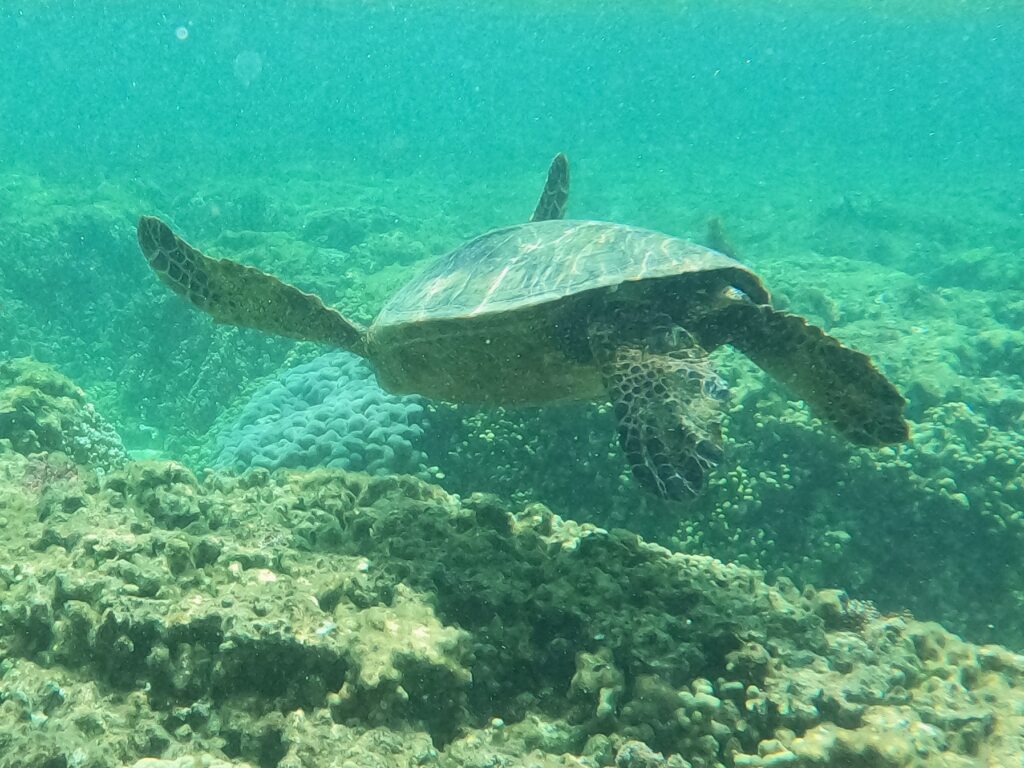
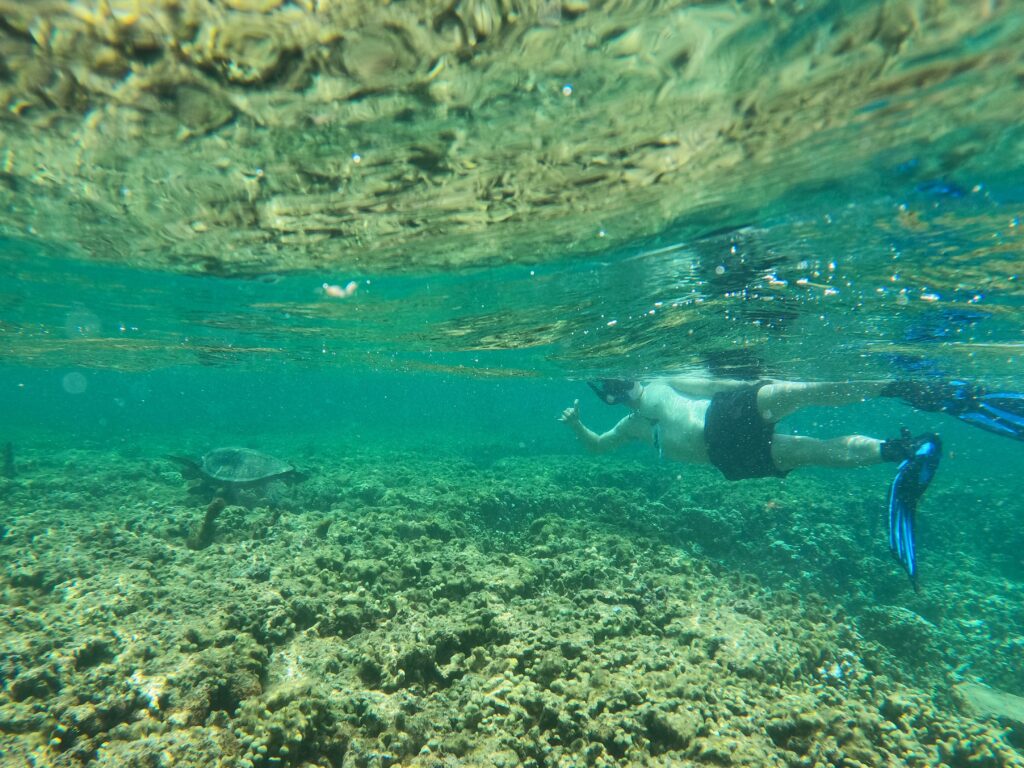
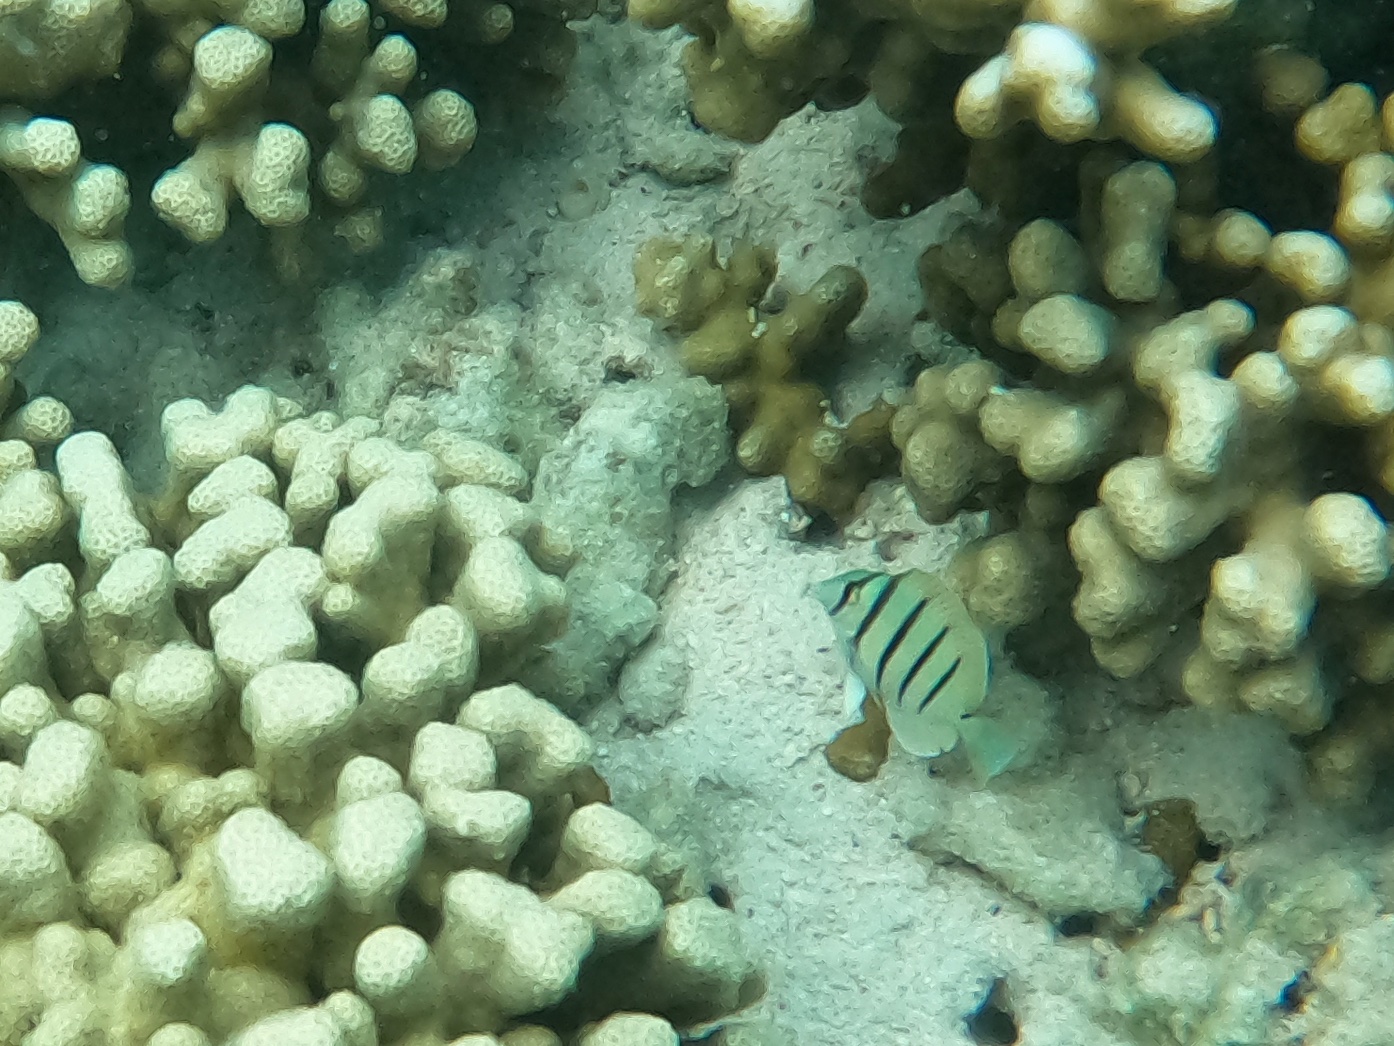
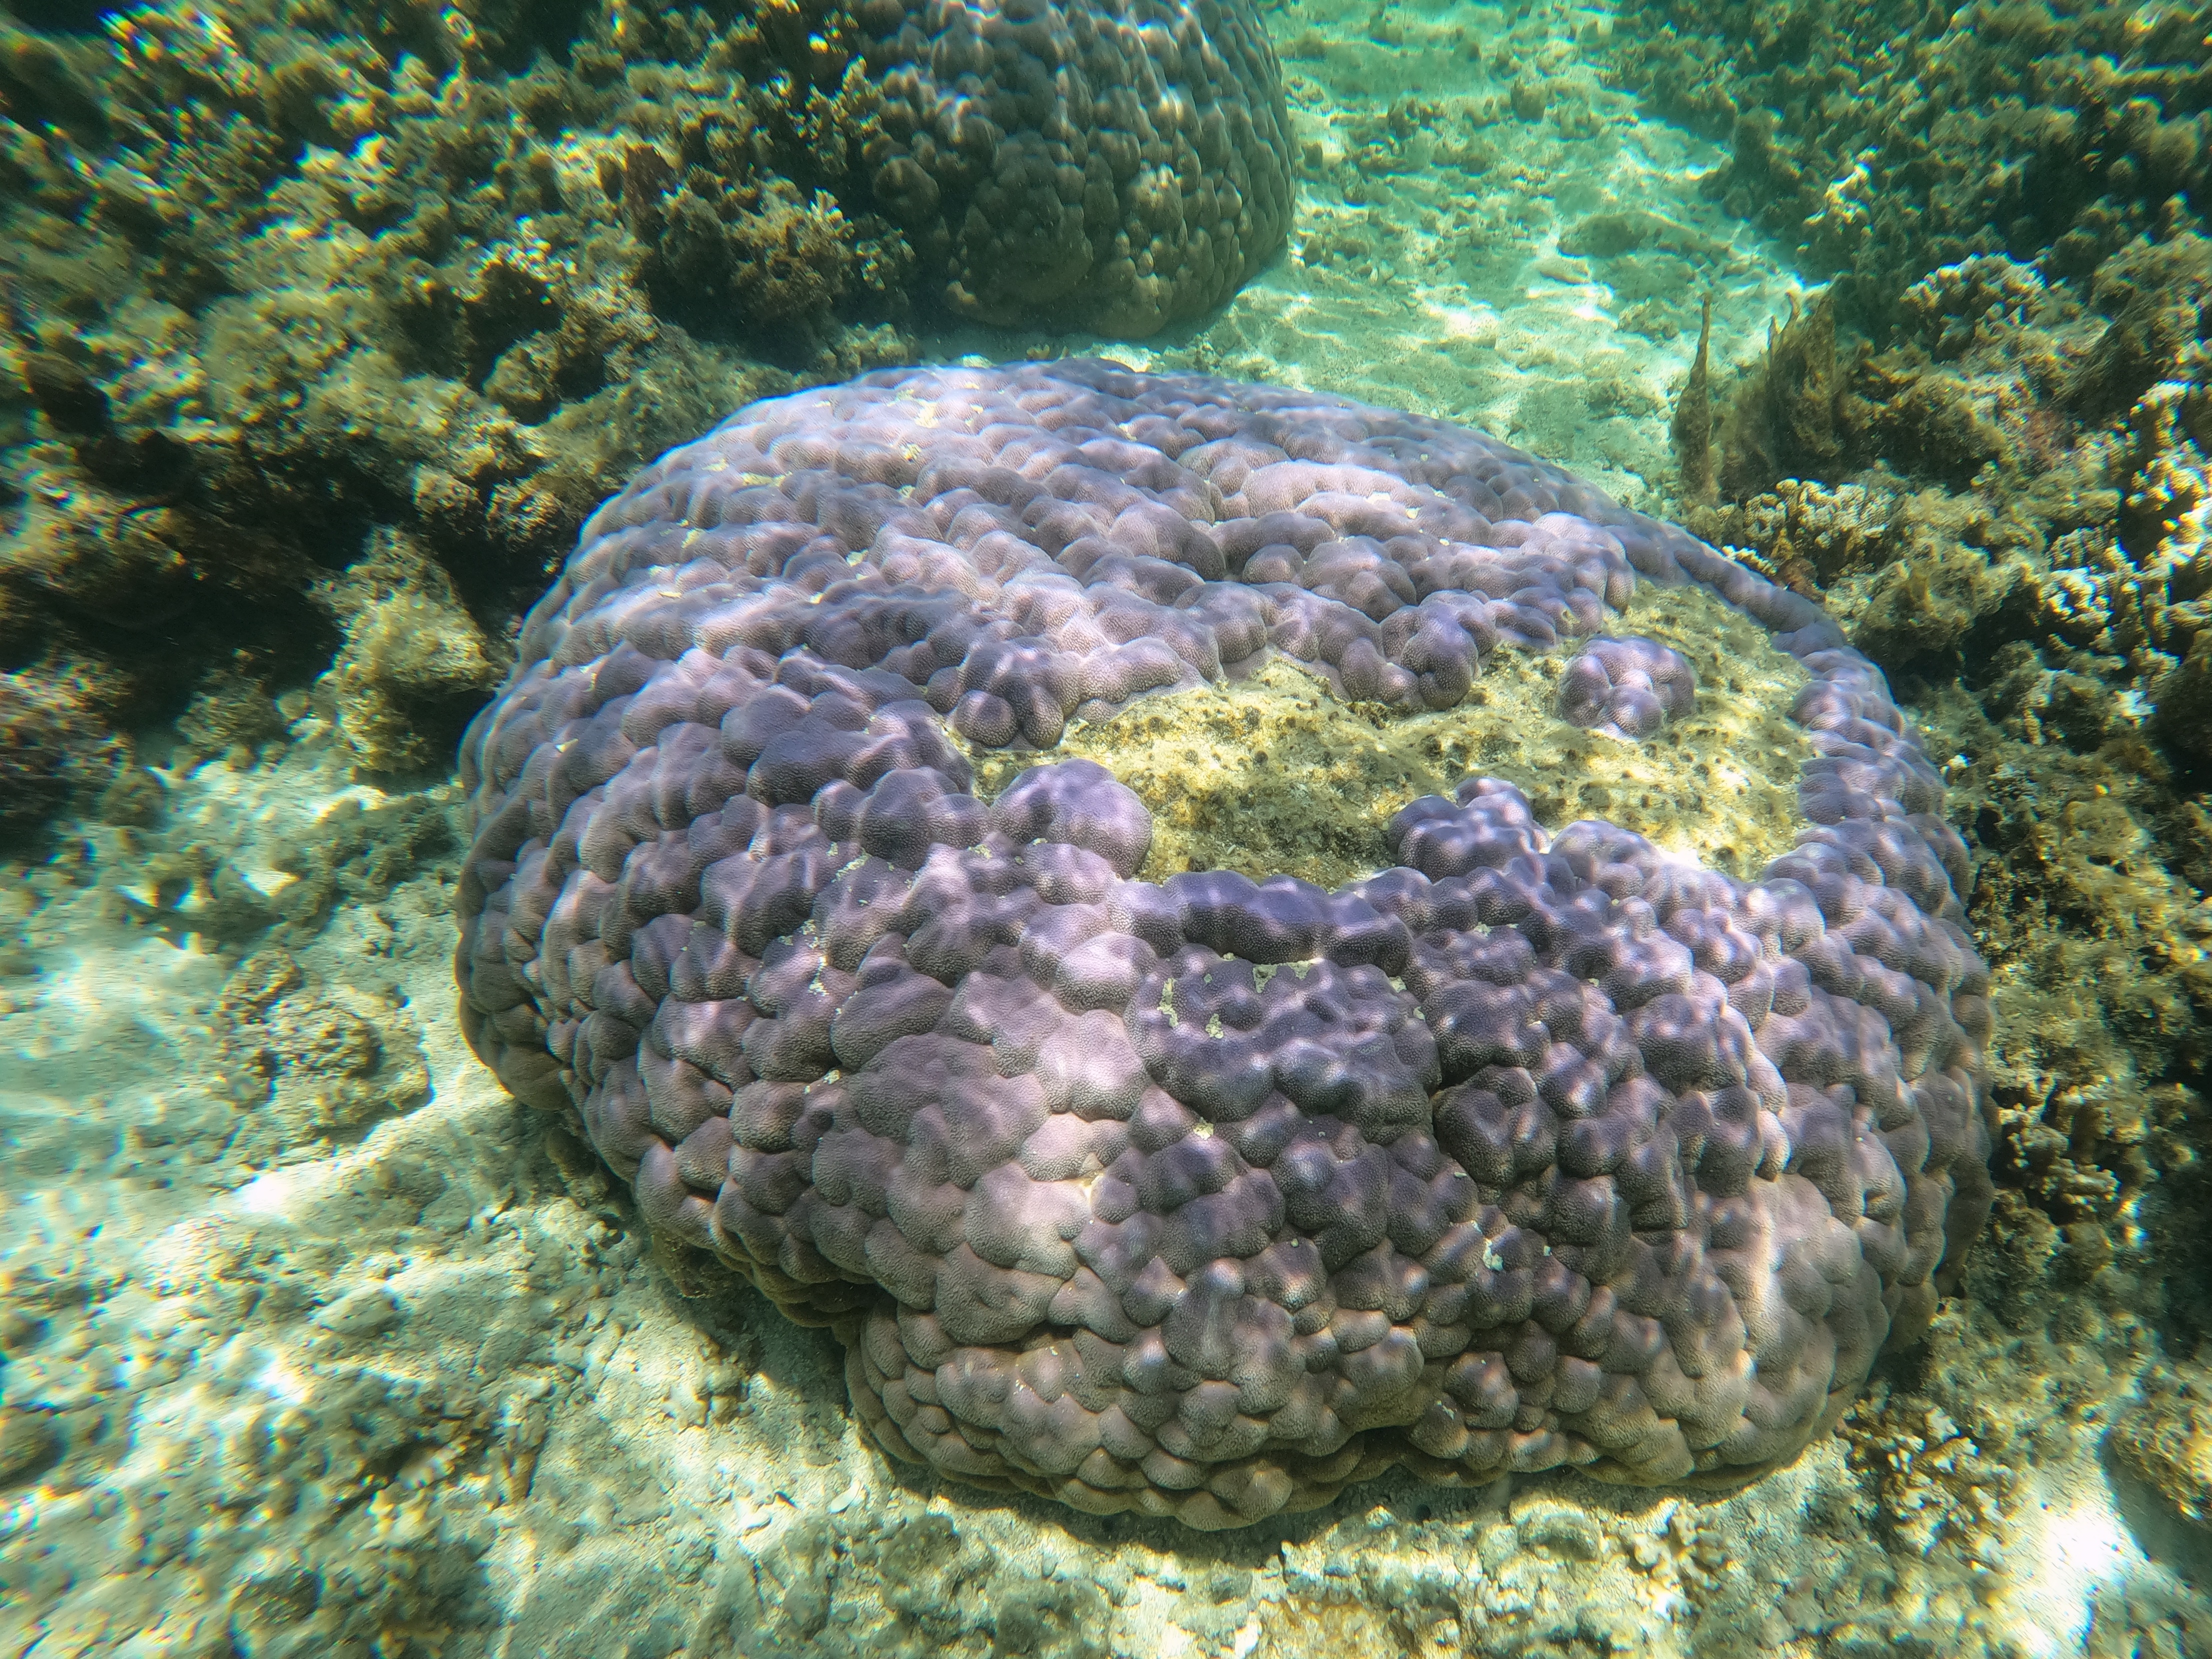
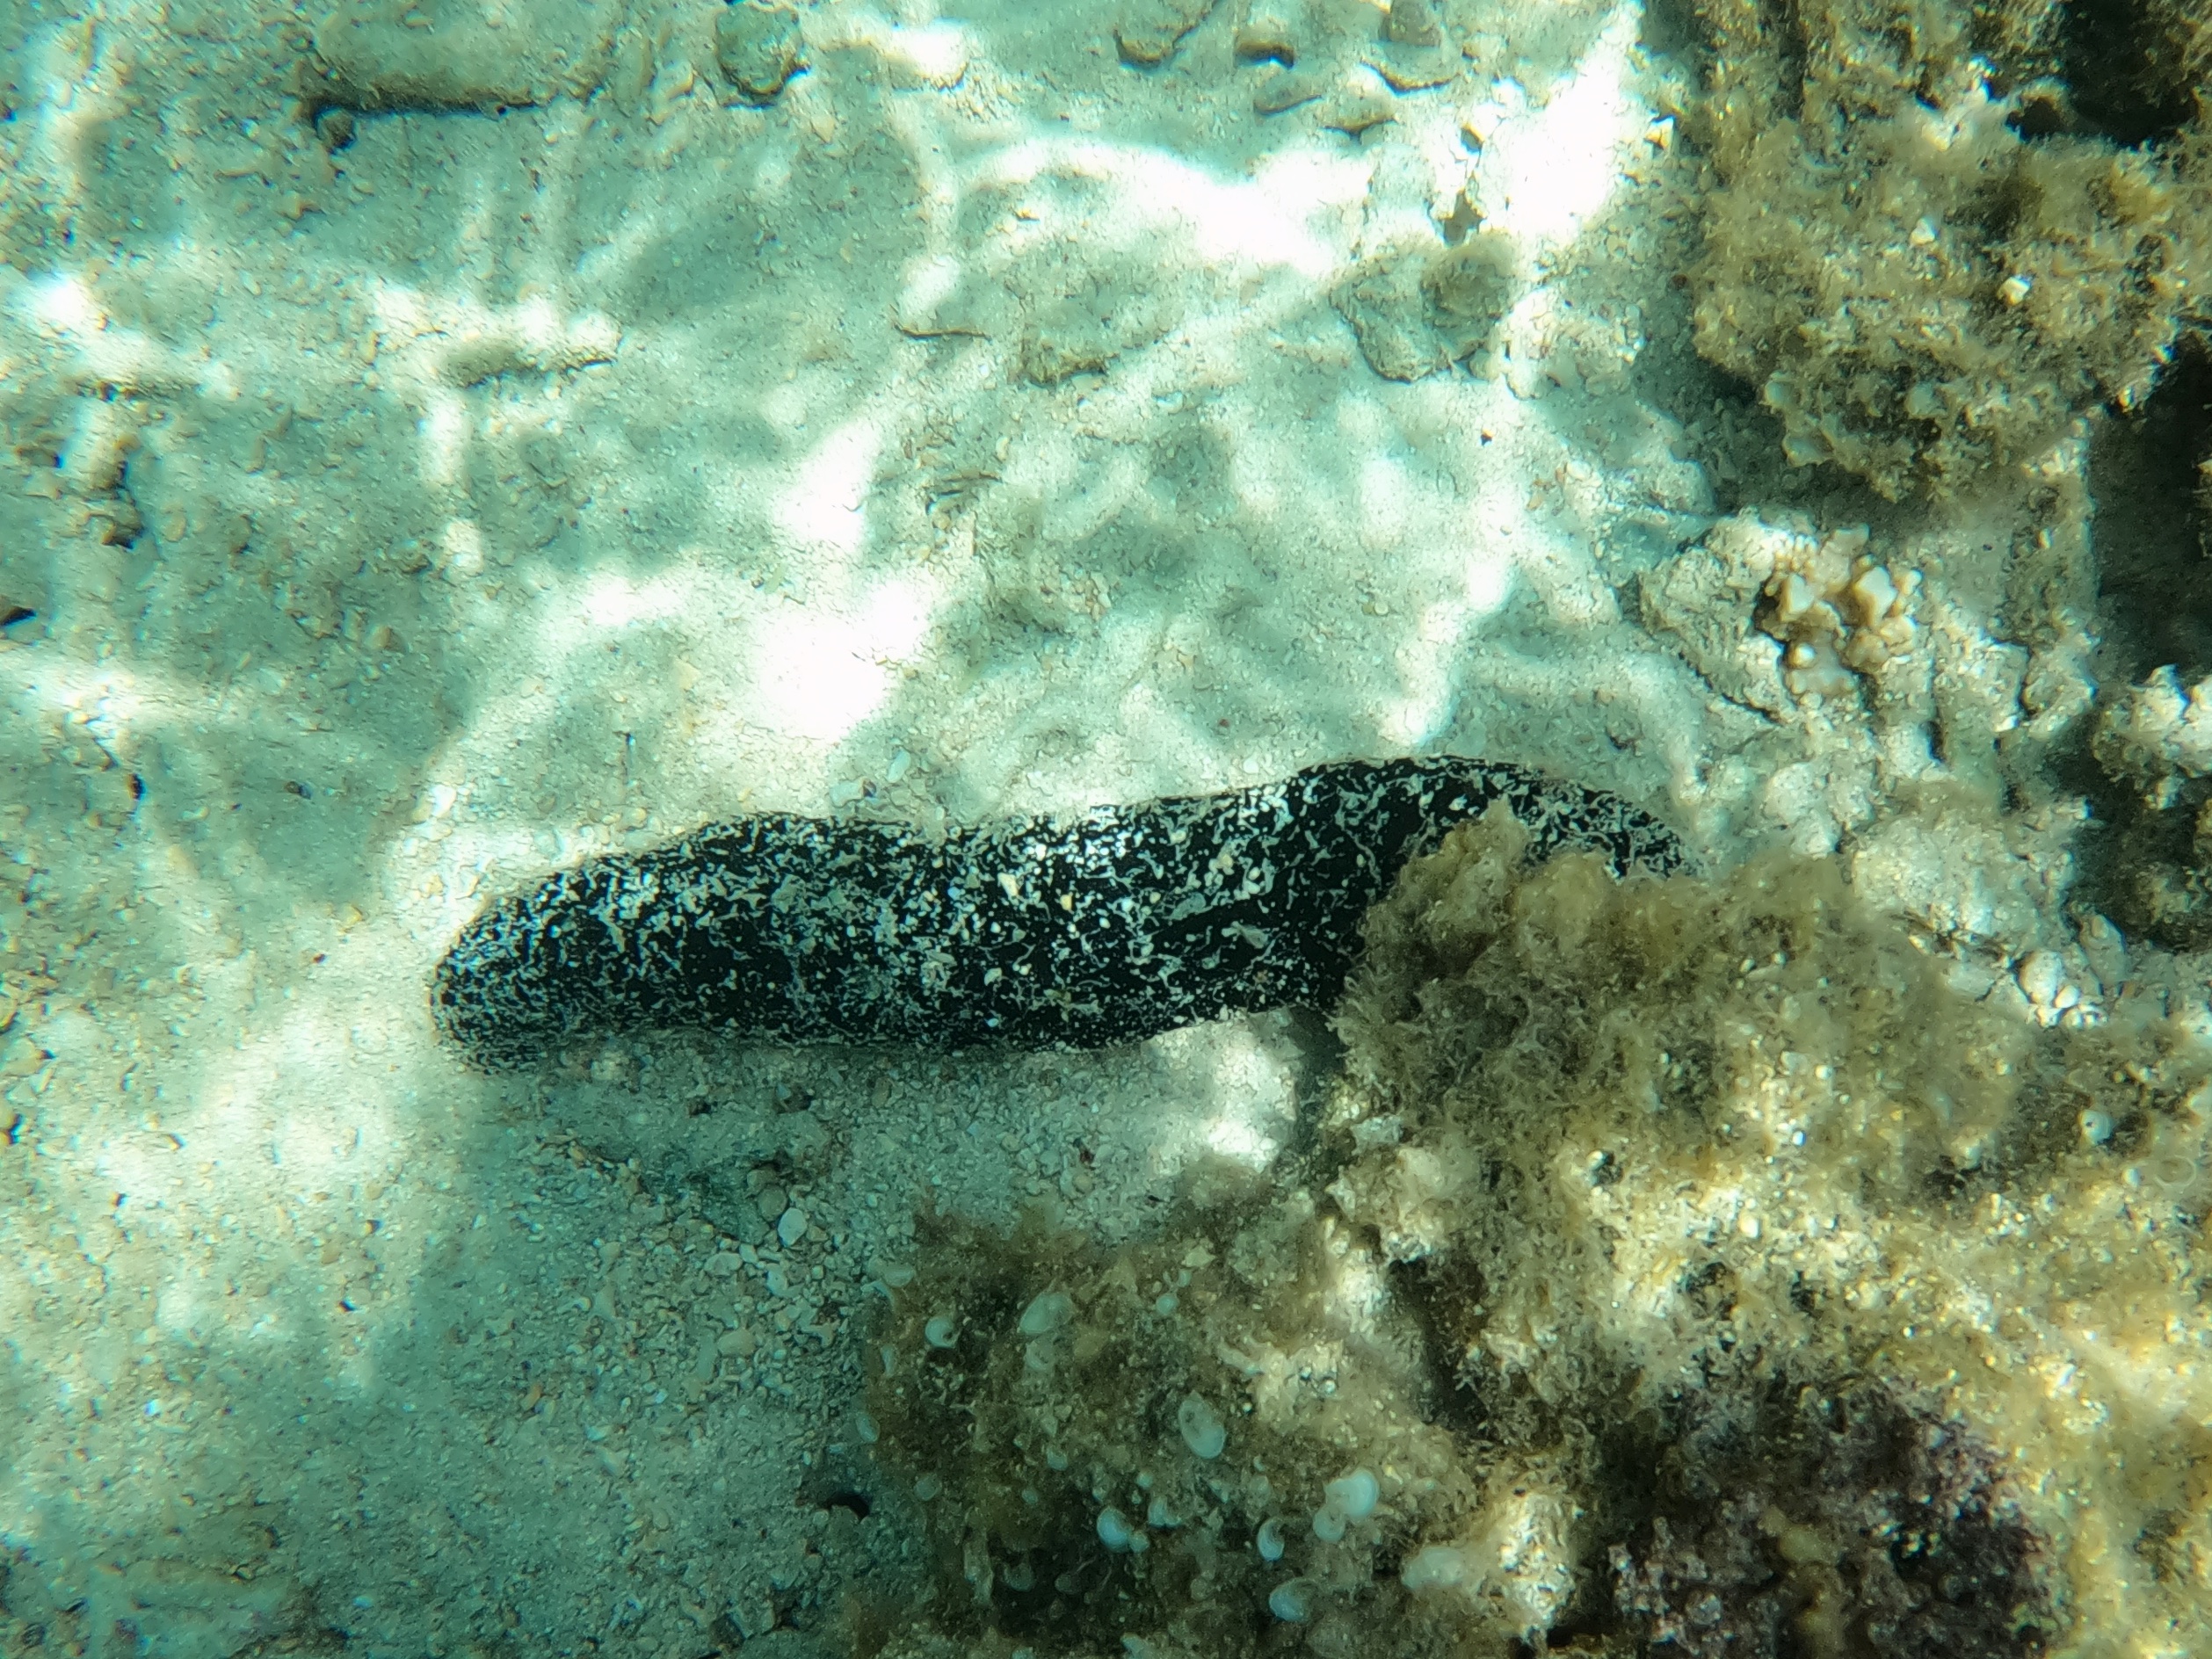
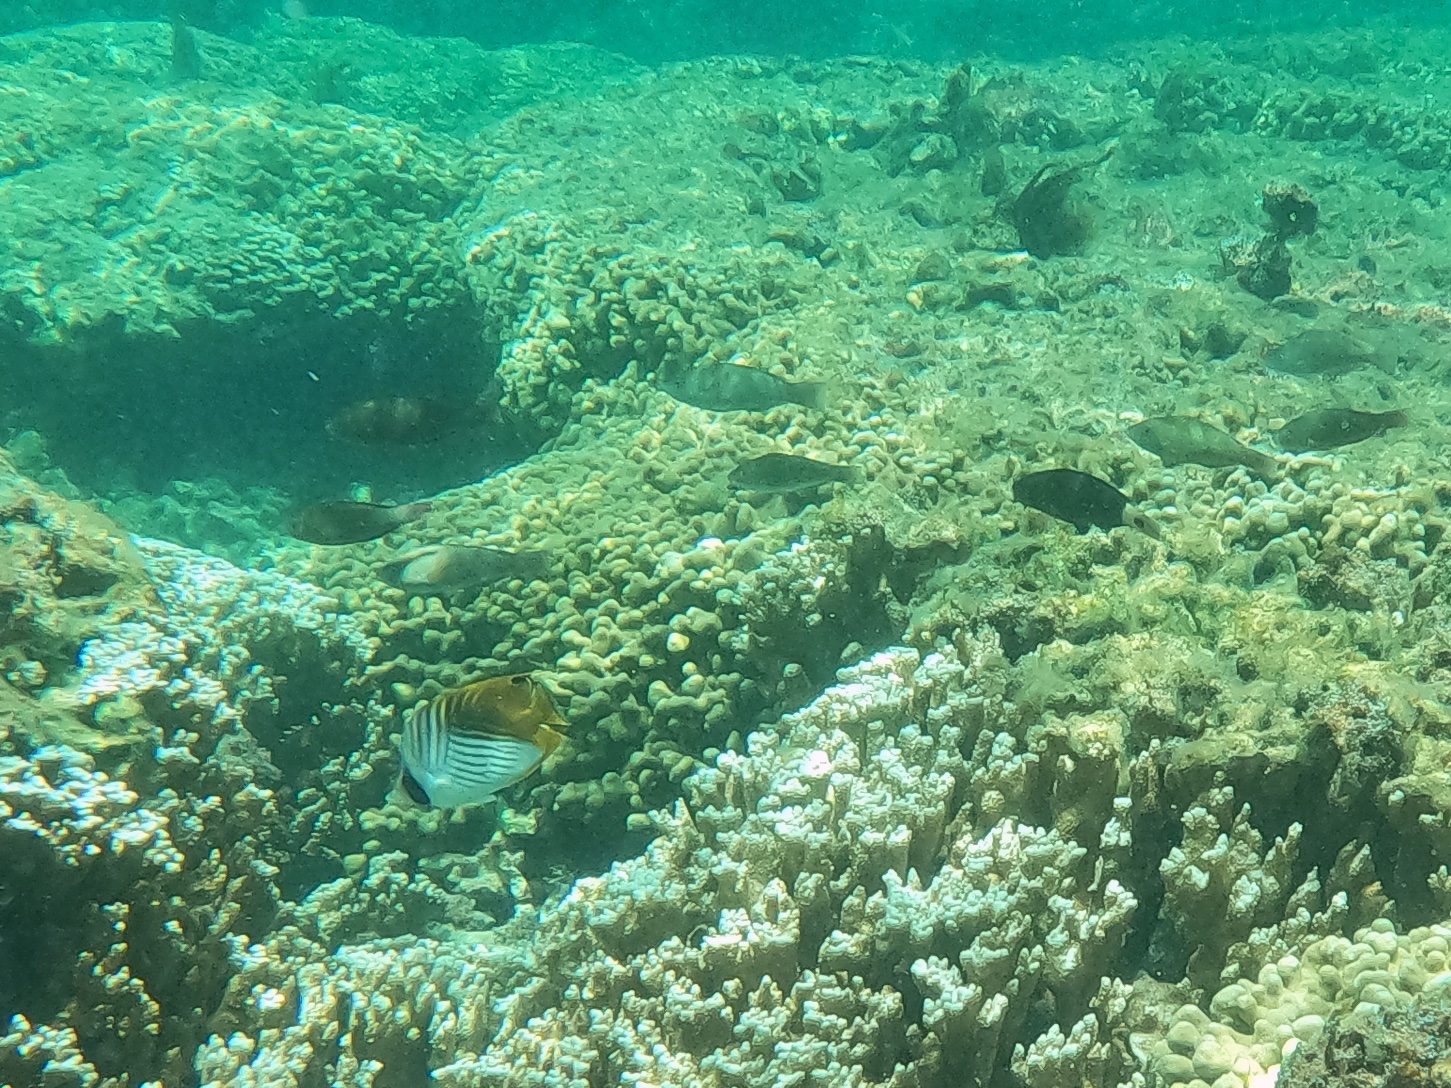
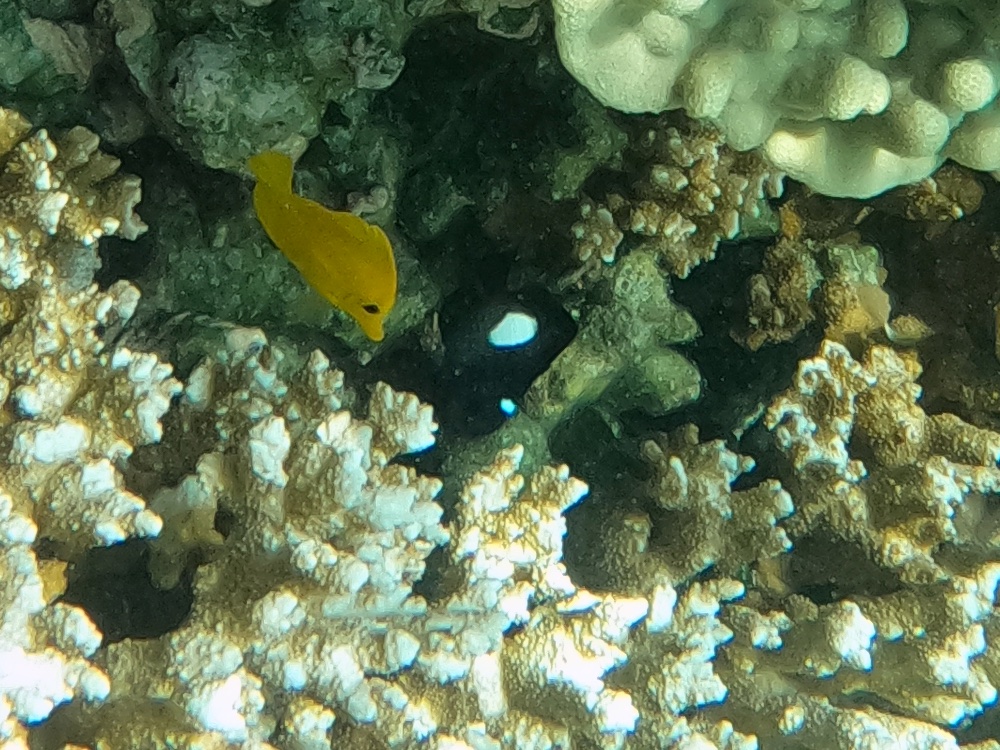
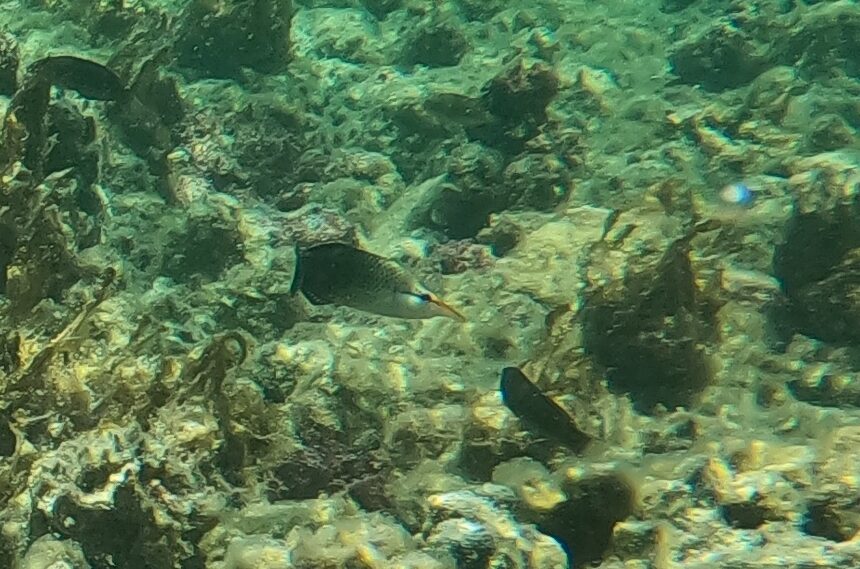
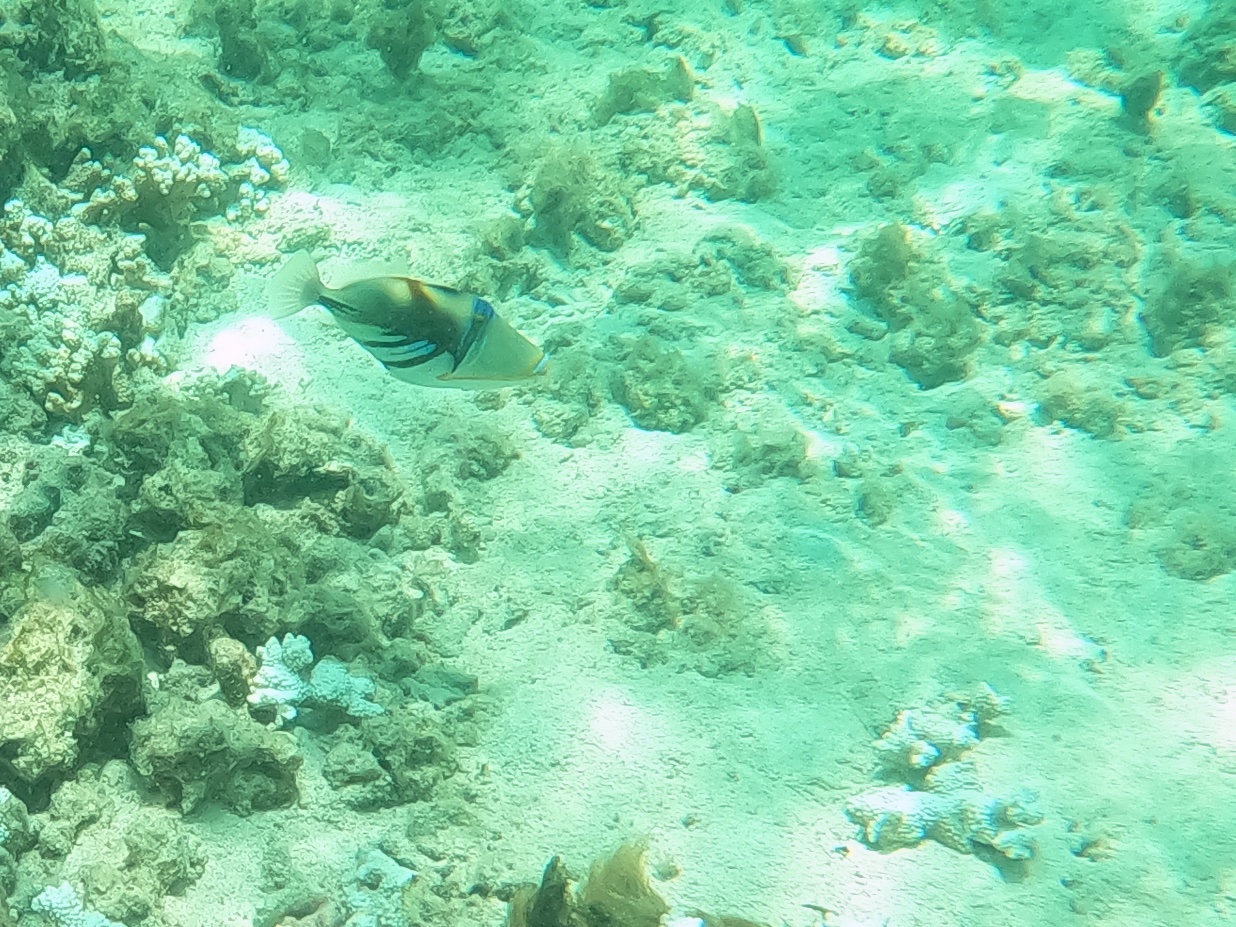
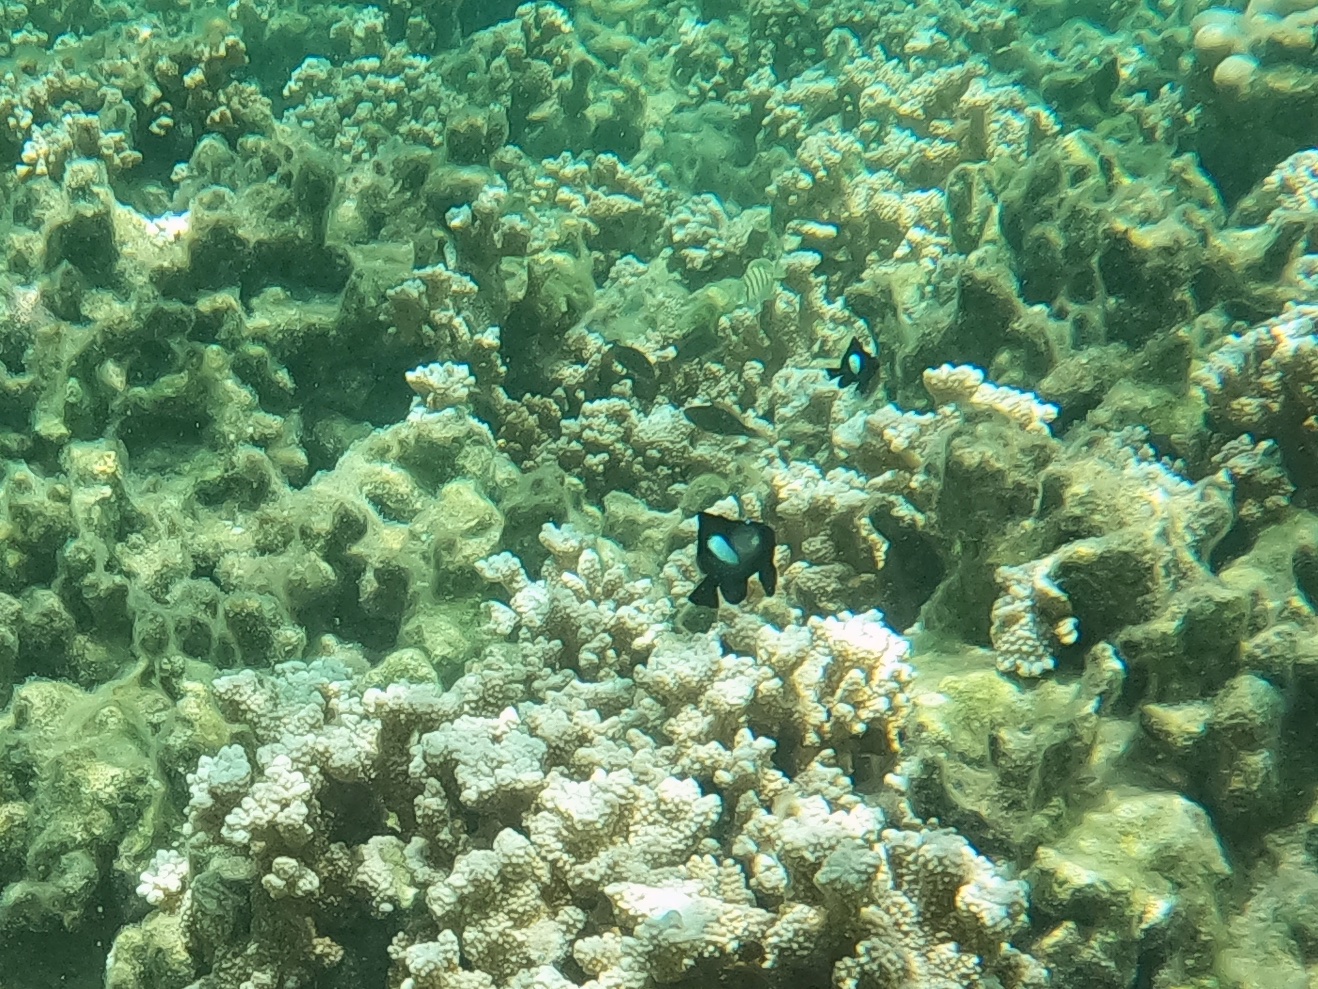
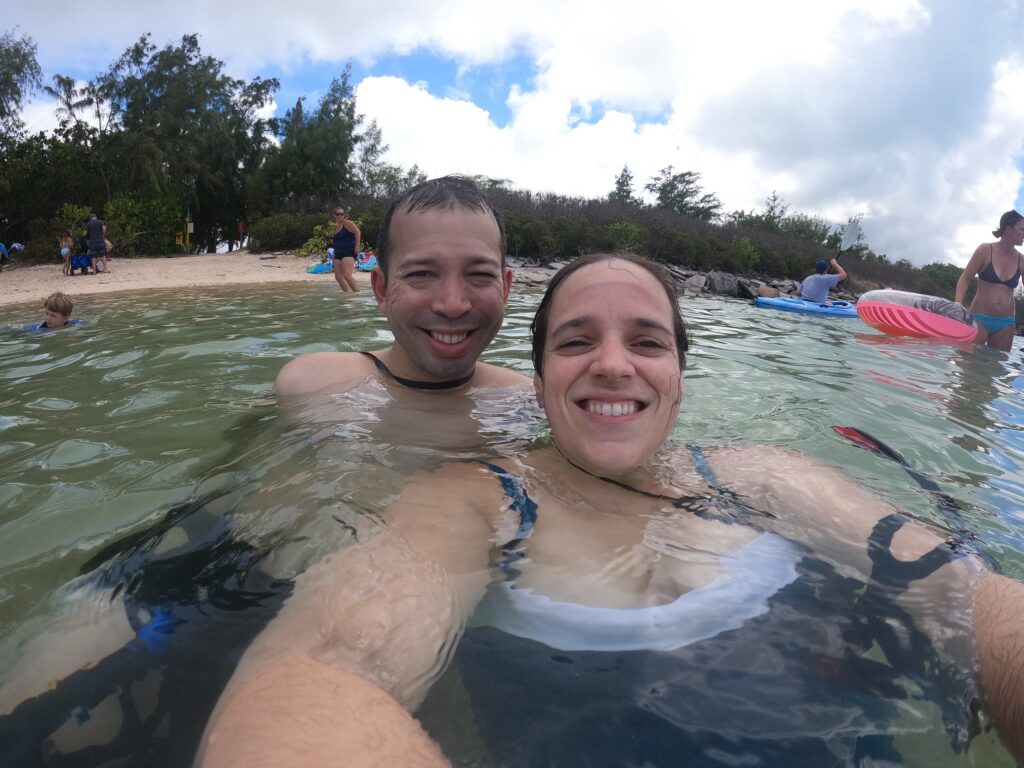
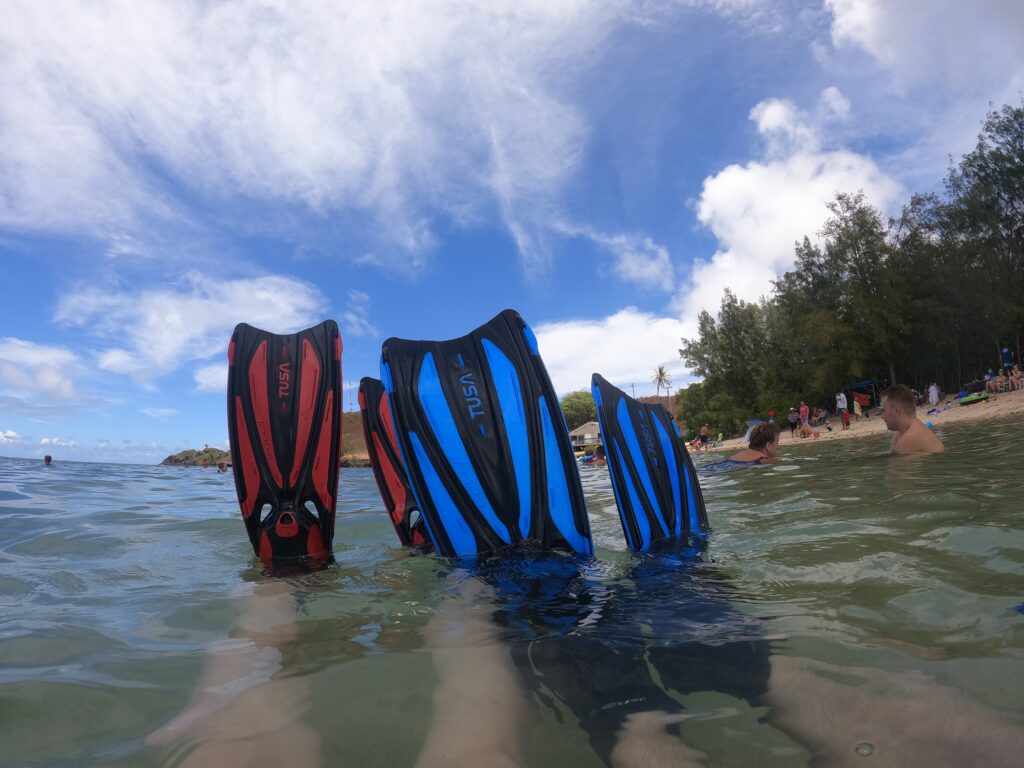
Brian and I went to secret beach snorkeling, it was his first time there and my second. If you recall, my first time snorkeling there felt like a bit of a dud, so I set low expectations for Brian. We went left coming off the beach this time, and were rewarded heartily.
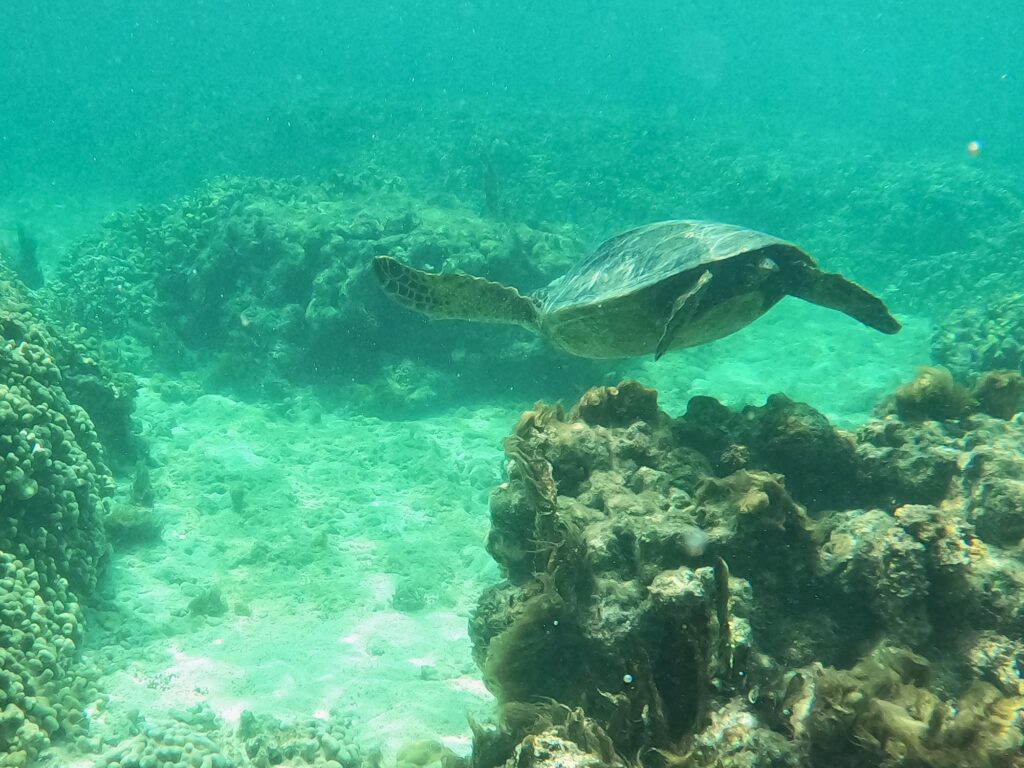
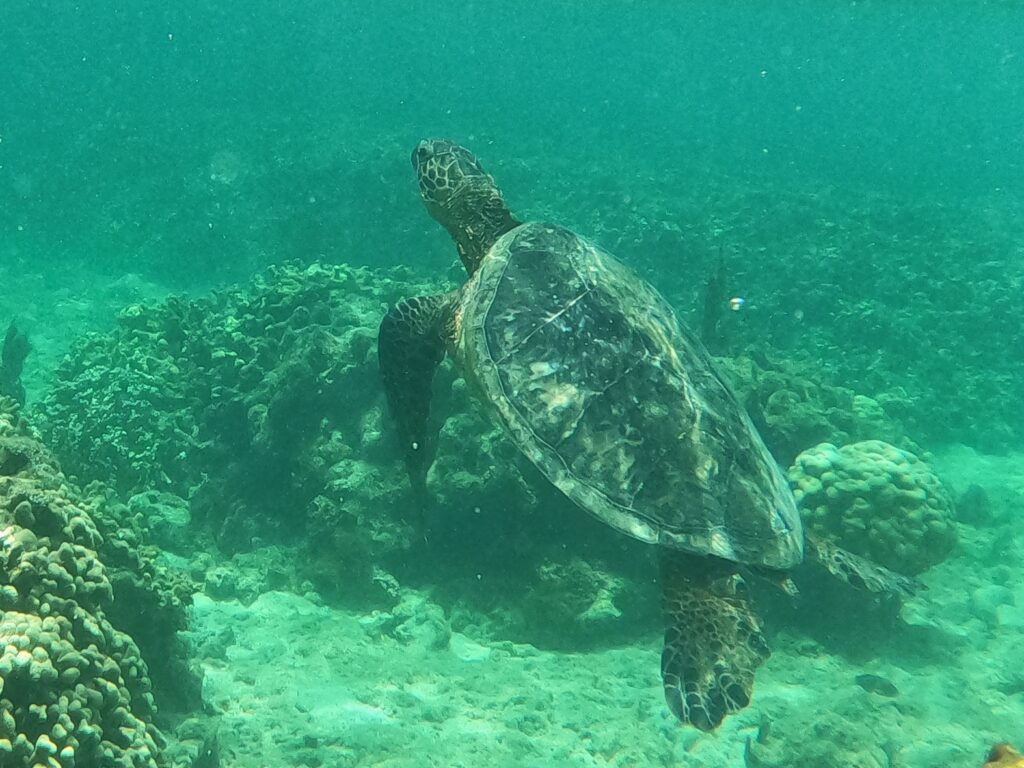
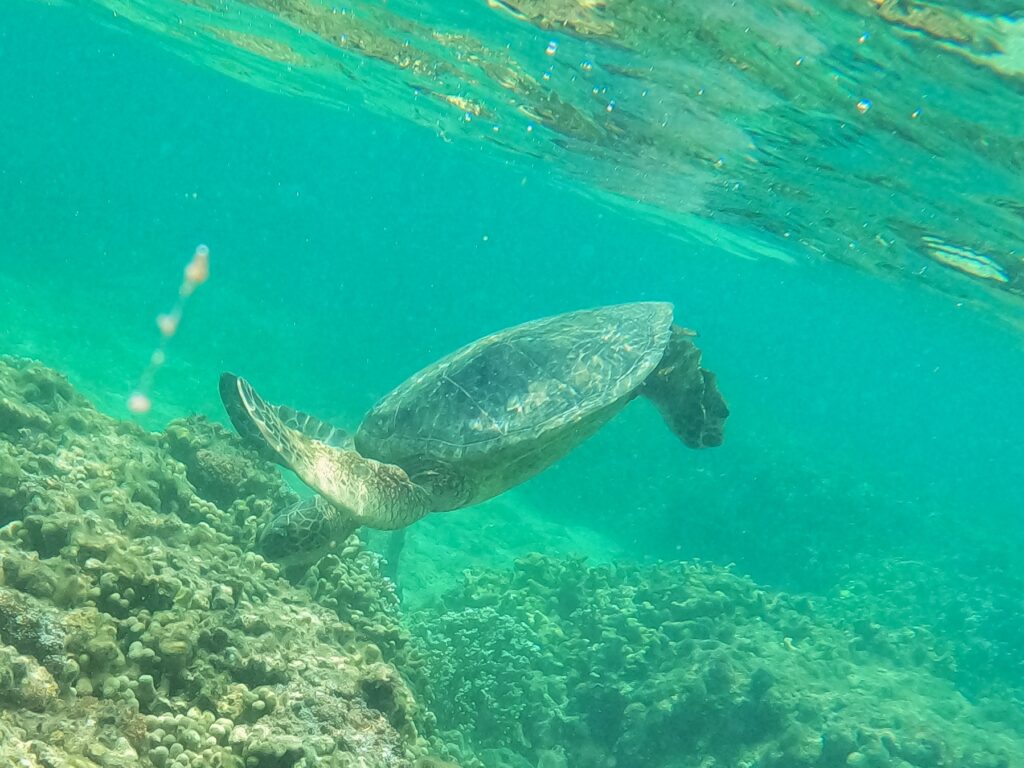
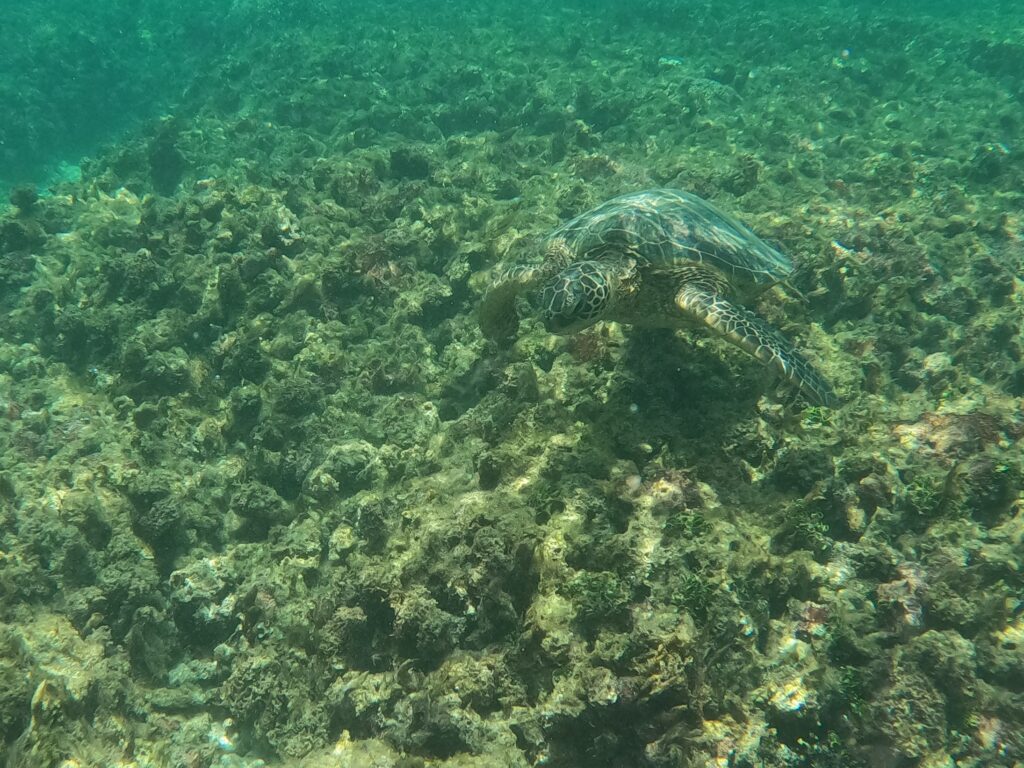
We encountered turtles twice, we’re not entirely sure they were different turtles. You might get sick of my turtle pictures, but it’s kinda like when people have kids and can’t stop posting pictures of them. So here’s some turtle spam.
Resting in Reef
Swimming along
About to get air
Eating some algea
Snack time
Cruising along
The Stare Down
Doing his turtle thing
blending in with the reef
Shaka for the honu!
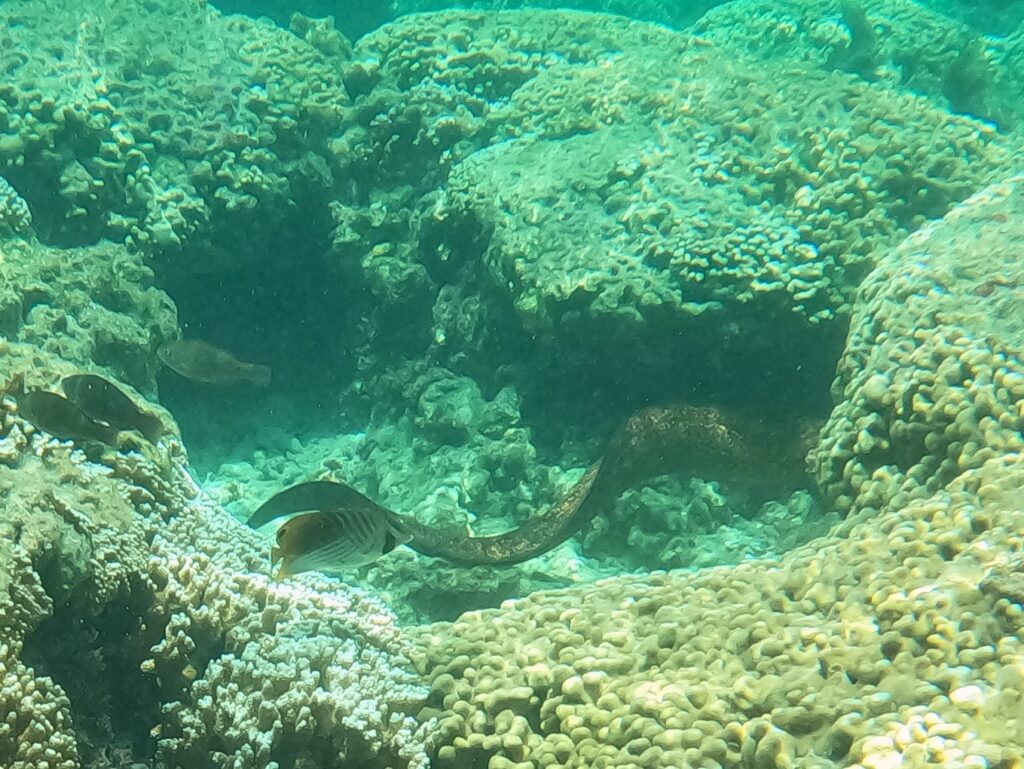
My proudest capture, beside that first turtle picture, was of this eel.
Moray Eel
I think a bit of ignorance is bliss when doing these types of things, because immediately a million thoughts came to my mind like “are they aggressive? Should I ‘run’? What if I get stung by it?” But turns out he’s pretty scared of me and I didn’t see him again once he disappeared. I think this is a Dragon moray eel.
The water was really calm. My only regret was eating stromboli too closely to going, I didn’t digest it well horizontally. I was not nauseous after, though. For some reason it felt like there was a hole in my snorkel (well, there is… but in this case the snorkel was vertical and it still felt like water was getting in). Brian said the same thing, so maybe it was some weird fluke with wind? Hopefully it was a one off.
These posts take an overwhelming time to create/edit. I’ll probably only post pictures of cool new animals I see moving forward. And of course sea turtles.
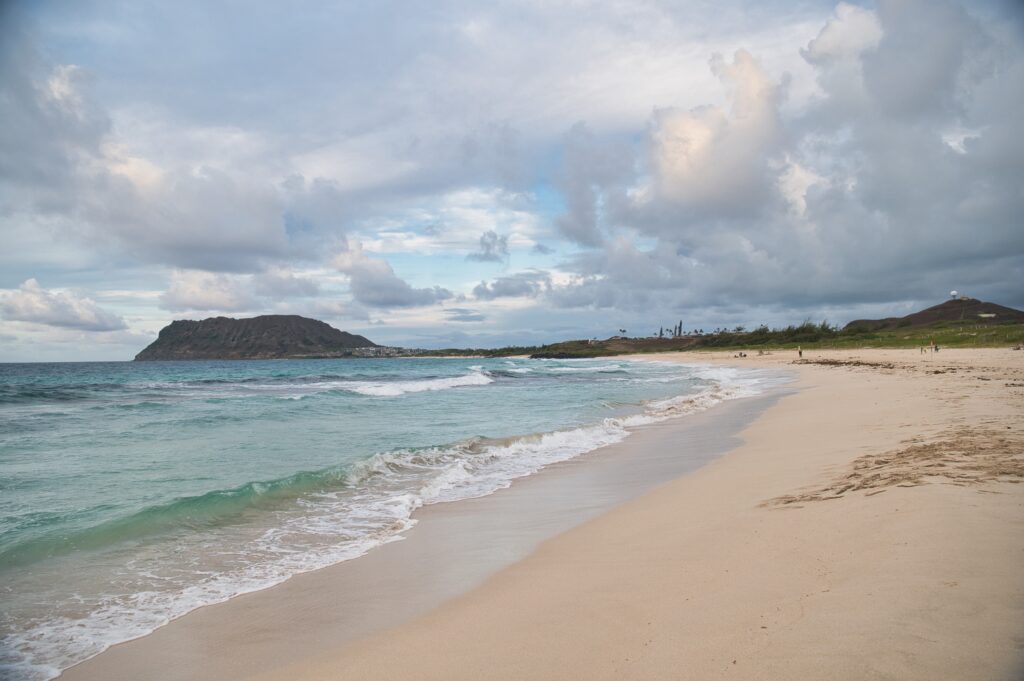
All beaches in Hawaii are public beaches. However, the Marine Corps Base Hawaii (MCBH) has 5 beaches that you can only access if you have base access. #workperks However, you can apply for base access even if you’re a civilian and it’s good for one year. The pictures don’t have the best lighting, it was cloudy, but I was tired of waiting for the perfect day to photograph, so you’ll just have to pretend or come see for yourself.
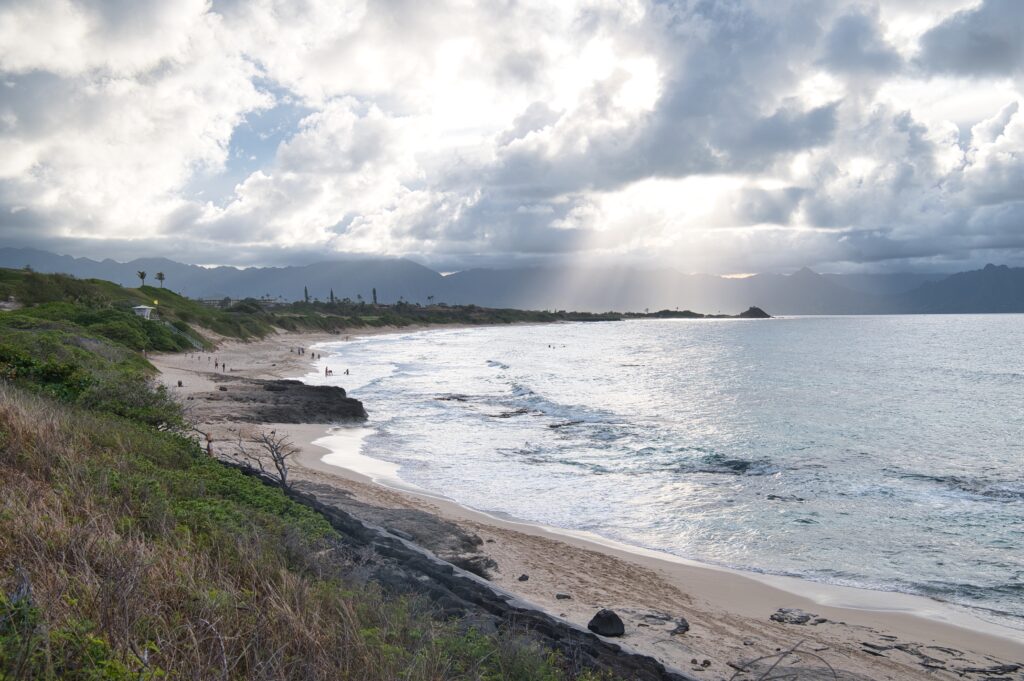
There are five beaches on the MCBH. This post will talk about three of them, and I’ll get to the other two eventually. First up is Fort Hase Beach (pronounced Hah-see). It’s probably the most convenient to the gym/main part of base. It overlooks Kailua and Lanikai, the area where I live.
Then looking left you can see base housing.
There is a lot of reef and rocks sticking up out of the water, which makes it difficult to swim. The surf is also really high. According to my friend, during low tide it creates a lot of fun tide pools for kiddos to use, but I haven’t been at low tide so I haven’t been able to verified that. Lots of sea glass opportunities. There is some open area for swimming without reef. And as you can see, I currently have the entire beach to myself (4pm on a Friday, though).
Convenience: A+
Parking: A+ (paved option and designated)
Swimmable: C-
Lifeguards: No
Bathroom: Port-o-potty
Sea glass: B+
Up next is North Beach. This is the beach that Brian and I ran (trotted) during the surf and turf 5k. It’s a little further away than Ft. Hase. There isn’t any real parking lot for it, just street parking. You have to take stairs down to get to it. More rocks on the shoreline, but I think more room without rocks.
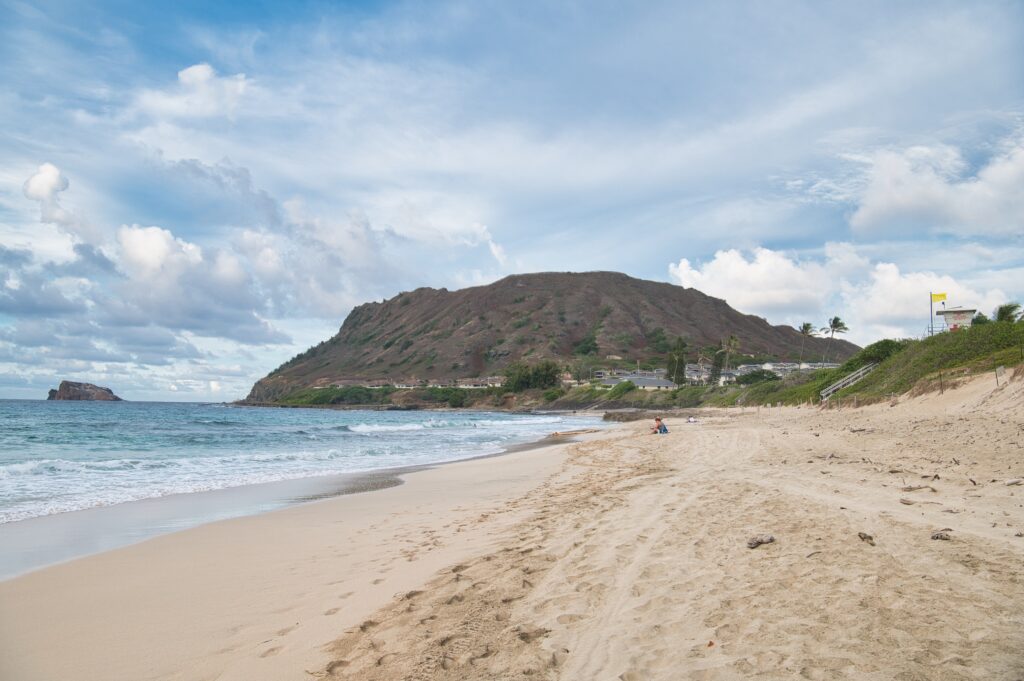
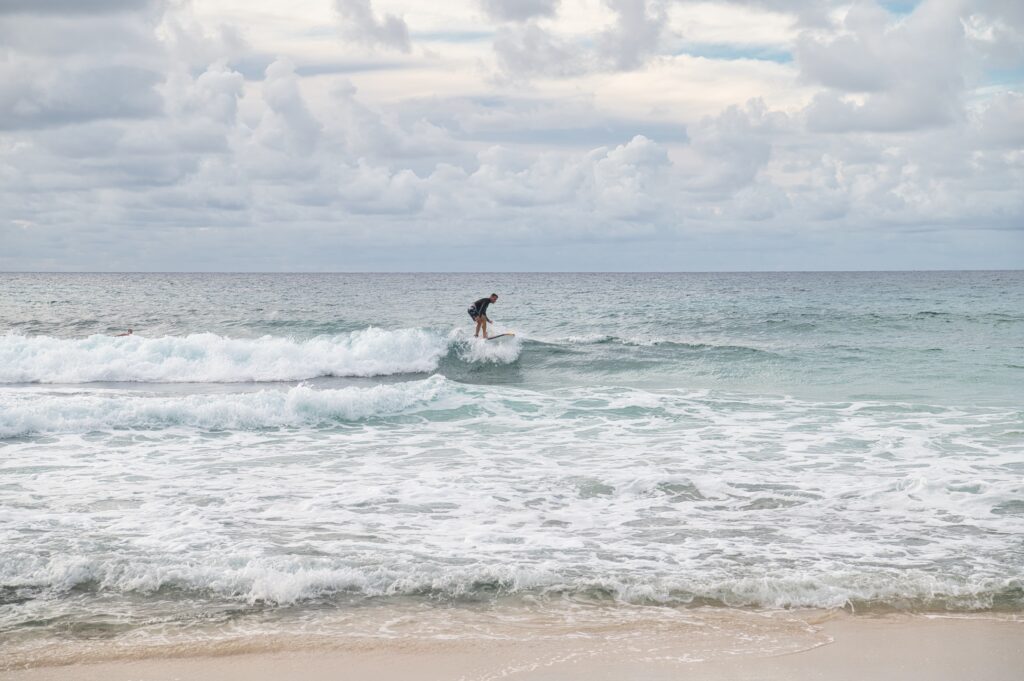
Toward the right side of the first picture you’ll see a pyramid shaped rock. That’s by the third beach I’ll talk about next. North Beach is a popular beach for surfers. (I need to work on remembering to up my shutter speed during action photos, this is a little blurry).
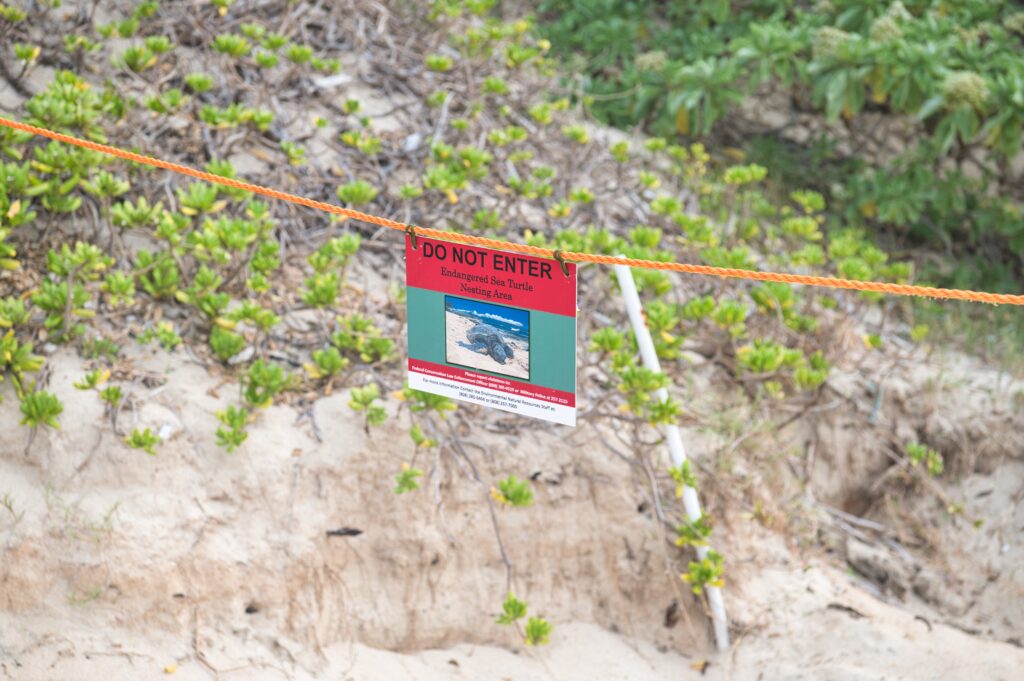
All beaches have a lot of signs about who to call if you see wildlife in danger or nesting. There were a couple of these roped off nesting spots on North Beach. I wonder if the turtles approve of the imposed redecoration. Unfortunately, no actual turtle sighting.
This had more people on the beach, I think because it has more swimming space. It can be rough surf.
Convenience: B
Parking: C (street)
Swimmable: B
Lifeguards: Yes
Bathroom: No?
Sea glass: D
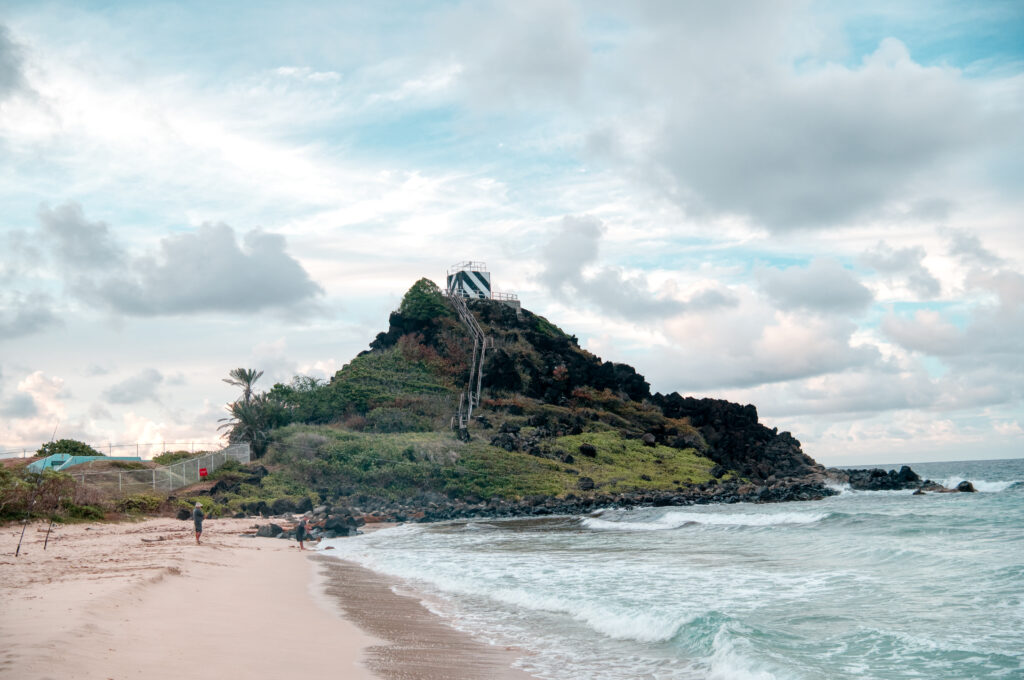
The third and final beach for this post is Pyramid Rock beach, which is essentially adjacent to North Beach. This first picture will look very similar to the one from North beach in the same direction.
This is the picture of its namesake, that Pyramid rock I mentioned earlier. (Tangent about photography. To create this picture I actually stitched together three different exposed pictures. Having the setting sun reflect bright in the clouds would wash out the sky, but then exposing for the sky would make the “rock” a dark blob. Will write a post about this later).
There weren’t any lifeguards at the time, but I believe there can be on certain days with certain currents. To get to this beach you have to cross the airfield, so it’s a bit far. Crossing the airfield is normally easy, but if they’re doing training exercises you’ll get stuck behind a gate (think railroad crossing except for planes).
Convenience: C
Parking: B (dirt patch)
Swimmable: B+
Lifeguards: Sometimes?
Bathroom: No?
Sea glass: D
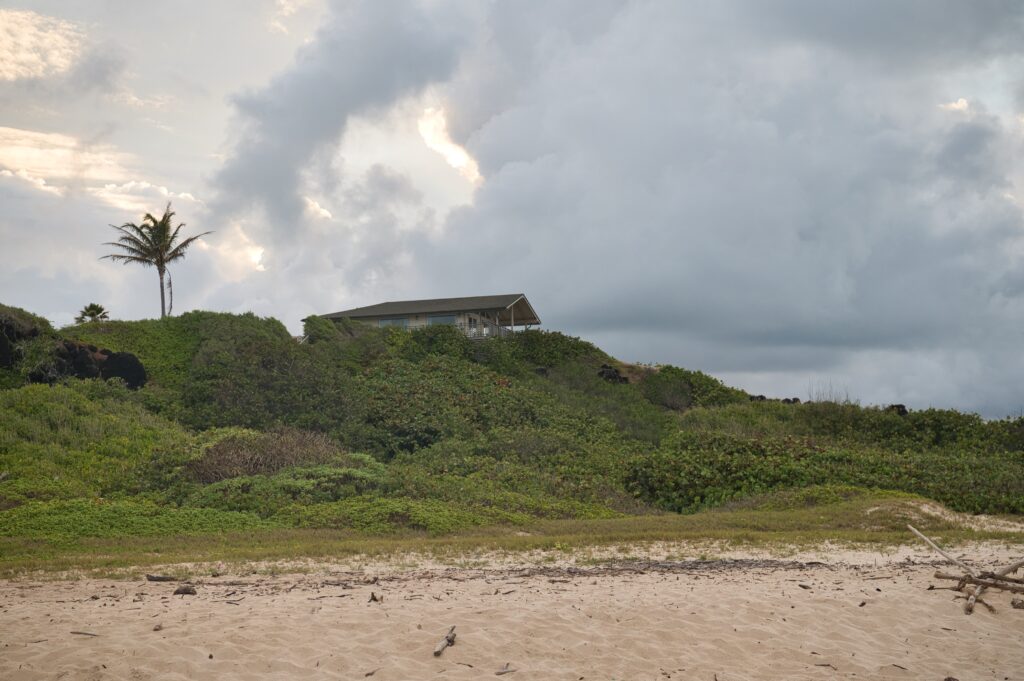
Another #workperk is some of the recreational activities available to us. Here is a beach cottage you can rent out on the MCBH (there are a few on this side of base). Civilians can’t be unaccompanied without applying for access first, but if you came and visited we could rent one out and get you a pass. They supposedly book quickly though.
Moral of the story, MCBH has quite a few beaches if you’re looking for a quiet respite from the tourists, or for a quick walk on a different beach after the gym. I’ll recap the last two when I get pictures of them. Three beaches in one day is a lot!
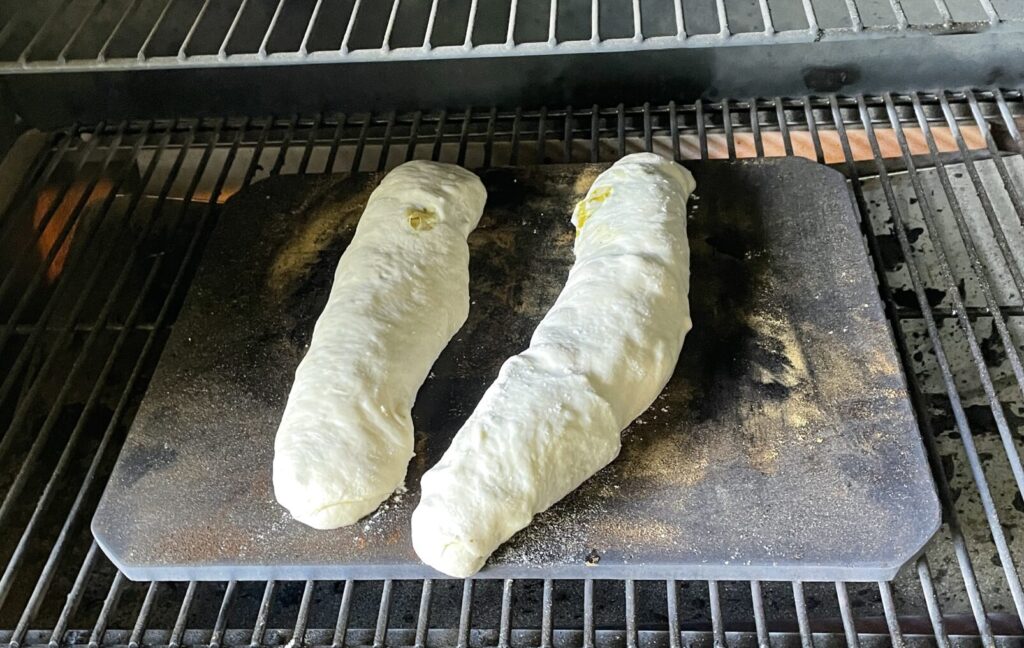
I made another Brian and Sarah favorite recipe today. Remember the pizza dough I made a while back? It’s good for about a week before it starts to rip and get smelly. So I used the last two on Stromboli. Here’s the recipe I base it off of, but I’ll show you pictures of my process. Start by preheating the oven/grill in this case to 500 ~30 minutes before starting your stromboli prep. Basically, you’re trying to get the Baking steel to absorb heat for a long time so that it’ll retain heat when you add the food (in this case stromboli) and it will maintain the inner temperature of the stove/grill better.
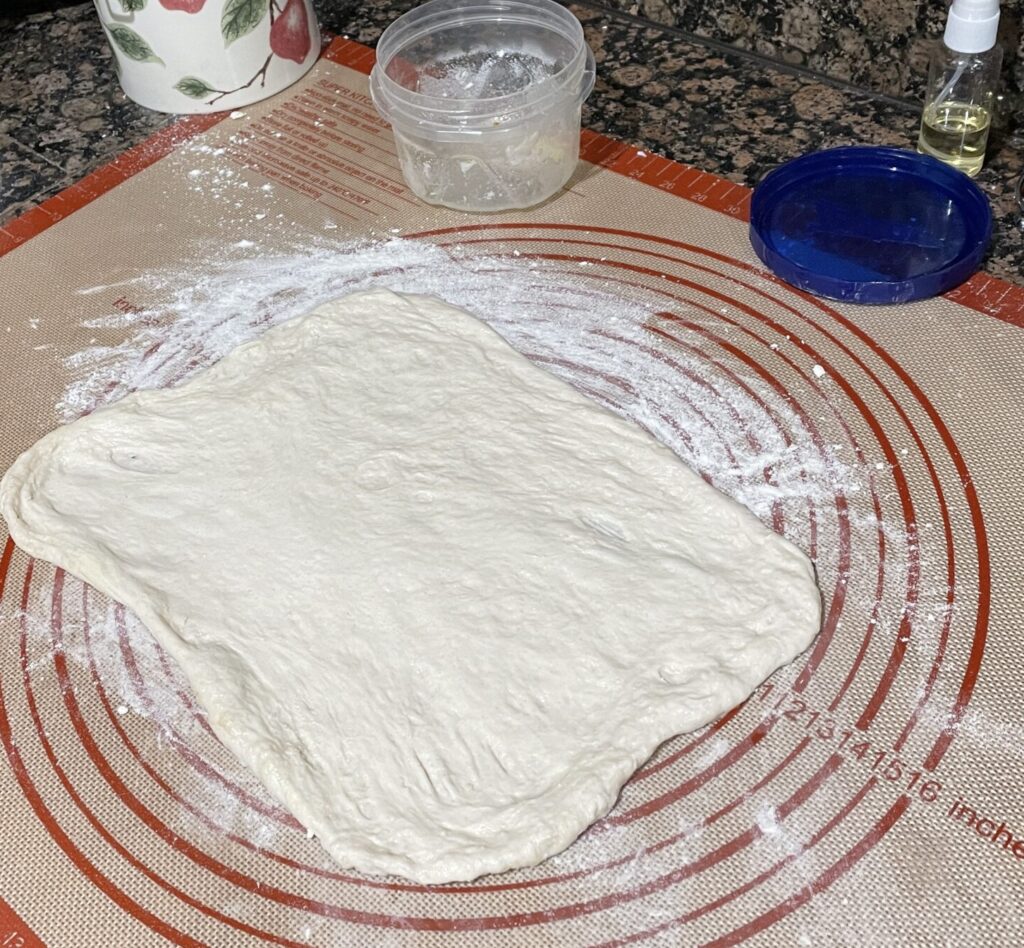
Stretch out dough into an approximate rectangle (I go for 12″ long and wide enough before it starts breaking.)
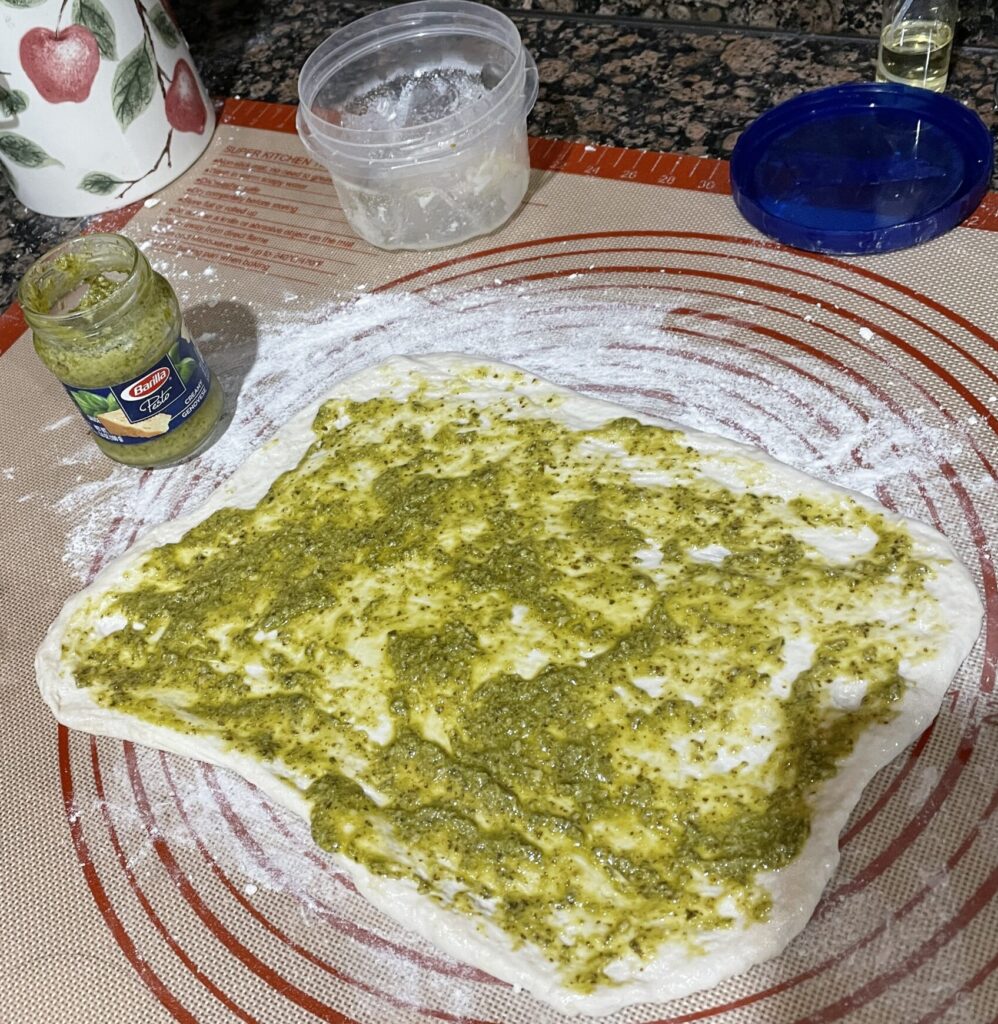
Add pesto. The recipe calls for mustard, but Brian doesn’t like mustard. Try to find a thicker pesto. Minimizing grease is helpful.
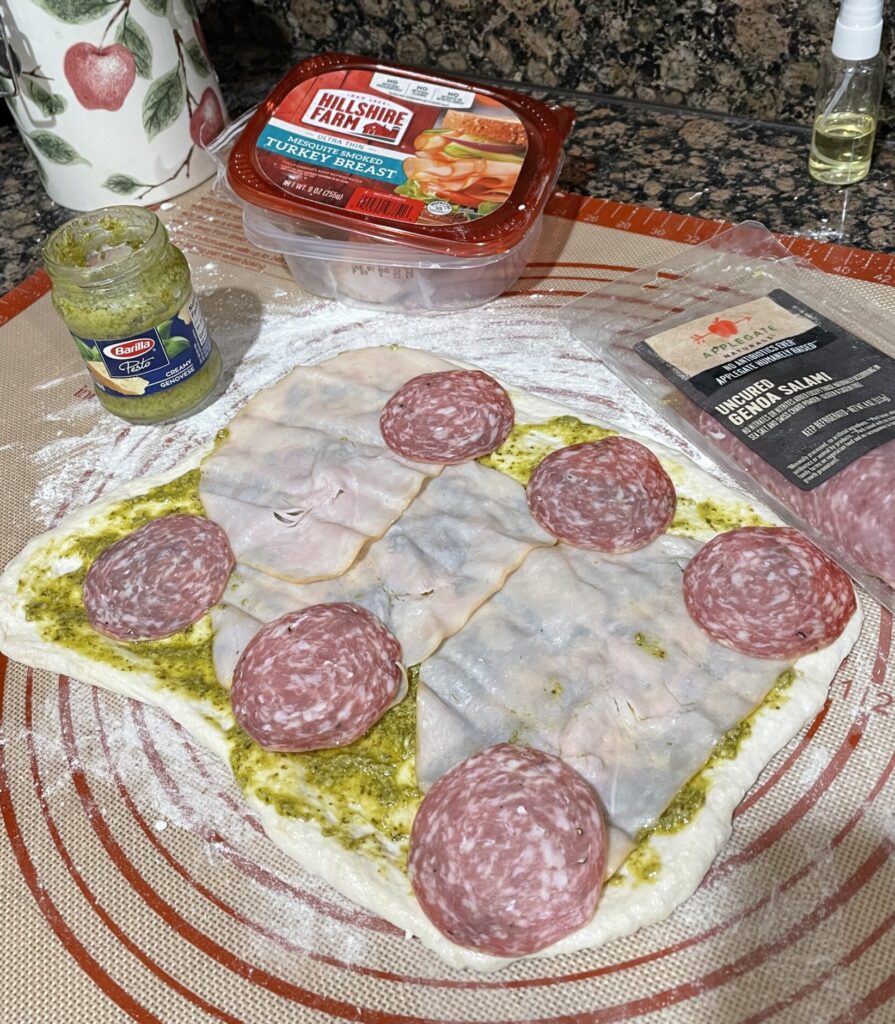
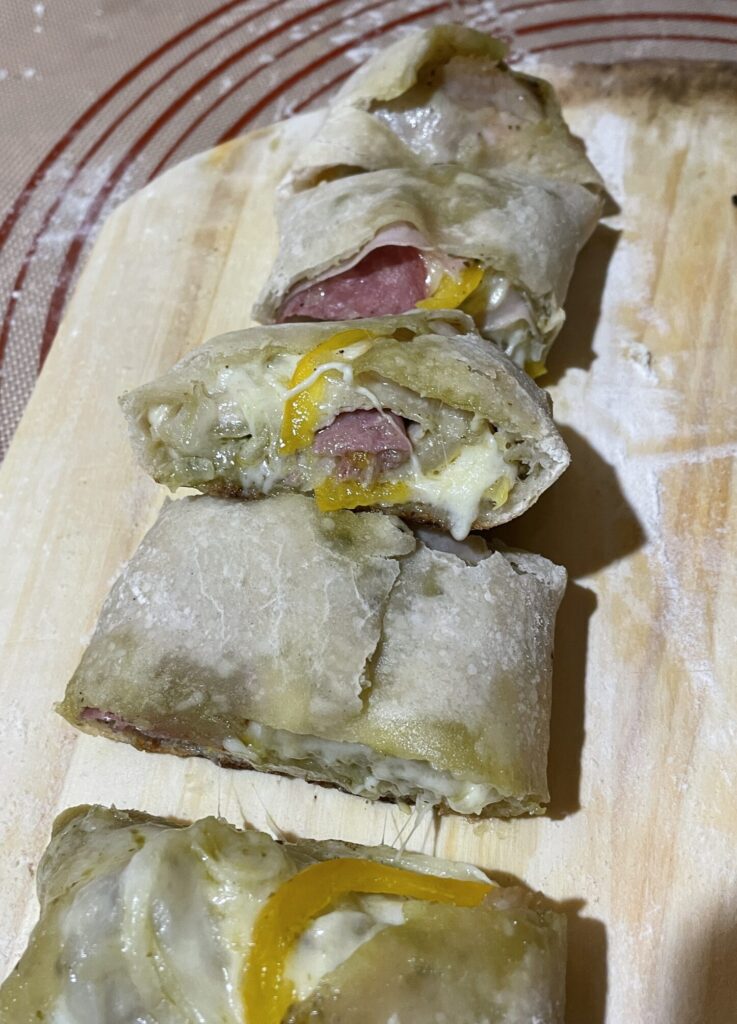
Add meat assortment. I’m a fan of turkey and some sort of salami or sopressata.
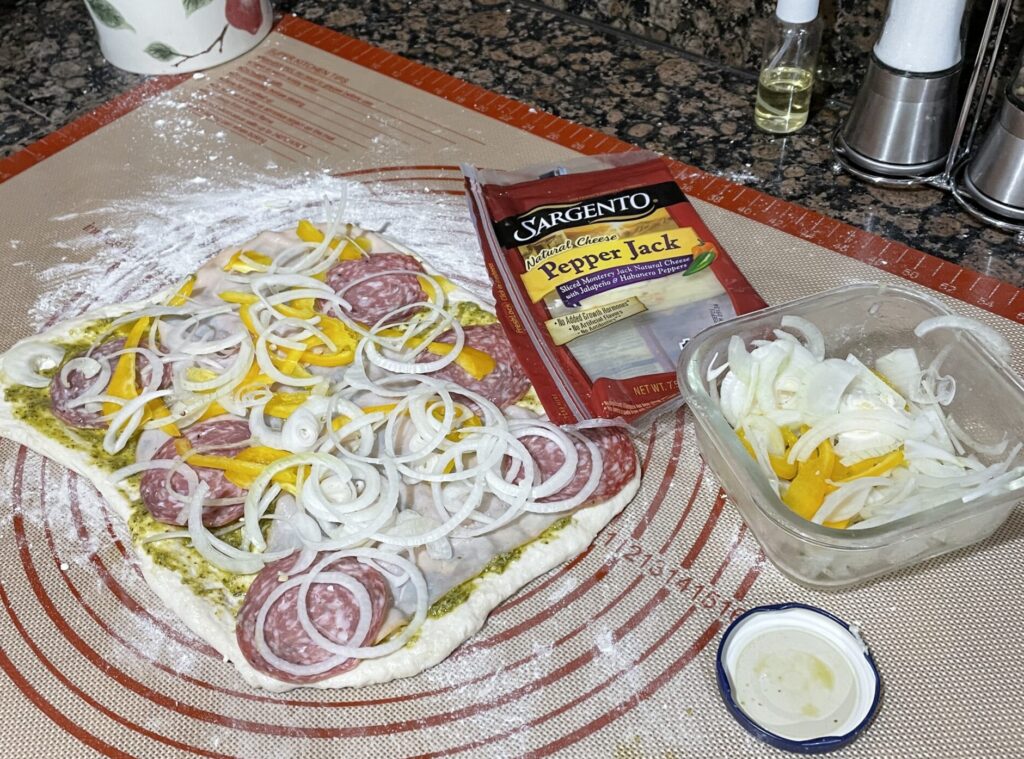
Usually I add cheese next, but it’s been a couple months so I added veggies. This can be anything that you’d find in a sandwich that would heat well. So, not like lettuce but any type of onion or maybe even spinach. Here I have peppers and onions (pretty Italian).
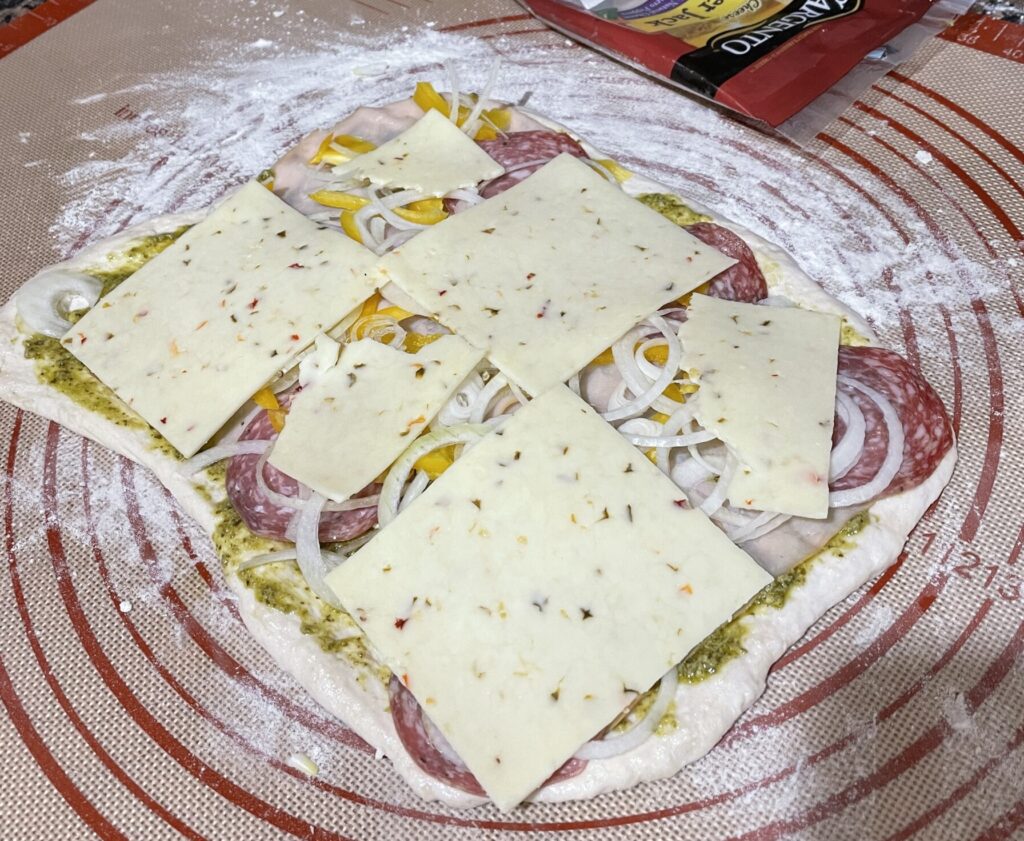
Then add cheese. Again, normally I do swiss, but I hadn’t picked any up so went with pepper jack.
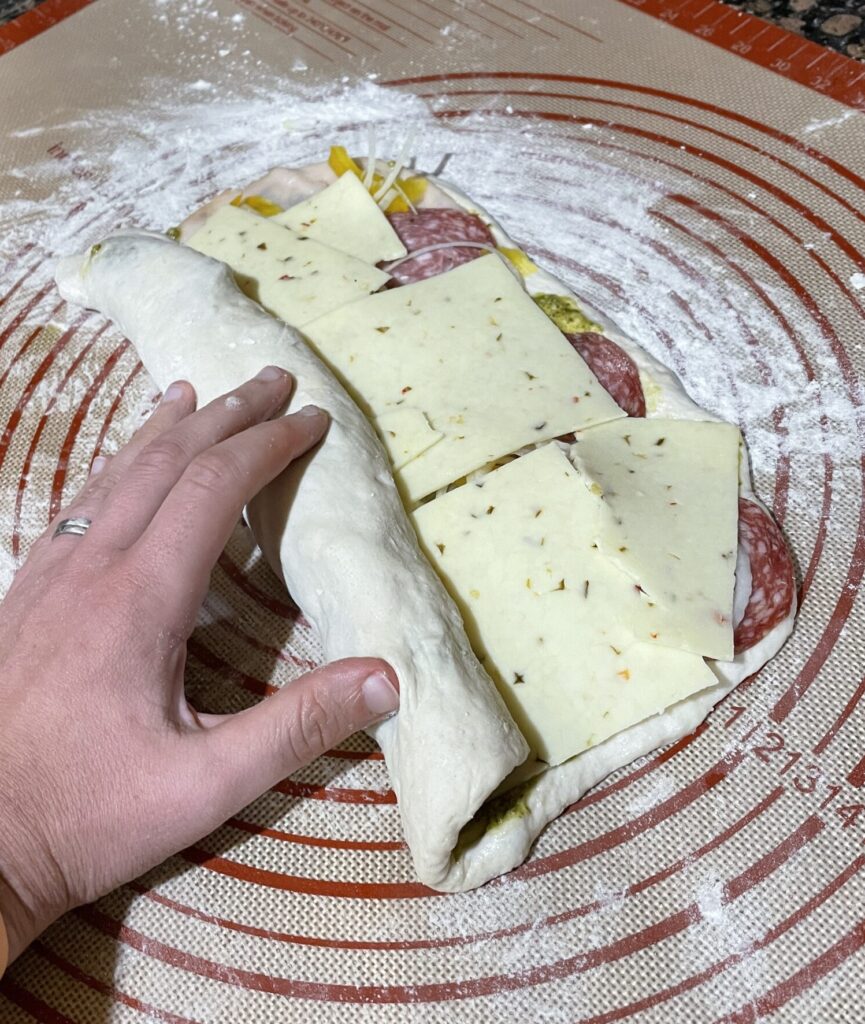
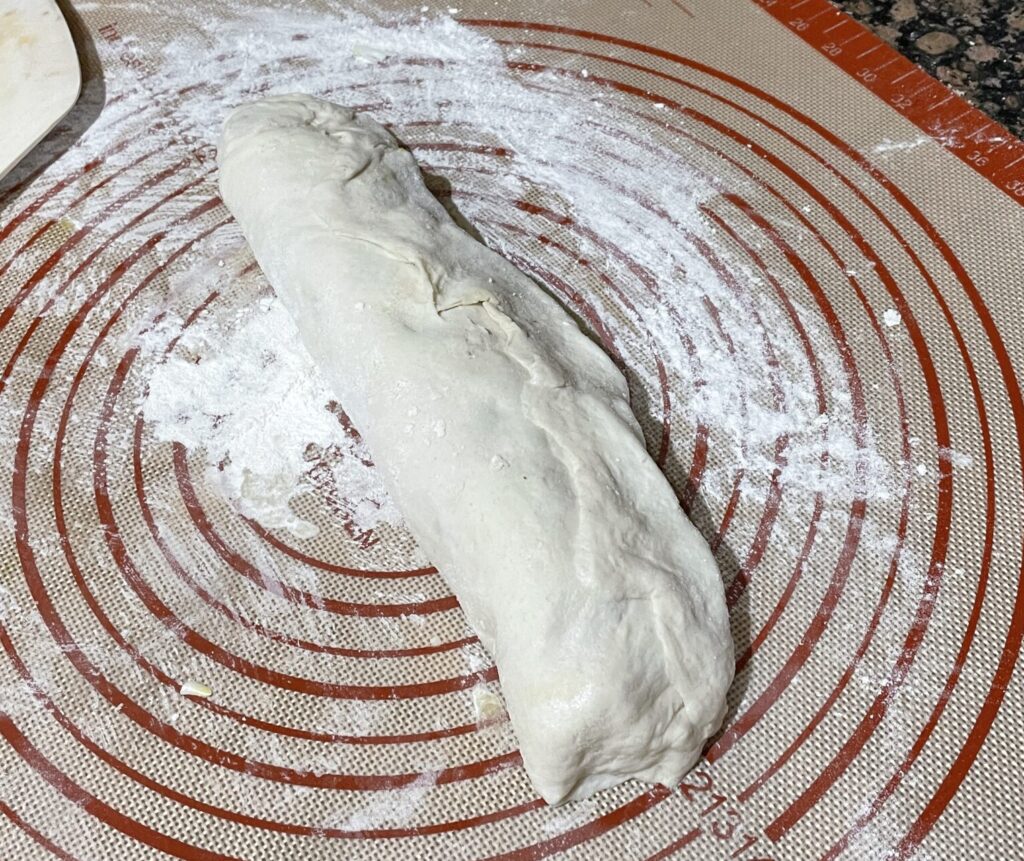
Finally, roll up like a cinnamon roll and pinch closed.
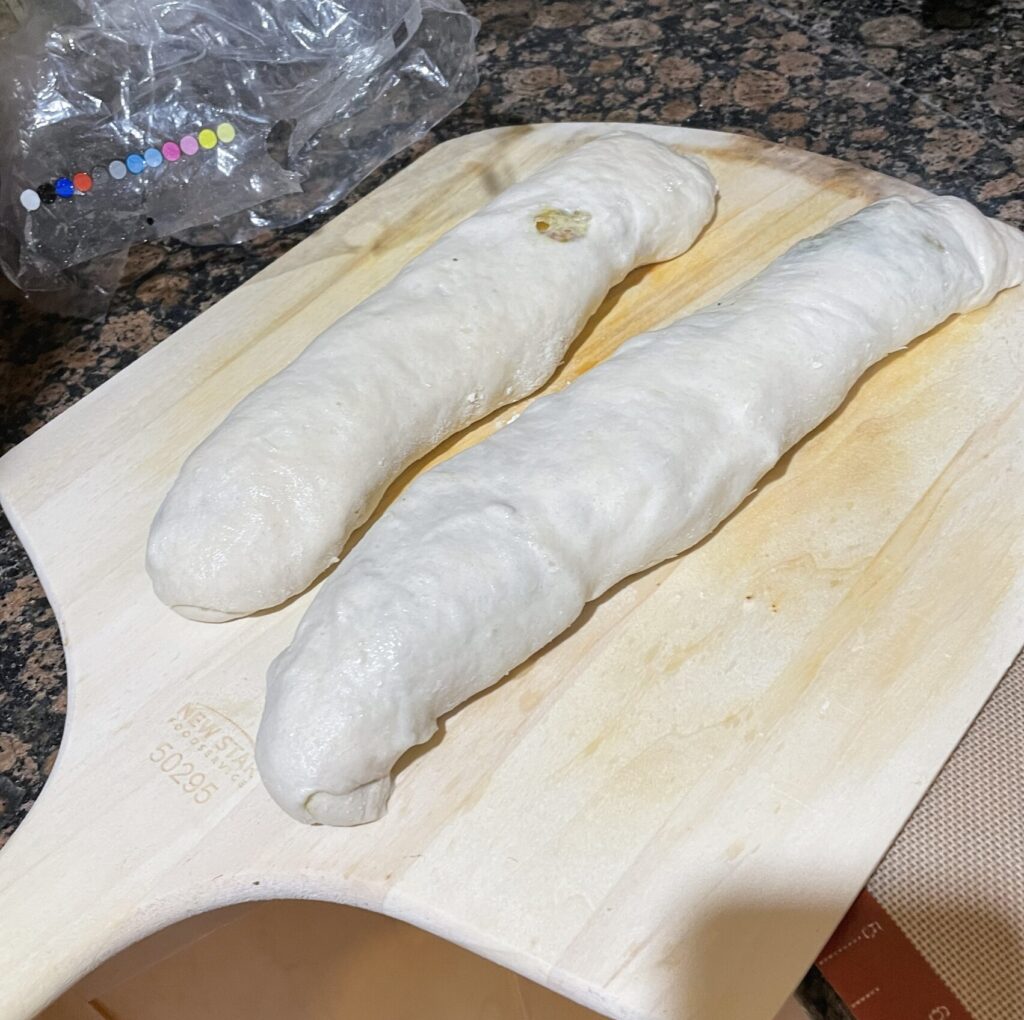
Repeat for a second time. The second is because you’ll want leftovers.
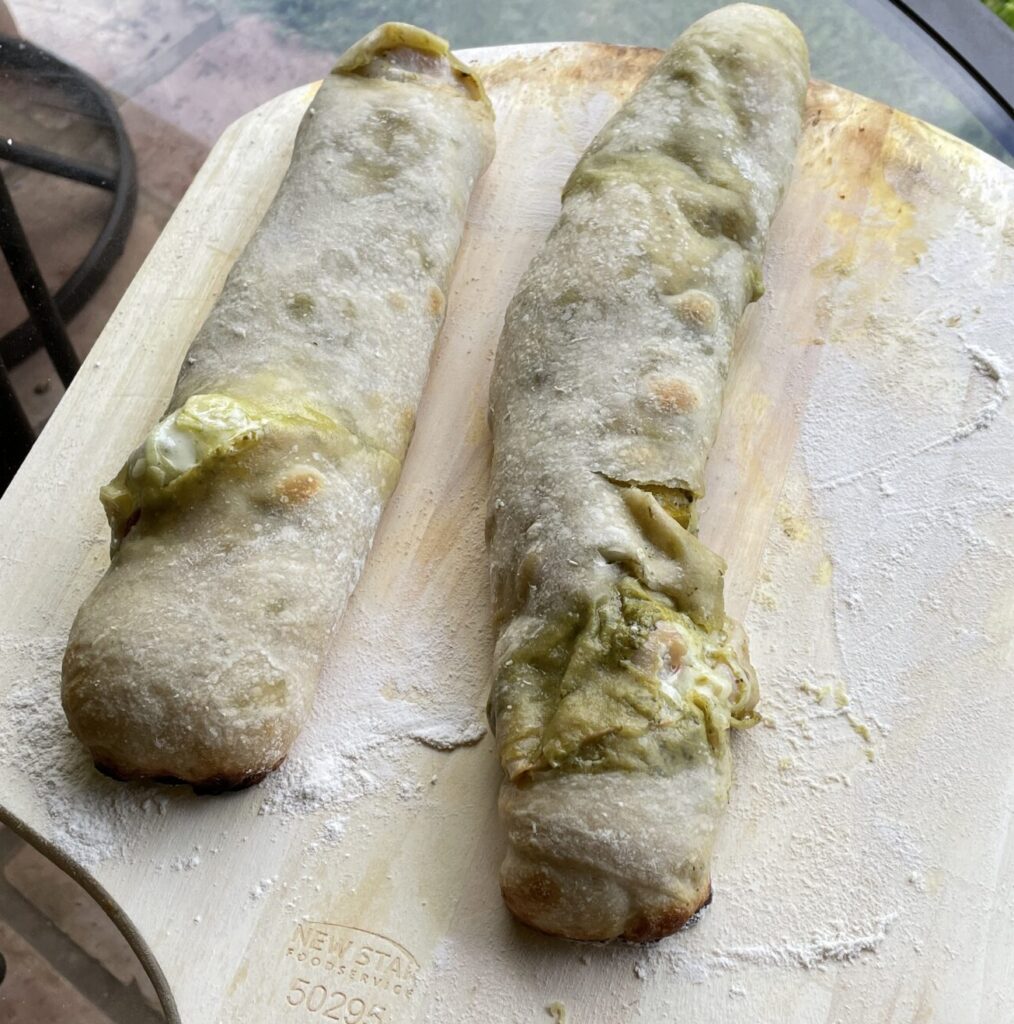
Add to the Baking steel.
Cook for a good 10-13 minutes. The bottom will come out nice and crispy. The top will crisp up if in the oven, the recipe calls to broil it the last couple minutes I think. In the grill it didn’t as much, but that’s ok.
This dough is a little old so it split pretty easily. Slice and there you have it!
I like using a curved slicer because it tends not to push ingredients through. I will usually add hot sauce to it and added this Da Kine Hot Mustard Sauce and it was AMAZING. Here’s a Wikipedia article on “Da Kine” language origin and maybe a better one from Atlas Obscura.
I feel like if my dad knew how much I spent on a piece of steel to cook with, he might think I am crazy… but I can’t argue with how delicious the food comes out. I also hear that pizza stones break really easily. The Baking Steel will break anything well before anything breaks it. Definitely one of my favorite kitchen items.