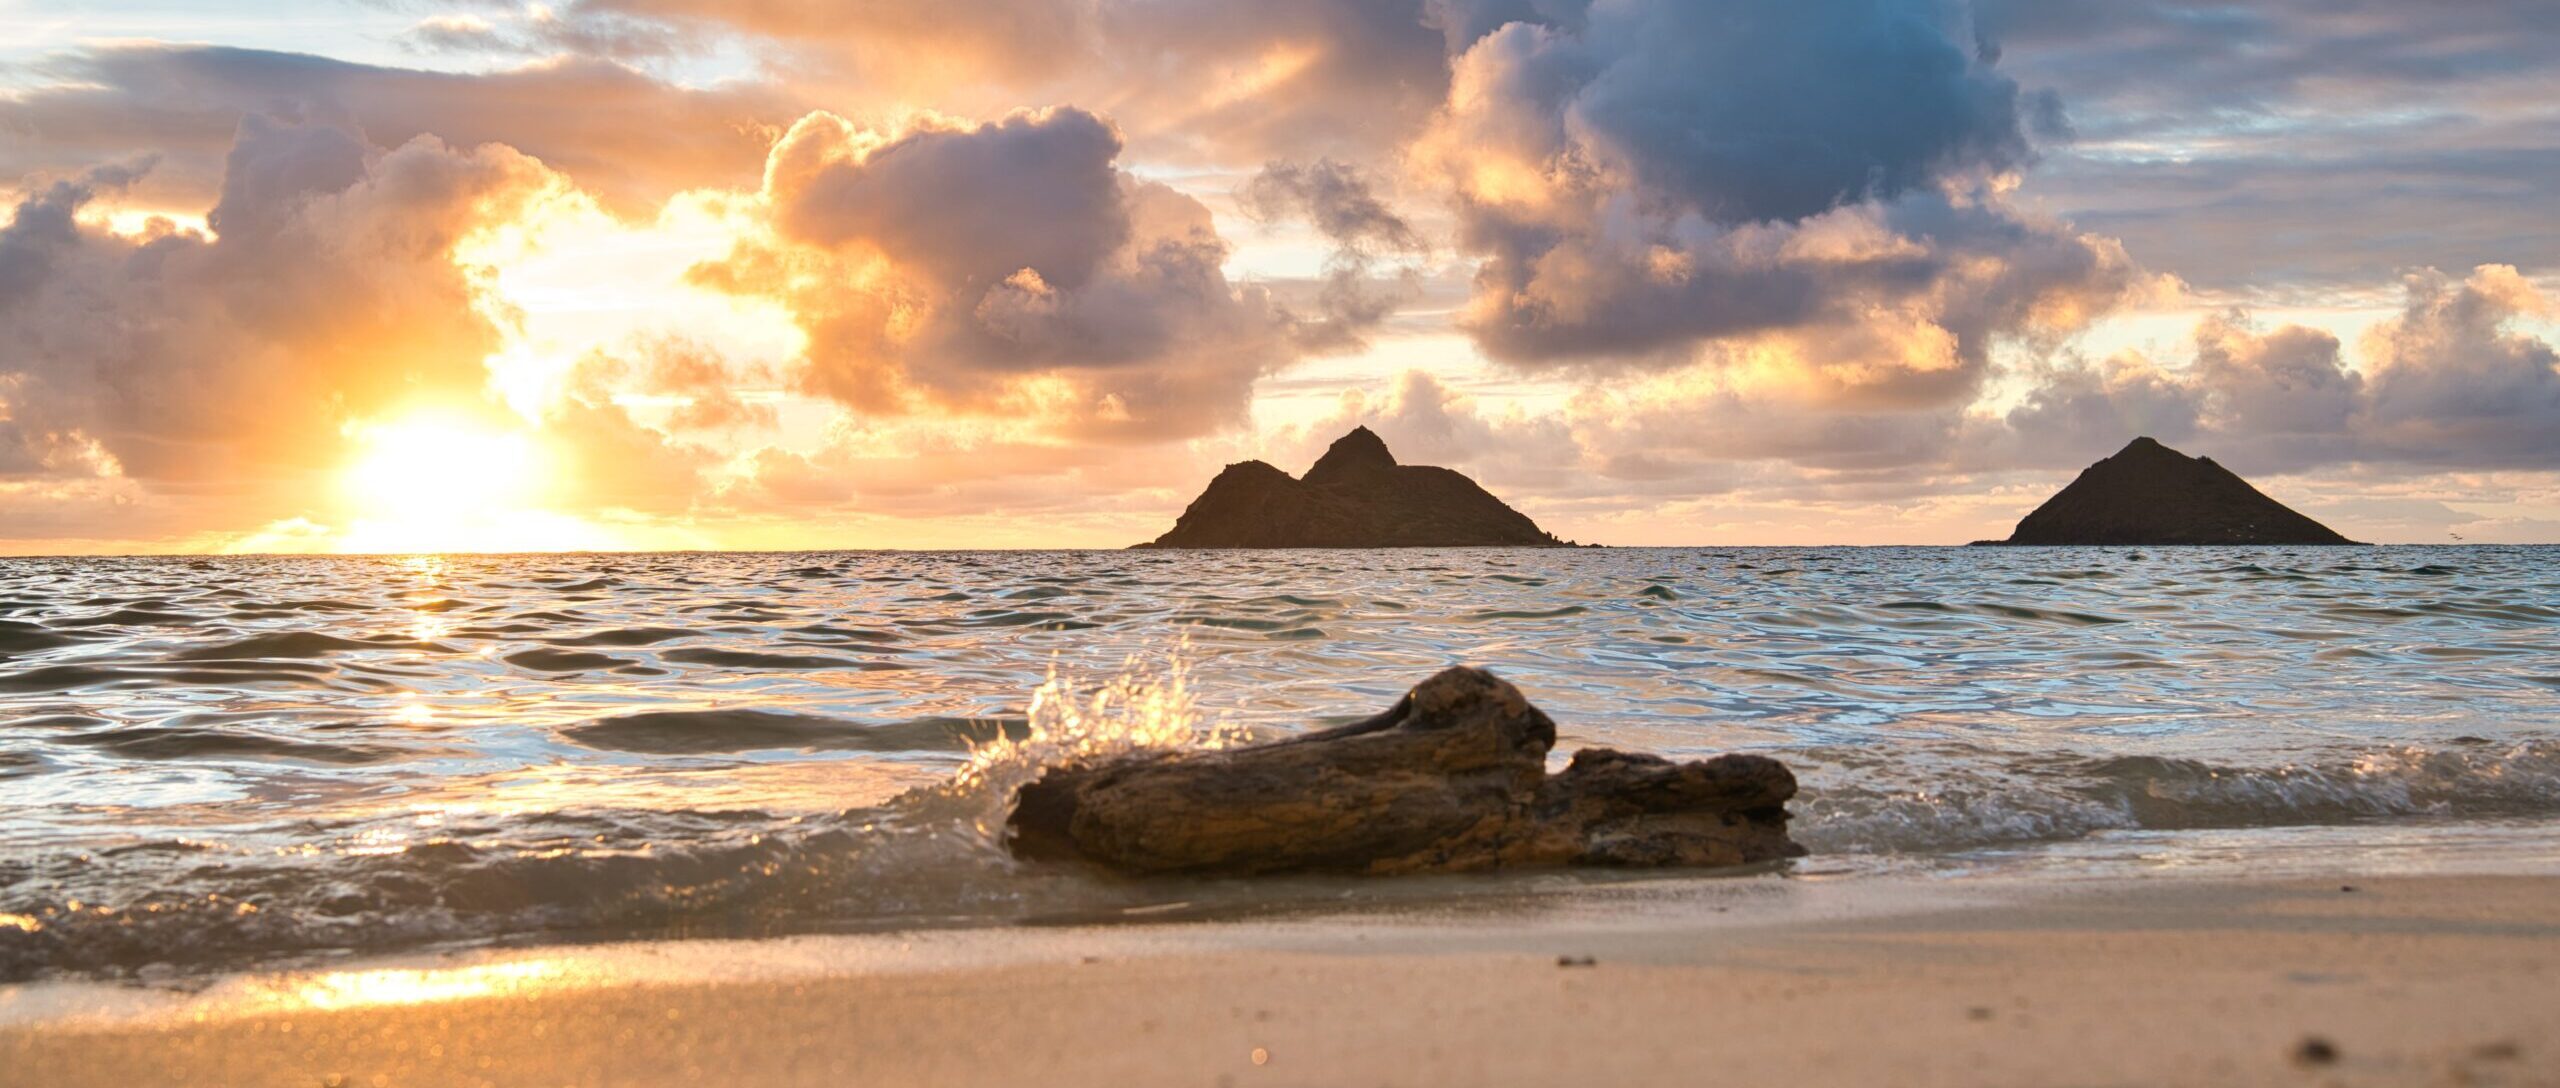
Getting into photography with a professional grade camera has come with the blessing and curse of learning photo editing. Blessing because even with a really professional camera, editing can help improve picture quality. It has also helped me learn to not compare my quality to others because I can tell when a photograph has been edited. Curse because it feels like another huge skillset to develop and more money.
One particular issue cameras have is their dynamic range, or ability to capture bright light and low light at the same time. You most definitely have experienced this trying to take a picture of people in front of the sun. You can either get their faces exposed (the right lighting and visible) and the back is completely bright white OR the back is exposed and you can see blue sky and yellow sun but their faces are black. It turns out the solution doesn’t *have* to be that the object needs to face the sun.
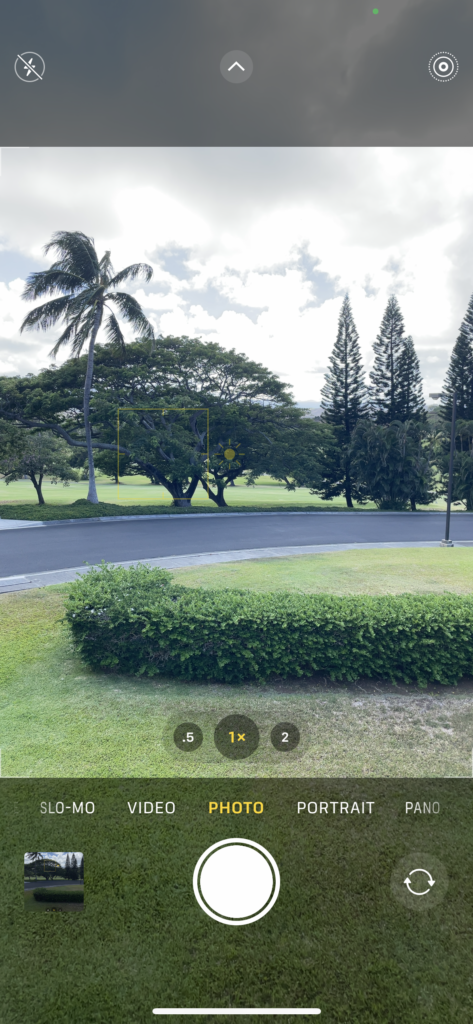
You see what I’m talking about with an iPhone. Find the sun or really bright background, **DO NOT LOOK AT THE SUN WHILE DOING THIS** find an object in front of it, and tap the object. Let it focus and you’ll see a yellow box with a sun around it, which means it’s exposing for the object. Look at the background and it’s bright and not capturing much color.
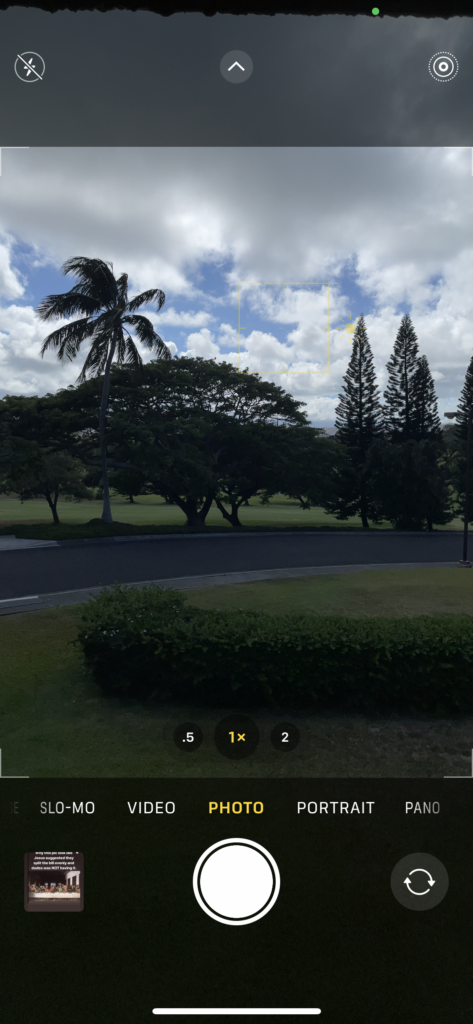
Now tap the background. The yellow box should move to the background and there should be more color captured there. However, the object will be dark.
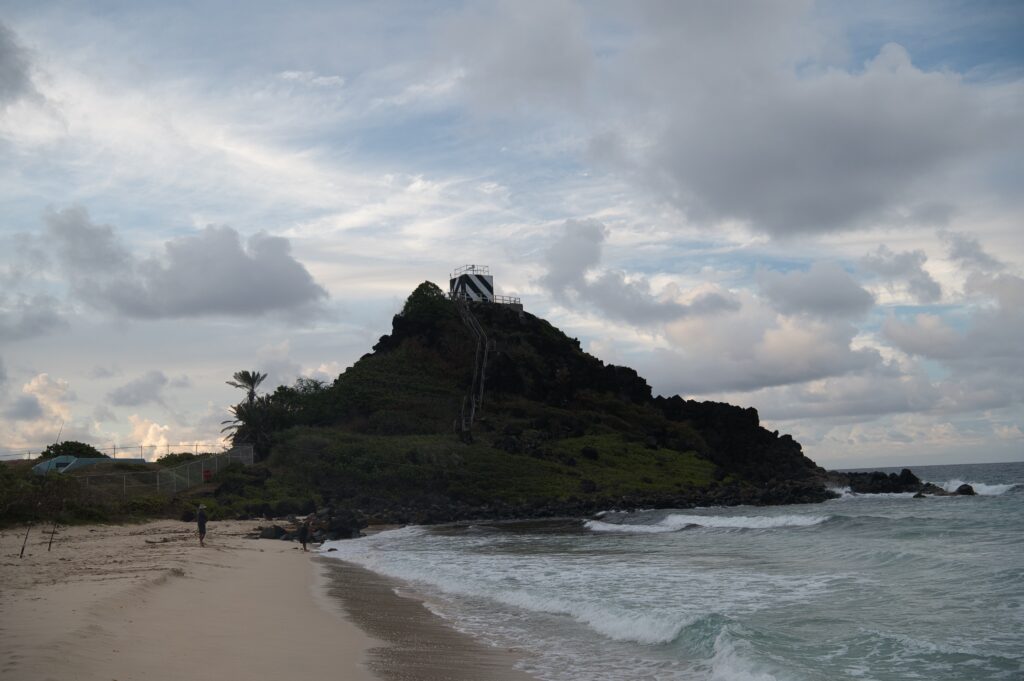
It’s pretty incredible to admit, but professional cameras have this same problem. They’re definitely better at it, but not great. So I had to learn how to change my camera settings and what software to get to take pictures when I experience an environment like this. The process starts with taking a number of photos with different exposures, called “brackets”, like I did above with the tree. Expose the light to get the color for the tree, and expose the light to get the color for the sky. I usually do three, but my camera can do up to 7? 14 maybe? Then use a software to “stack” them. Here are the three I did for the Pyramid Rock beach picture.
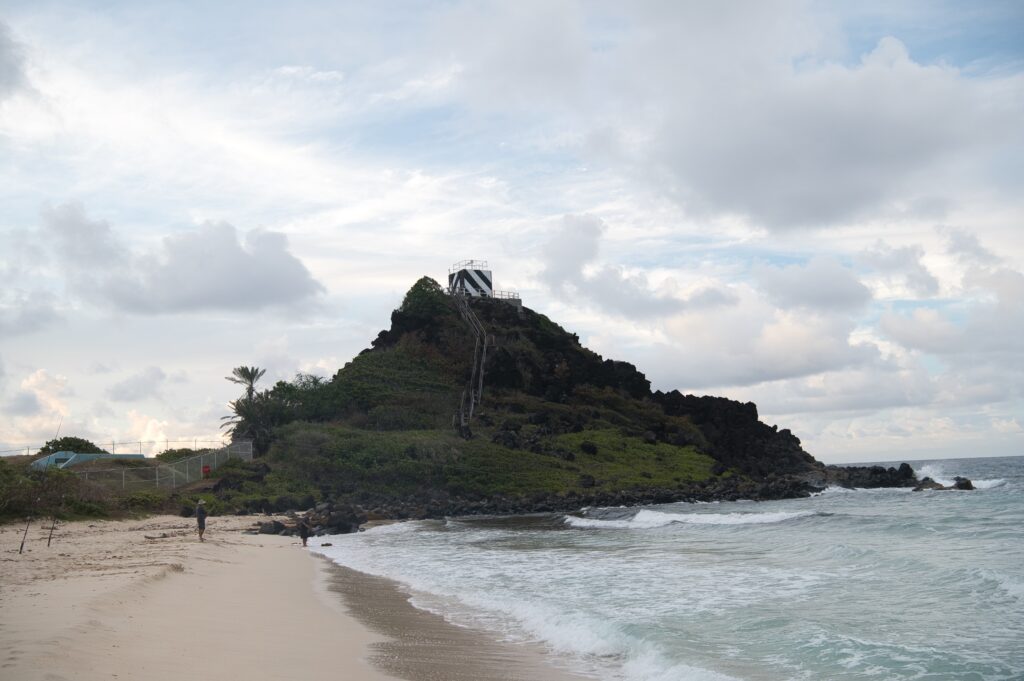
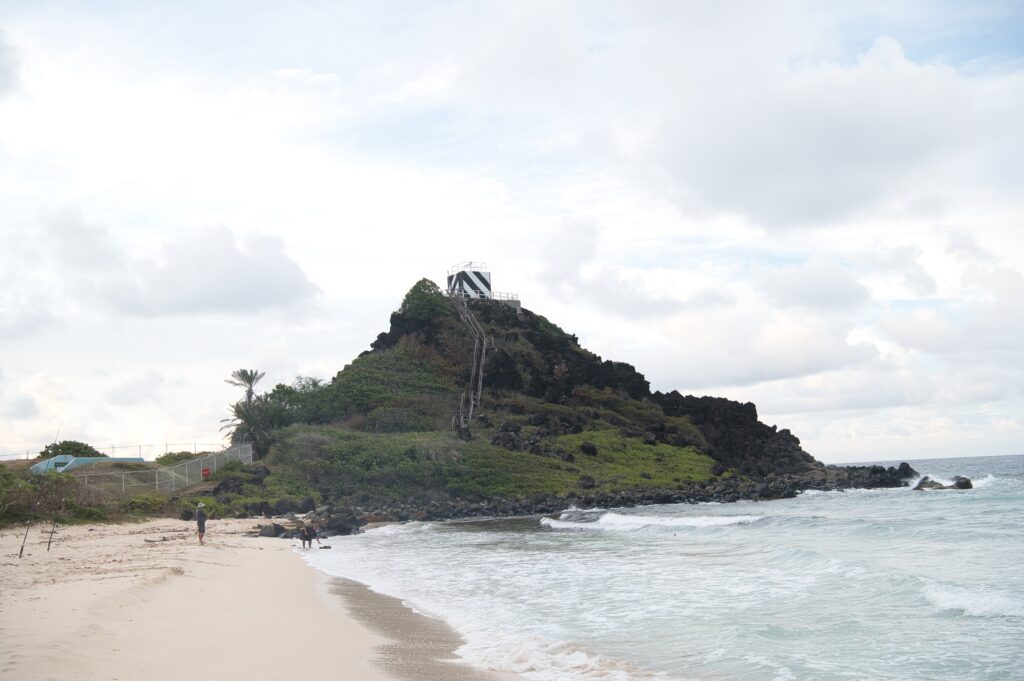
If you’re super interested in the nitty gritty, you can refer to this article and look at the Aurora HDR part, which is what I use. But truly I add pictures to this software and it does the rest.
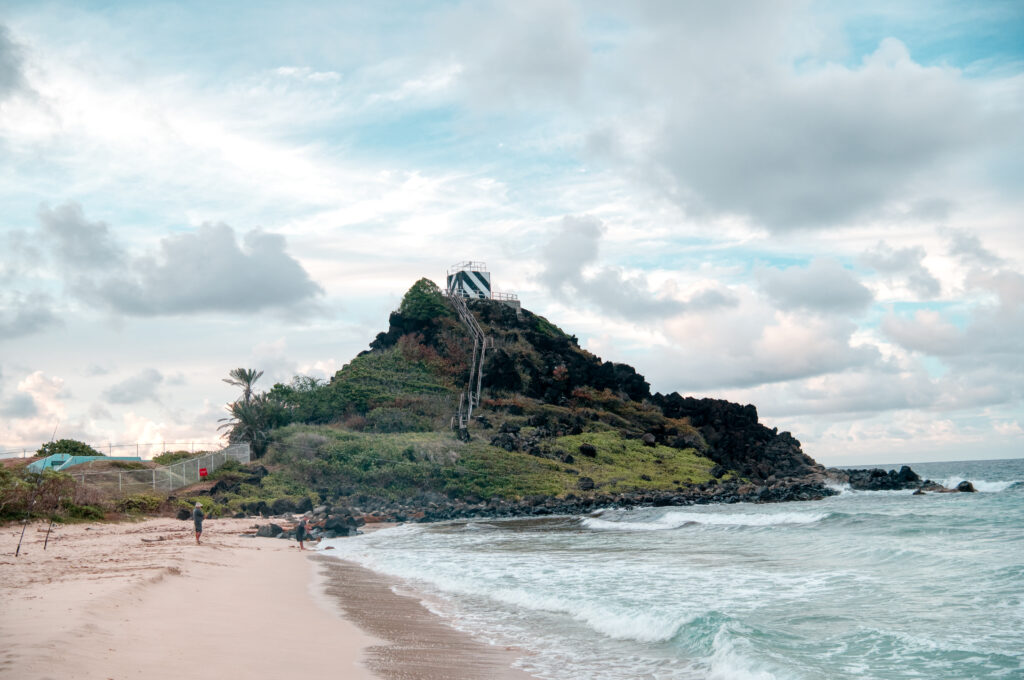
It’s equal parts colorful in the sky and bright on the rock, which is a lot closer to what the naked eye can see. There are ways to perfect this technique, like using a tripod so the camera doesn’t move between shots, making sure there’s nothing moving in your shot… I also find the sky blue is a tad off from reality; it somehow becomes a more turquoise (I’ve seen this a couple times). I’m sure I could figure out how to color correct. For now I’ve found my basic skill development satisfactory for what I need to accomplish.
I’m also confident you could expose for the sun and work editing magic to make just the pyramid brighter. I think I like the coming out of the camera strategy better.
I try to avoid this because of the editing intensive it is, but it comes in handy.
