
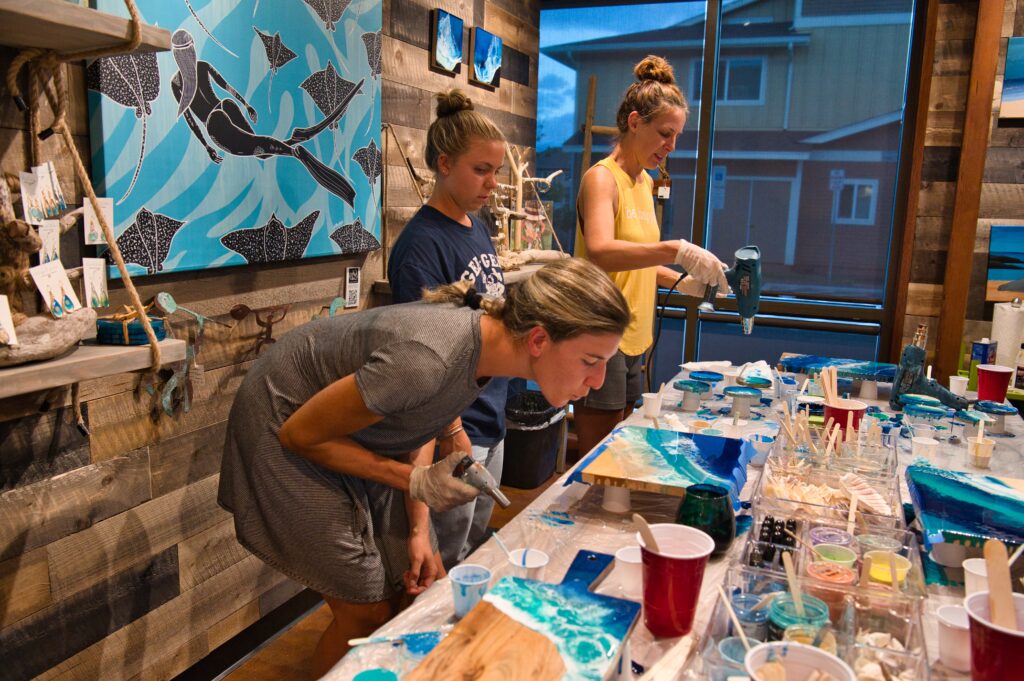
Last Sunday a couple friends and I went to a Sip and Spill workshop with Design Management Hawaii where we drank wine and made a resin craft of our choosing. It was harder and easier than I thought. Basically you start with mixing the resin (equal parts of two things, I forget what) and then mix colors and add shimmer if desired.
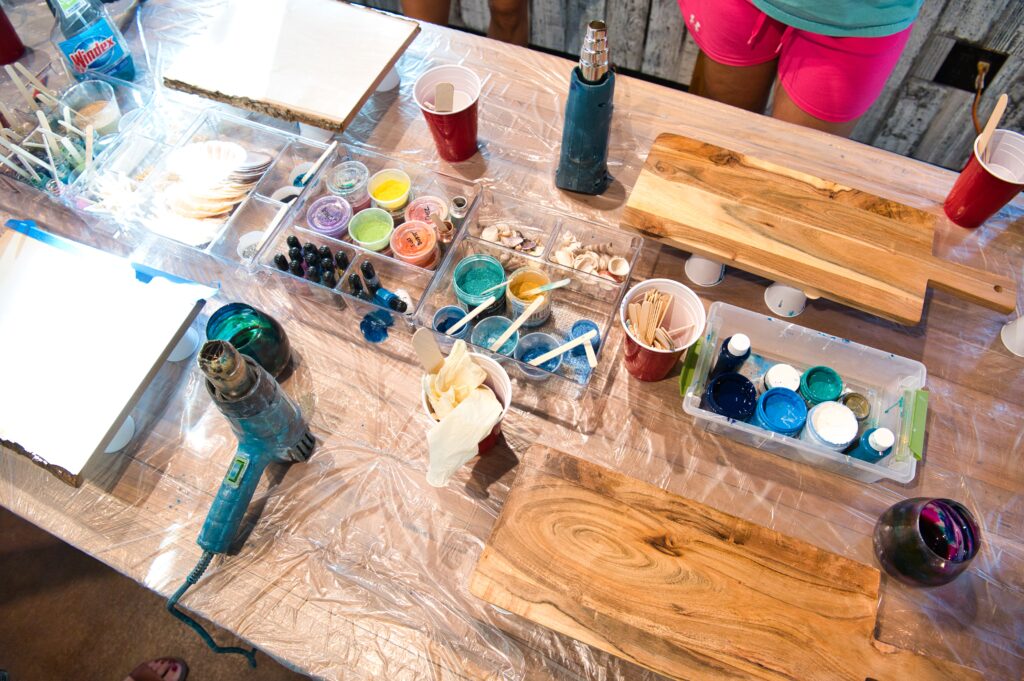
Pour the resin in the desired layering.
Use the heat gun but don’t go back and forth go straight on (I had a surprisingly hard time with this, I thought back and forth was the motion) and be careful not to burn the resin (which I ended up doing, but she fixed it)
Then you blow torch it to add bubbles. Mix and repeat for desired effect.
I was obviously pretty busy with my craft, it takes about 30mins to harden, so you have to work somewhat quickly. But I did manage to get the ladies to take a couple pictures.
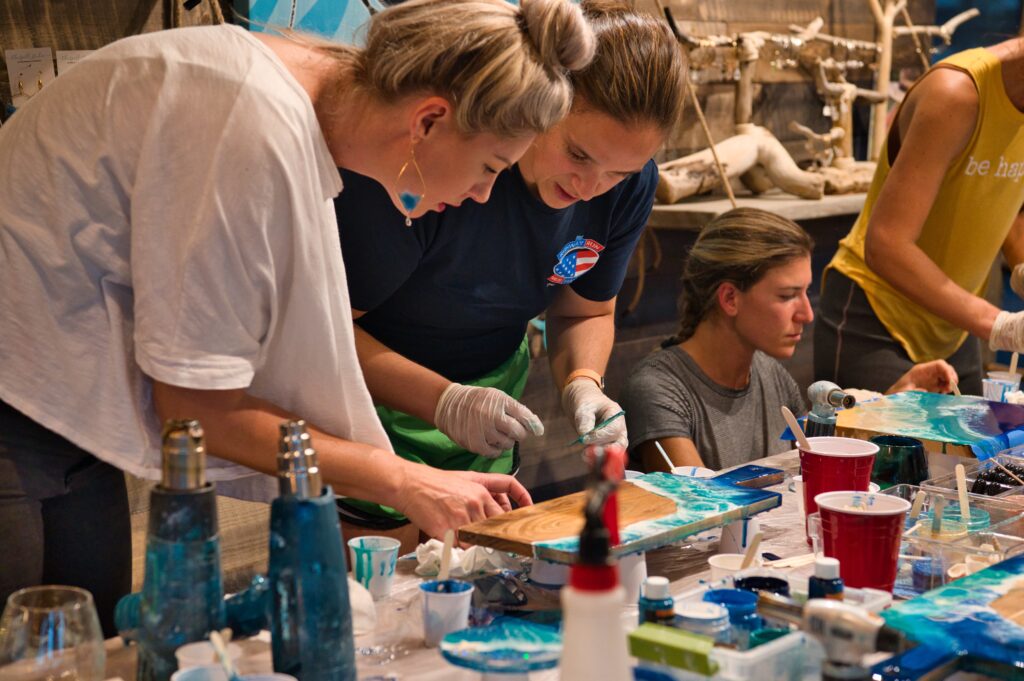
Here’s my friend Jess using good old man power to blow hers.
Here we’re stuff some silicone molds with leftover resin to make snowflakes… I’m very pumped about this because I have a good friend who loves teal I’m going to send one to.
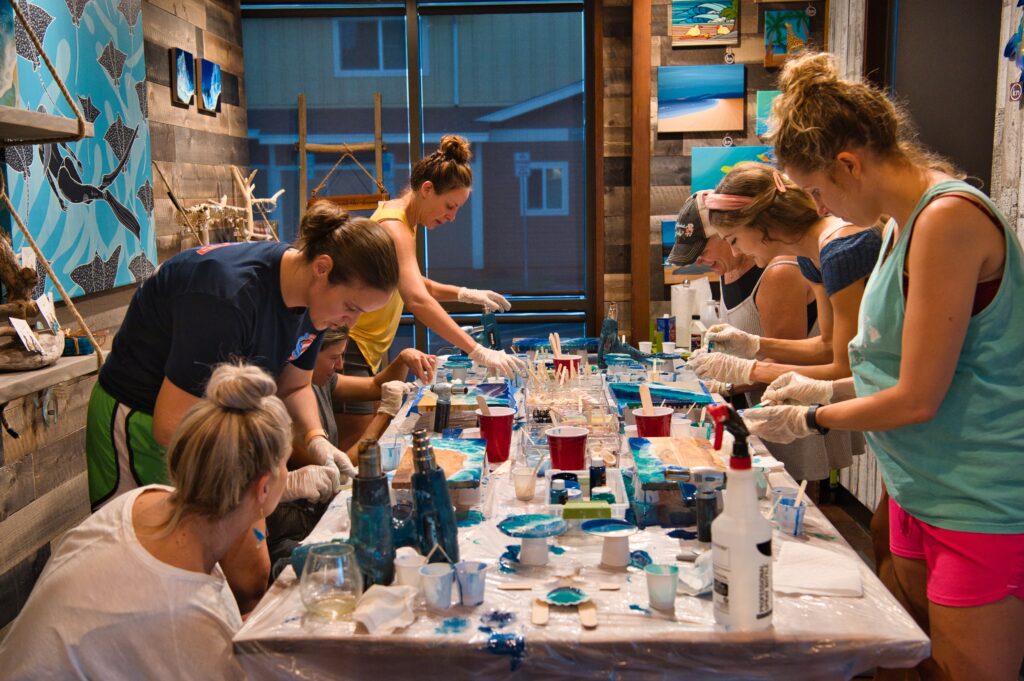
You can use your finger to start the blending process before blowing. Or anytime really. This is my other friend Jess hard at work.
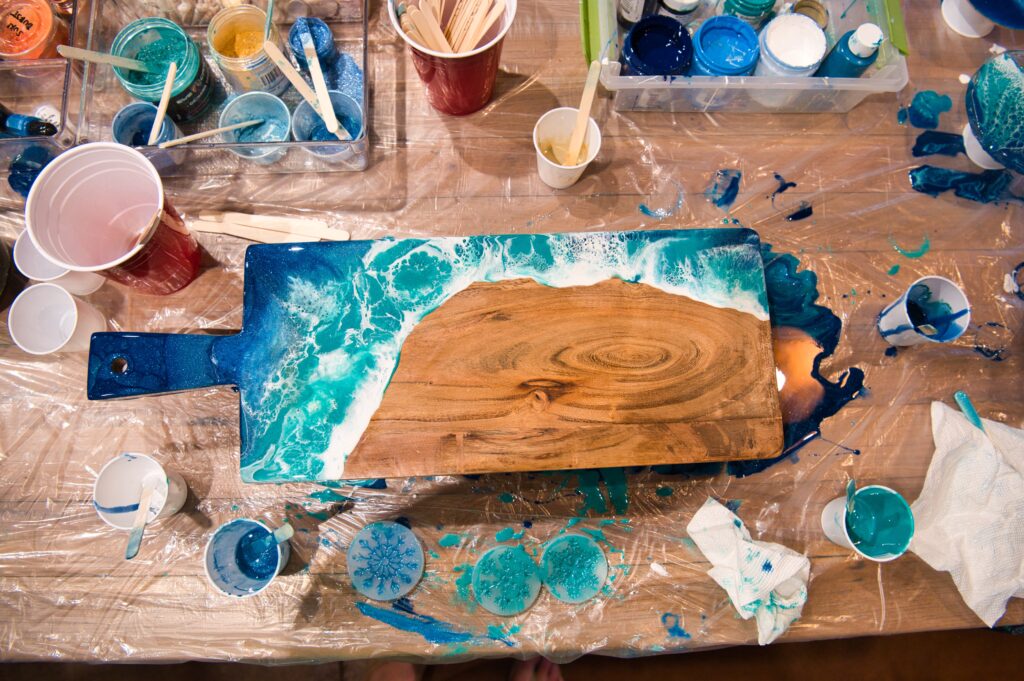
This is the wine we tried, it’s from the same salt and cellar company I tried during apple dipping. The board is an example from last class that Jess and I were aiming for. I wish I had known that the resin spread more and to use less. I also wish I had a practice go at it. But overall I’m pleased with the result, and the idea is to use it as a serving platter so there’ll be food on it anyway. I had Stanfield laser engraved on it, I’m picking up the final result in the next day or two and might update this post with it.

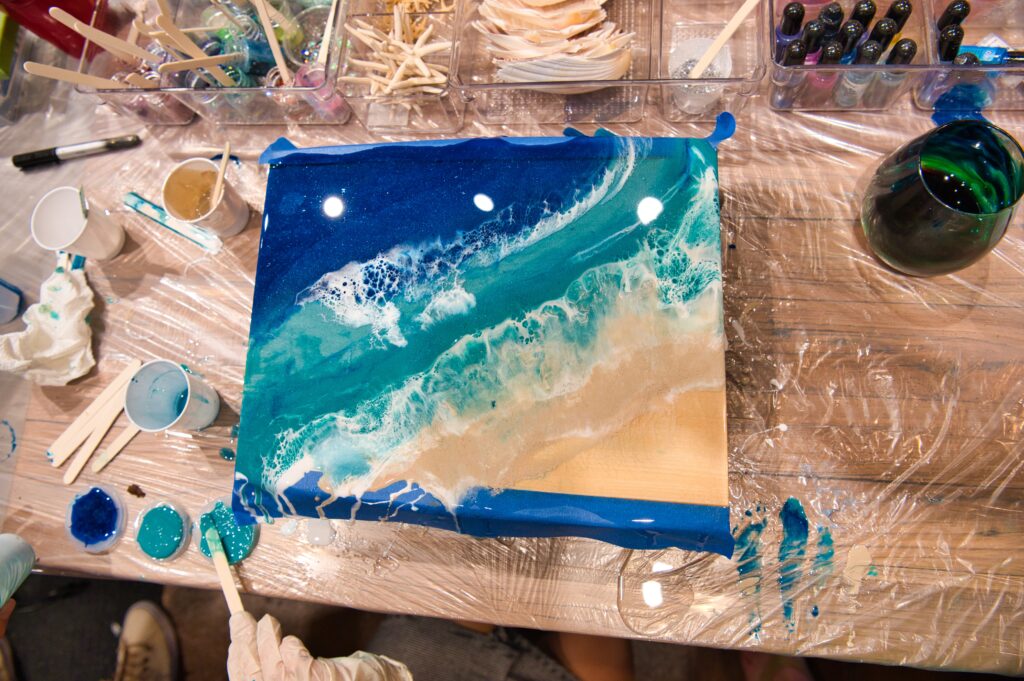
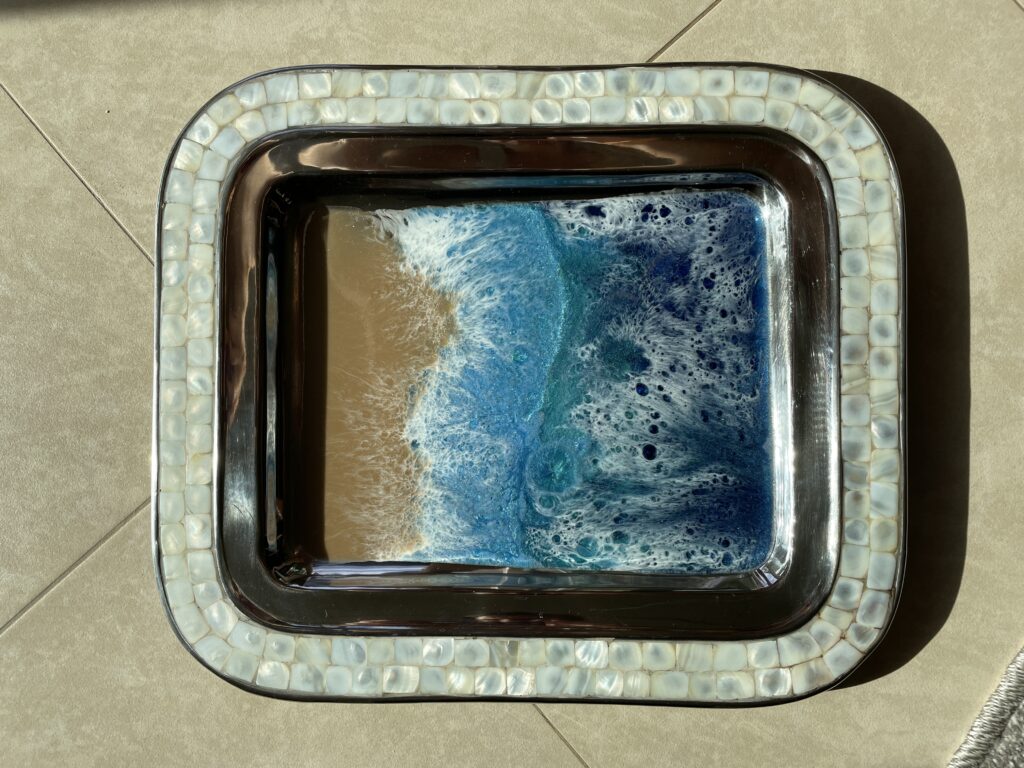
my result 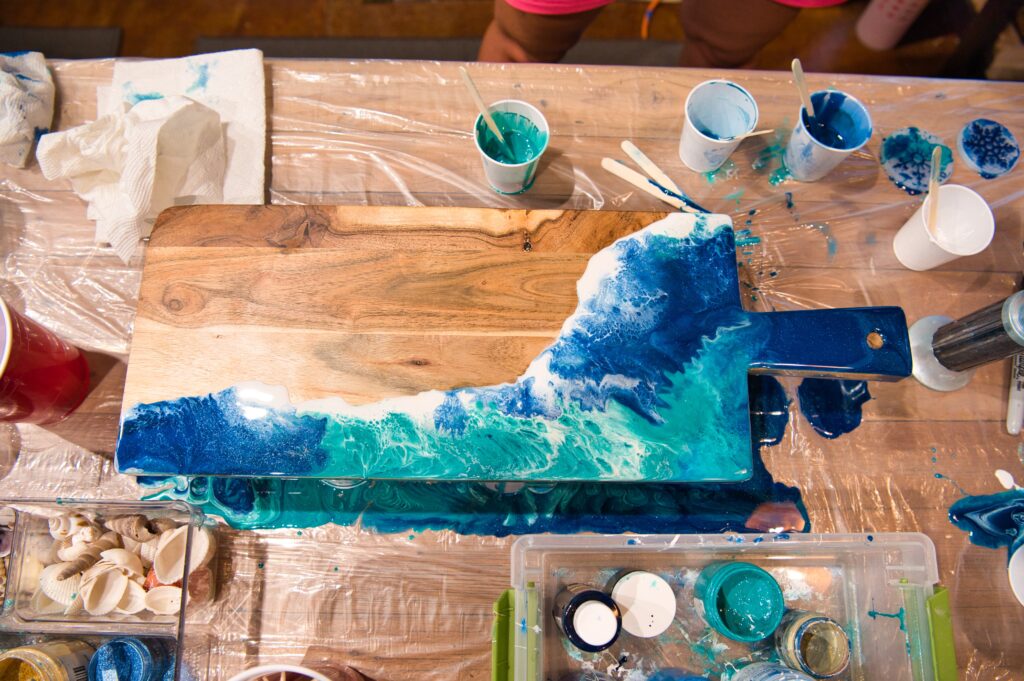
I also bought this really awesome tray that came from the St. Regis Princeville resort on Kauai. It was bought and rebranded and no longer exists as the St. Regis Princeville. I thought it a really cool momento. The resin inside was done by an artist.